TL;DR:
- Preparing your home, documentation, and communication before a technician visit reduces repair time and costs. Clear workspace, organized appliance details, and safety checks streamline the service process and foster technician trust. Proper preparation ensures a faster diagnosis, better experience, and respectful collaboration during repairs.
Knowing how to prepare for a technician visit is the single most effective way to reduce repair time, lower costs, and avoid a second appointment. A service call is a structured process, not a drop-in. It requires you to organize your space, gather appliance documentation, secure your home environment, and communicate clearly before the technician ever walks through your door. Whether you are a homeowner in Orange County or a renter in Los Angeles, the steps below apply to every type of service appointment, from refrigerator repair to HVAC maintenance to plumbing work.
How to prepare for a technician visit: physical space first
The physical condition of your home directly affects how fast a technician can work. 3 feet of clear workspace around indoor and outdoor equipment is the minimum recommended clearance for safe and effective access. That number is not arbitrary. It gives a technician room to kneel, set down tools, and move equipment without creating a safety hazard.
Here is what to do before the technician arrives:
- Clear a path from your front door to the service area. Remove shoes, boxes, furniture, and anything else that narrows the walkway.
- Pull appliances away from walls yourself when it is safe to do so. This alone reduces access time and allows for more collaborative diagnostics.
- Place drop cloths or old towels around the work area. Protecting your flooring signals professionalism and builds rapport with the technician.
- Unlock gates and exterior access points for outdoor HVAC units or plumbing cleanouts before the technician arrives.
- Secure pets in a separate room. A dog or cat underfoot is a distraction and a safety risk during active repair work.
- Remove items stored on top of appliances, such as boxes on a washer or items on a refrigerator. This speeds access immediately.
Pro Tip: If your service area is outdoors, check conditions the morning of the appointment. Wet walkways, overgrown shrubs, or blocked gates can delay the visit before it even starts.
What appliance details should you collect beforehand?
Gathering the right documentation before a service call is one of the highest-value steps you can take. Model and serial numbers allow the technician to identify the exact parts revision and manufacture date for your unit. That information is encoded in the serial number and determines which replacement parts are compatible. Without it, a technician may need to make a second trip.
Here is a numbered list of what to collect and organize:
- Model and serial numbers. Find these on the appliance label, usually inside the door frame, on the back panel, or behind a drawer. Write them down or photograph them.
- Purchase date and warranty documentation. Knowing whether your appliance is still under a manufacturer warranty from brands like Sears, Whirlpool, or LG can change the entire repair approach.
- Symptom description with a timeline. Note when the problem started, how often it occurs, and any error codes displayed. Differentiating whether an appliance never works versus works intermittently lets the technician skip basic verification and go directly to targeted diagnostics.
- Previous repair records. If another technician worked on the unit before, that history matters. Parts already replaced narrow the diagnostic field.
- Notes on related events. Power surges, recent storms, or a recent move can all affect appliance performance. Write these down.
| Document | Where to Find It | Why It Matters |
|---|---|---|
| Model number | Door frame, back panel, or drawer | Identifies the exact appliance configuration |
| Serial number | Same label as model number | Encodes manufacture date and parts revision |
| Warranty info | Original receipt or manufacturer website | Determines repair cost responsibility |
| Error codes | Appliance display screen | Points directly to the fault category |
| Repair history | Previous invoices or service records | Prevents duplicate work and narrows diagnosis |
Pro Tip: Photograph the appliance label and any error codes on your phone before the technician arrives. You can share the image instantly if asked, and it takes less than 30 seconds.
How should you manage communication before the appointment?
Clear communication before the visit is as important as physical preparation. Appointment windows are typically 2–4 hours, and an adult must be present for the full duration. Plan your schedule accordingly and avoid booking other commitments during that window.
Before the appointment, communicate the following to your service provider:
- Entry details. Share gate codes, building access instructions, or parking restrictions in advance. Early communication of logistical details allows the technician to prepare the right tools and plan their approach before arrival.
- Household limitations. If someone in the home has mobility issues, hearing difficulties, or health conditions that affect access, mention this when booking.
- Designated contact person. Assign one adult in the household to coordinate with the technician. Multiple people giving conflicting instructions slow the visit down.
- Payment method. Confirm accepted payment types and ask about diagnostic fees upfront. Surprises at checkout create friction and delay paperwork.
- Pet and child information. If you have pets or young children, let the provider know in advance so they can plan for a safe work environment.
Pro Tip: Call or send a brief text the morning before your appointment to confirm the visit is on schedule. This also gives you a chance to share any last-minute access updates.
For renters managing appliance prep across multiple units, the appliance checklist for tenants from Mdtechservices covers the specific steps that apply to rental properties.
What safety checks should you run before the technician arrives?
Basic safety checks protect both you and the technician. They also prevent common issues that delay service, such as a tripped breaker that makes an appliance appear broken when it is not.
Follow these steps before the technician arrives:
- Check your electrical panel. Look for any tripped breakers related to the appliance or system being serviced. Reset them if it is safe to do so, and note whether they trip again.
- Verify thermostat settings and battery life. For HVAC service calls, a dead thermostat battery is a common source of confusion. Replace batteries if the display is dim or unresponsive.
- Test your main water shutoff valve. For plumbing visits, confirm the valve turns freely. A stuck valve during an emergency is a serious problem. You can find routine plumbing maintenance steps that cover shutoff valve checks in detail.
- Confirm gas valve accessibility. For gas appliance service, locate the shutoff valve and confirm it is reachable. Never leave open flames burning in the work area.
- Ventilate the work area. If the repair involves dusty, dirty, or odor-producing work, open windows or run a fan beforehand. Good airflow protects everyone in the home.
- Keep children away from the work zone. Designate a separate room for children during the visit and communicate this plan to them before the technician arrives.
Pro Tip: Remove items stored on top of or directly in front of the appliance the night before. Morning-of prep is rushed. Doing it the evening before removes one task from your appointment-day list.
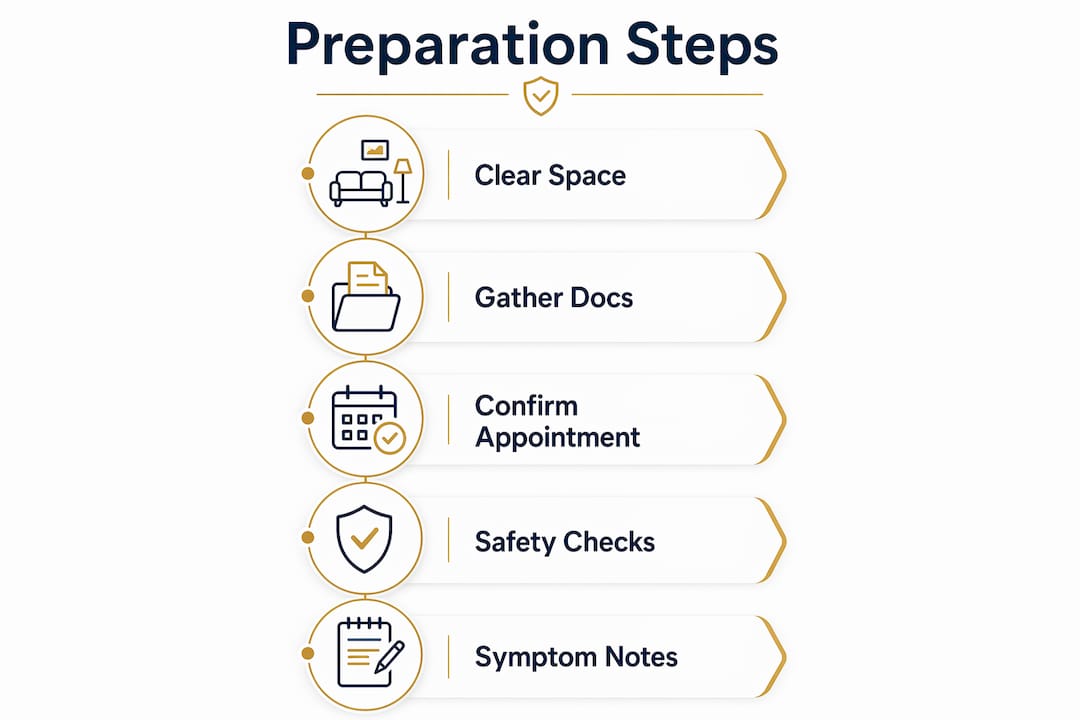
Key takeaways
Preparing your home, your documentation, and your communication before a technician arrives is the most reliable way to get a faster diagnosis and a lower repair bill.
| Point | Details |
|---|---|
| Clear workspace first | Maintain at least 3 feet of clearance around equipment and remove obstacles from entry paths. |
| Collect appliance documentation | Write down model numbers, serial numbers, and symptom timelines before the technician arrives. |
| Communicate logistics early | Share entry codes, pet information, and payment questions with the provider before the appointment day. |
| Run safety checks | Test breakers, thermostat batteries, and shutoff valves to prevent delays caused by unrelated issues. |
| Designate one contact person | Assign a single adult to coordinate with the technician to avoid conflicting instructions. |
What preparation actually buys you (and what most homeowners miss)
After working with homeowners across Orange County and Los Angeles County, the pattern is clear. The visits that go smoothly are not the ones where the appliance is newest or the problem is simplest. They are the ones where the homeowner did the work before we arrived.
The most common delay we see is not a missing part. It is a missing symptom description. A homeowner says “it stopped working.” That tells us almost nothing. A homeowner who says “it stopped cooling three days ago, makes a clicking sound when it tries to start, and shows error code E5 on the display” gives us a direct path to the problem. Clear symptom timelines let a technician skip basic verification entirely. That saves 20 to 40 minutes on a constrained appointment.
The second most common delay is clutter. We have arrived at homes where the refrigerator is pushed against a wall with boxes stacked on both sides. Moving that equipment safely takes time, and it shifts the technician’s focus from diagnosis to logistics. Homeowners who prepare the work area in advance reduce the risk of home damage and keep the visit on track.
One thing most articles do not say: preparation is a form of respect. Technicians notice when a homeowner has cleared the space, written down the model number, and secured their pets. It signals that you value their time. That goodwill translates into a more thorough visit, not because technicians cut corners otherwise, but because a smooth environment allows them to focus entirely on the repair.
— MDTECH
Ready to book a visit you are fully prepared for?
Mdtechservices serves homeowners and renters across Orange County and Los Angeles County with licensed technicians for appliance repair, HVAC service, and plumbing work. Every visit is backed by responsive scheduling, transparent pricing, and a safety-first approach.

If you want to understand what professional appliance repair covers before you book, Mdtechservices provides clear service descriptions and online appointment booking so you know exactly what to expect. For homeowners weighing repair against replacement, the appliance repair vs. replacement guide walks through the decision with practical criteria. Use the preparation steps in this article, then schedule with confidence.
FAQ
How much time should i set aside for a technician appointment?
Appointment windows are typically 2–4 hours, and an adult must be present for the full duration. Plan to stay home and avoid scheduling other commitments during that window.
What is the most useful thing i can tell the technician?
A clear symptom description with a timeline is more useful than a technical guess. Note when the problem started, how often it occurs, and any error codes the appliance displays.
Do i need to pull my appliance away from the wall before the visit?
Pulling the appliance away from the wall yourself, when it is safe to do so, reduces technician access time and allows for more collaborative diagnostics. If the unit is too heavy or connected to gas, leave it and let the technician handle it.
Should i tell the service provider about my pets before the appointment?
Yes. Securing pets in a separate room prevents distractions and safety risks during the visit. Informing the provider in advance allows them to plan accordingly.
What documents should i have ready for a service call?
Have the appliance model number, serial number, purchase date, warranty information, and any previous repair records ready before the technician arrives. These details allow for faster parts identification and a more accurate diagnosis.