Setting up a new appliance can quickly become overwhelming without the right preparation. Homeowners throughout Orange and Los Angeles County face real challenges when missing even a single tool or safety step. Proper tool selection and workspace setup mean more than convenience. They are your best defense against costly mistakes and hazards. This guide helps you organize your approach, highlighting expert strategies and tips for safe, reliable results tailored to your local needs.
Table of Contents
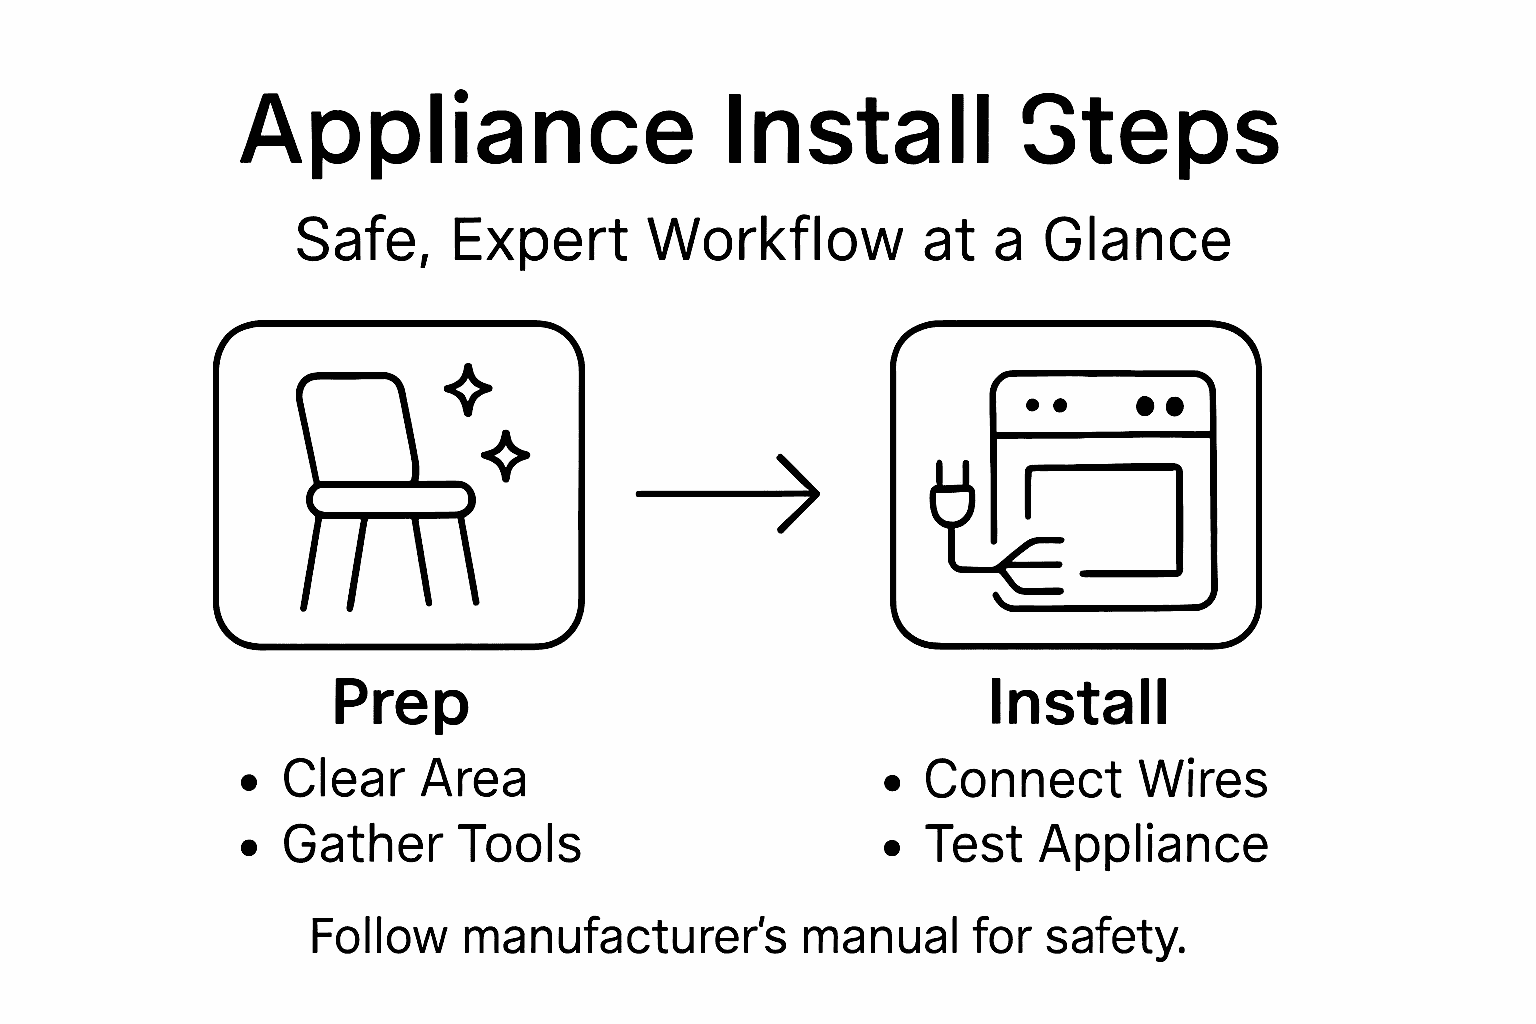
- Step 1: Gather Necessary Tools And Materials
- Step 2: Prepare The Installation Area Safely
- Step 3: Install The Appliance According To Manufacturer Guidelines
- Step 4: Connect Electrical And Plumbing Components
- Step 5: Test The Appliance For Proper Functionality
- Step 6: Verify Safety And Finalize Setup
Quick Summary
| Key Point | Explanation |
|---|---|
| 1. Prepare Tools Before Installation | Gather essential tools like wrenches and multimeters to ensure a smooth installation process and minimize errors. |
| 2. Ensure a Safe Workspace | Clear the area of hazards and verify electrical and plumbing connections to prevent accidents during the installation. |
| 3. Follow Manufacturer Guidelines Closely | Adhere strictly to the installation manual for optimal performance and safety, avoiding potential malfunctions or voided warranties. |
| 4. Connect Electrical and Plumbing Accurately | Make precise, secure connections to prevent hazards like leaks and electrical faults, ensuring full compliance with safety standards. |
| 5. Perform Thorough Testing After Installation | Test the appliance’s functionality after installation to ensure safety and performance, addressing any issues before regular use. |
Step 1: Gather Necessary Tools and Materials
Successfully installing an appliance requires having the right tools and equipment prepared in advance. This preparatory step ensures a smooth, efficient installation process that minimizes potential complications and safety risks.
For a comprehensive appliance installation, you’ll want to collect the following essential tools:
- Measuring tape for precise spatial measurements
- Adjustable wrench for connecting pipes and fittings
- Screwdriver set with multiple head types (Phillips and flathead)
- Power drill with appropriate drill bits
- Digital multimeter for electrical diagnostics and safety checks
- Level to ensure proper appliance alignment
- Work gloves for hand protection
- Safety glasses to prevent eye injuries
Before beginning the installation, organize your tools and review the manufacturer’s specific installation instructions. Different appliances might require specialized tools or connections unique to their design.
Proper tool preparation can save you hours of frustration and prevent potential installation errors.
Pro tip: Always keep a clean, organized workspace and verify you have all necessary materials before starting the installation process.
Step 2: Prepare the Installation Area Safely
Before installing any appliance, creating a safe and properly prepared workspace is crucial for preventing accidents and ensuring a smooth installation process. Your preparation will directly impact the success and safety of the entire project.
Start by taking these critical safety steps to prepare your installation area:
- Clear the workspace completely of any unnecessary items or obstructions
- Shut off appropriate circuit breakers related to the appliance installation
- Verify electrical and plumbing connections match the new appliance requirements
- Measure the installation space precisely to ensure proper fit
- Protect flooring with drop cloths or cardboard to prevent damage
Specifically for electrical safety, electrical safety standards recommend checking all existing wiring and ensuring the circuit can handle the new appliance’s power requirements. This includes verifying amperage, checking for any signs of wear or damage, and confirming that outlets meet current safety codes.
Proper preparation prevents 90% of potential installation complications and safety risks.
Remove any potential hazards from the installation area, including loose rugs, children’s toys, or pets that might interfere with your work. Ensure you have adequate lighting and a clean, organized workspace that allows you to move freely and safely.

Pro tip: Take photographs of the area before disconnecting anything, which can help you reference original configurations if needed during reinstallation.
Step 3: Install the Appliance According to Manufacturer Guidelines
Installing an appliance requires meticulous attention to the manufacturer’s specific instructions to ensure optimal performance, safety, and warranty compliance. Following these guidelines precisely will help you avoid potential installation errors that could compromise the appliance’s functionality or your home’s safety.
Begin by thoroughly reviewing the manufacturer’s installation manual, paying close attention to these critical steps:
- Read the entire manual before starting the installation
- Check all included components against the provided parts list
- Verify necessary connection types (electrical, water, gas)
- Inspect the appliance for any shipping damage
- Gather all recommended installation tools
Manufacturer installation guidelines serve as the definitive resource for proper setup. They provide specific instructions tailored to your exact appliance model, including precise measurements, connection requirements, and potential safety considerations.
Strictly following manufacturer guidelines is not just recommended – it’s essential for safe and effective appliance installation.
As you progress, take your time with each connection and mounting point. Double-check electrical and plumbing connections, ensure proper leveling, and confirm that all safety mechanisms are correctly positioned. If any step seems unclear, contact the manufacturer’s technical support for clarification before proceeding.
Pro tip: Take photos of each installation step and keep the original manual in a safe place for future reference and potential troubleshooting.
Step 4: Connect Electrical and Plumbing Components
Connecting electrical and plumbing components is a critical phase of appliance installation that demands precision, care, and strict adherence to safety protocols. Your goal is to create secure, leak-free, and code-compliant connections that ensure the appliance functions safely and efficiently.
Follow these essential steps for proper electrical and plumbing connections:
- Turn off main power supply before making any electrical connections
- Inspect all connection points for compatibility and potential damage
- Use appropriate connection tools specific to electrical or plumbing work
- Apply correct sealing techniques for water-tight plumbing joints
- Verify voltage and amperage requirements match your electrical system
Electrical installation standards emphasize the importance of precise connection techniques, recommending careful alignment of wiring, proper grounding, and thorough inspection of each electrical and plumbing interface.
Improper connections can lead to significant safety hazards, equipment damage, and potential voiding of manufacturer warranties.
When connecting electrical components, ensure you use the correct wire gauges, create secure connections with wire nuts or compression fittings, and double-check that all connections are tight and properly insulated. For plumbing connections, use appropriate pipe fittings, apply plumber’s tape or sealant where recommended, and confirm that all connections are leak-free.
Compare electrical vs plumbing connection essentials for appliance installation:
| Factor | Electrical Connection | Plumbing Connection |
|---|---|---|
| Primary Concern | Proper grounding, insulation | Leak-free, secure joints |
| Key Safety Step | Power supply shut off | Water supply shut off |
| Common Tool Required | Wire strippers, multimeter | Pipe wrench, plumber’s tape |
| Compliance Standard | National Electrical Code | Local plumbing codes |
Pro tip: Consider using a voltage tester and pressure gauge to verify electrical and plumbing connections before completing the final installation.
Step 5: Test the Appliance for Proper Functionality
Carefully testing your newly installed appliance ensures it operates safely, efficiently, and according to manufacturer specifications. This critical final step validates all your previous installation efforts and prevents potential future problems.
Conduct a comprehensive functionality test using these systematic approaches:
- Power on the appliance and observe initial startup sequence
- Check all control functions systematically
- Verify temperature or performance settings
- Listen for unusual sounds during operation
- Monitor electrical performance for consistent power draw
Appliance safety testing protocols recommend thorough evaluation of electrical safety features, including ground fault circuit interrupter (GFCI) and arc fault circuit interrupter (AFCI) protections.
Comprehensive testing is not optional – it’s your primary defense against potential safety hazards and performance issues.
Run the appliance through multiple operational cycles, paying close attention to its performance, temperature regulation, and any unexpected behaviors. If you notice any irregularities, immediately discontinue use and consult the manufacturer or a professional technician for further guidance.
Pro tip: Keep the manufacturer’s manual nearby during testing and document any observations that seem unusual or inconsistent with expected performance.
Step 6: Verify Safety and Finalize Setup
The final stage of appliance installation requires a meticulous safety verification process that ensures your new equipment operates correctly and meets all necessary regulatory standards. This critical step protects your investment and guarantees the long-term performance of your appliance.
Complete a comprehensive safety and setup verification using these essential checks:
- Inspect all connection points for secure attachment
- Verify electrical grounding and circuit protection
- Check manufacturer warranty documentation
- Clean installation area and remove any installation debris
- Confirm proper clearance around the appliance
National Electrical Code standards require thorough verification of electrical installations, including proper wiring, grounding, and overcurrent protection before final acceptance.
Safety verification is not a suggestion – it’s an absolute necessity for protecting your home and equipment.
Review all installation documentation, ensuring you have completed every step according to manufacturer specifications. If any doubts remain, consult a licensed professional who can provide a final safety inspection and confirm your installation meets all required standards.
Pro tip: Create a digital or physical folder containing installation documentation, warranty information, and photographs of the installation process for future reference.
Here’s a summary of potential risks at each installation stage and how preparation helps mitigate them:
| Installation Stage | Common Risks | How Preparation Reduces Risk |
|---|---|---|
| Tool and Material Gathering | Missing tools, unsafe substitutions | Ensures correct, safe equipment is used |
| Area Preparation | Tripping, electrical shock, damage | Hazard-free, organized workspace |
| Following Manufacturer Guide | Misinstallation, voided warranty | Ensures compliance, safe operation |
| Making Connections | Electrical faults, leaks | Secure, code-compliant connections |
| Testing Functionality | Overlooked malfunctions | Catches issues before use |
| Final Safety Verification | Fire hazards, failing inspections | Confirms all standards are met |
Ensure Safe and Expert Appliance Installation with MDTech Services
Installing a new appliance can feel overwhelming with the detailed steps needed for safety and proper functionality. From gathering the right tools to verifying all electrical and plumbing connections are secure, each phase requires precision to avoid risks like leaks, electrical faults, or voided warranties. If you want to skip the stress and guarantee expert results that follow manufacturer guidelines and local codes, professional help is the smart choice.

Trust MDTech Services to handle your appliance installation with licensed technicians who specialize in major home appliances across Orange County and Los Angeles County. Our safety-first approach and expert knowledge ensure your appliance is tested and verified for lasting performance. Don’t risk costly mistakes or safety hazards when you can book a fast, reliable service online today. Visit our website now to schedule your appointment and experience seamless installation handled by true professionals.
Frequently Asked Questions
What tools do I need for step by step appliance installation?
To successfully install an appliance, gather essential tools such as a measuring tape, adjustable wrench, screwdriver set, power drill, digital multimeter, level, work gloves, and safety glasses. Prepare these tools before starting the installation process to ensure efficiency and safety.
How do I prepare my workspace for appliance installation?
Clear your workspace of unnecessary items and ensure it’s well-lit. Remove potential hazards, shut off related circuit breakers, and verify that electrical and plumbing connections match the new appliance requirements.
Why is it important to follow the manufacturer’s installation guidelines?
Following the manufacturer’s installation guidelines is crucial because it ensures that the appliance operates correctly and safely. Read the entire manual carefully and adhere to the specific instructions for your appliance model to prevent installation errors.
What steps should I take to connect the electrical and plumbing components?
Always turn off the main power supply before connecting any electrical components. Inspect all connection points for compatibility, apply the correct sealing techniques for plumbing joints, and ensure that voltage and amperage requirements match the electrical system to prevent safety hazards.
How can I test my installed appliance for proper functionality?
To test your appliance, power it on and systematically check all control functions, temperature settings, and listen for any unusual sounds. Run the appliance through multiple cycles and document any irregularities to ensure it operates properly before finalizing the installation.
What safety checks should I perform after completing the appliance installation?
After installation, inspect all connection points to ensure secure attachments, verify electrical grounding, and check for any signs of wear or damage. Clean the installation area and make sure there is proper clearance around the appliance for safe and efficient operation.
Recommended
- How to Reduce Appliance Downtime for Faster Repairs
- How to Install Dishwasher for Home Efficiency Success
- Appliance repair or Installation service Appliance Repair vs. Replacement: How to Make the Right Decision for Your Home – MDTech Services
- Dishwasher repair installation service The Ultimate Guide to Dishwasher Repair: Troubleshooting Tips and Tricks – MDTech Services