
The moment you spot a refrigerator water line leak, shut off the dedicated fridge shutoff valve (or the main water supply if you can’t find it), unplug the refrigerator if water has reached any outlet or cord, and contain the standing water before you do anything else. If you’re unsure whether water reached an electrical source, cut power at the breaker instead of touching the cord. Once the water is stopped and the area is safe, follow the practical emergency steps for water leaks to trace the tubing back and find where it actually failed.
Here’s your first-five-minutes checklist:
- Locate the fridge’s dedicated shutoff (usually under the sink or behind the unit) and turn it clockwise until it stops.
- If you can’t find a dedicated valve, shut off your home’s main water supply.
- Unplug the refrigerator only if it’s safe to touch; otherwise, cut power at the breaker.
- Soak up standing water with towels or a wet-dry vac, and pull the fridge out gently once the floor is dry enough to move it safely.
With the water stopped and the mess contained, the next job is figuring out exactly where the tubing failed. That’s where most homeowners lose time, poking around blindly instead of following a process.
Key Takeaways
Stopping a refrigerator water line leak fast and replacing plastic tubing with a braided stainless line prevents most repeat leaks and hidden water damage.
| Point | Details |
|---|---|
| Shut off water first | Close the dedicated fridge valve or main supply before touching anything else. |
| Diagnose before repairing | Use the dry paper towel test at every fitting to isolate the exact failure point. |
| DIY works for most leaks | Compression nuts, mid-line cracks, and full tubing swaps are manageable with basic tools. |
| Upgrade to braided lines | Braided stainless or PEX tubing resists kinks and lasts longer than factory plastic. |
| Call a pro for structural signs | Wet subfloor, mold, or a cracked inlet valve mean it’s time to escalate. |
| Mdtechservices handles full diagnosis | Licensed technicians in Orange and LA counties inspect the full line and recommend upgrades in one visit. |
Table of Contents
- How Do You Diagnose a Refrigerator Water Line Leak?
- What to Do Immediately to Limit Water Damage
- Can You Fix a Refrigerator Water Line Leak Yourself?
- What Upgrades Prevent Future Refrigerator Water Line Leaks?
- When Should You Call a Plumber for a Fridge Water Line?
- Sources
How Do You Diagnose a Refrigerator Water Line Leak?
Pull the refrigerator away from the wall, but do it slowly and lift the front legs slightly if it’s on carpet or vinyl, since dragging it can snag or kink the supply tubing further. You want the full run of tubing visible, from the shutoff valve on the wall to the inlet fitting on the back of the refrigerator.
Once you can see the whole line, work through it methodically:
- Wipe every fitting and inch of tubing completely dry with a paper towel.
- Turn the water back on slowly and watch the line under light pressure.
- Run the ice dispenser or water dispenser to cycle water through the full length of tubing.
- Press a dry paper towel against each joint and section of tubing, checking for wetness after 30 seconds.
- Look for white or greenish mineral crust along the tubing, which signals a slow weep that’s been leaking longer than you think.
Most leaks show up in one of four spots: the compression nut where tubing meets the shutoff valve, the shutoff or saddle valve itself, a pinhole in the middle of a run of plastic tubing, or a section that’s been kinked or chewed (a surprisingly common issue if pets or rodents have access to the space behind the fridge). A Whirlpool troubleshooting guide also flags a clogged or frozen defrost drain as a frequent cause of water pooling inside the unit, so if the leak seems to originate inside the fridge rather than behind it, check the drain before you touch the supply line at all.
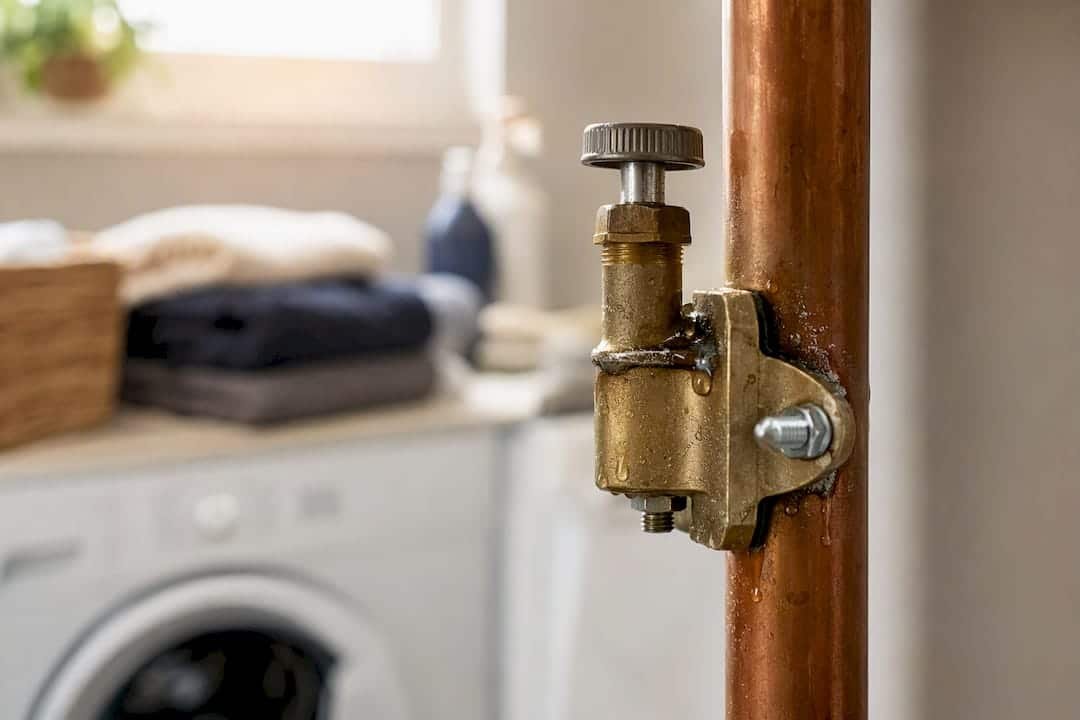
Pro Tip: Saddle valves, the pierce-through fittings some older installations use to tap into a copper pipe, are notorious for slow leaks around the piercing point. If you find one behind your fridge, plan to replace it with a proper shutoff valve rather than repairing it in place.
What to Do Immediately to Limit Water Damage
Once the diagnosis is underway, damage control runs on its own timeline, and every extra hour of standing water raises your risk of real structural harm. Work through this order: shut off water, isolate power, extract standing water, then ventilate and dry the area completely.
- Confirm the shutoff valve is fully closed before doing anything else.
- Cut power to the outlet or breaker if water reached any cord or plug.
- Extract water with towels, a shop vac, or a mop, working from the wettest point outward.
- Pull back baseboards or open adjacent cabinet doors to check for water that migrated sideways.
- Run a fan or dehumidifier on the area for at least 24 hours.
- Photograph the scene, timestamps included, before you clean anything, in case you need it for an insurance claim.
Slow leaks are the sneaky ones. According to Advanced DRI, water from a gradual refrigerator line leak can saturate subflooring and trigger mold growth within 24 to 48 hours, and insurers frequently deny claims tied to leaks that were clearly ignored for weeks or months. That’s the real argument for checking behind your fridge twice a year rather than waiting for a puddle to announce the problem. If you pull up flooring and find soft, dark, or spongy subfloor, stop your DIY effort there and call a water restoration company. That’s beyond what a repair alone can fix.
Can You Fix a Refrigerator Water Line Leak Yourself?
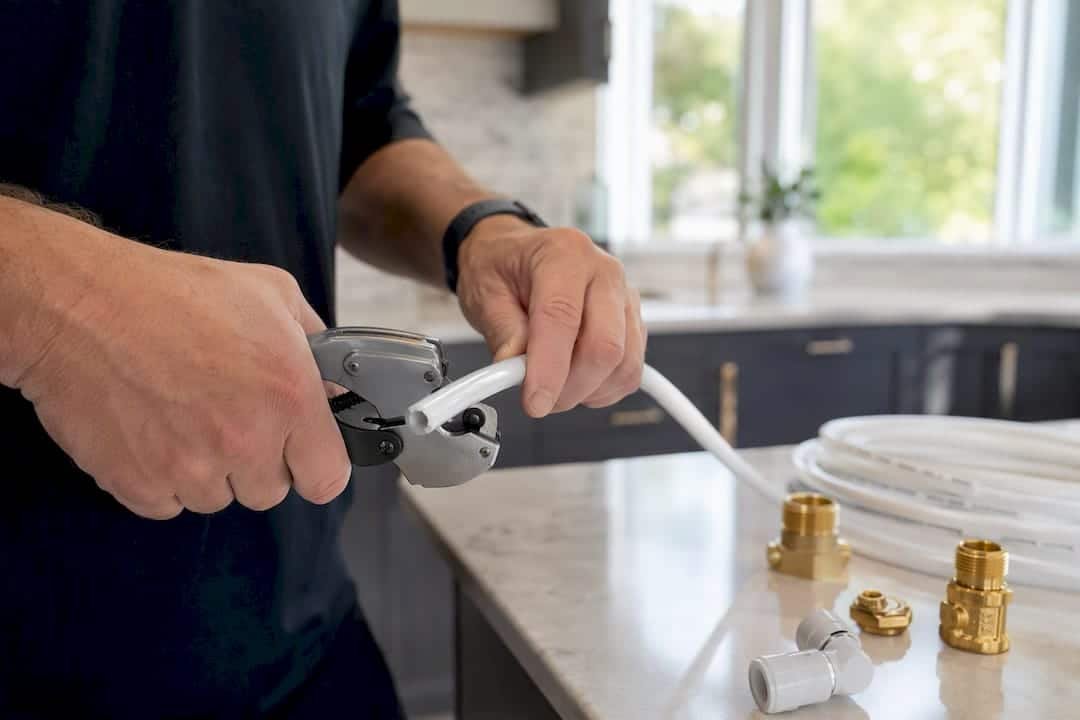
Most refrigerator water line leaks are simple enough for a confident homeowner to fix in under an hour, provided the damage hasn’t reached the subfloor or the inlet valve itself. Before you touch a wrench, gather what you’ll need: a tubing cutter, a quarter-inch push-fit union or a full replacement braided line, an adjustable wrench, towels, and a bucket. Close the shutoff valve, then run the dispenser for a few seconds to bleed the remaining pressure out of the line. Skipping this step is the single most common reason DIY repairs turn into a bigger mess than expected.
From there, pick the repair that matches what you found during diagnosis:
- Loose compression nut: Tighten it by hand until snug, then use a wrench to turn it a quarter turn past finger-tight. Stop there. Cranking it further is how plastic inlet valve housings crack, turning a five-minute fix into a valve replacement.
- Mid-line pinhole or crack: Cut out the damaged section with a tubing cutter, making sure the cut is perfectly square, and join the two ends with a 1/4" push-fit union. Standard refrigerator lines run 1/4" outside diameter, so this fitting size covers the vast majority of installations, according to Rapidrepair.
- Old or brittle plastic tubing throughout: Replace the entire run with a braided stainless steel or braided PEX line, and leave a few extra inches of slack behind the fridge so nothing gets pinched when you push the unit back into place.
Before you call it done, test it properly. Reopen the shutoff valve slowly rather than cranking it all the way, since a sudden surge of pressure can expose a weak joint you just made. Run the dry paper towel test again at every connection point, then run the dispenser to flush trapped air out of the line. Check again after 15 minutes, and once more the next morning, since some leaks only show up once the line has been under full pressure for a while.
Pro Tip: Mark a line half an inch from the tubing end with a permanent marker before inserting it into a push-fit union. If that mark isn’t flush with the fitting once you’re done, the tube hasn’t seated fully, and it will leak eventually even if it looks fine today.
A few mistakes cause the majority of repeat leaks: cutting the tubing at an angle instead of square, leaving debris inside the cut end that keeps the O-ring from seating, and over-tightening a compression nut in an attempt to “make sure” it’s sealed. Our step-by-step refrigerator fix guide walks through additional troubleshooting if your leak doesn’t match one of these three patterns.
What Upgrades Prevent Future Refrigerator Water Line Leaks?
Plain plastic tubing is the weak link in most factory installations, and it’s also the easiest thing to upgrade. Braided stainless steel or braided PEX lines resist kinking, resist damage from pets or rodents, and simply last longer under constant water pressure than the plastic tubing manufacturers install by default.
A few upgrades pay for themselves the first time they prevent a leak:
- Swap plastic tubing for a braided stainless or braided PEX line rated for 1/4" OD connections.
- Install a reachable shutoff valve or a valve service box so you’re never fishing behind the fridge during an emergency.
- Add a drip tray under the water connection point and a battery-powered leak sensor nearby.
- Secure the tubing off the floor with a clip or tie, and leave enough slack that pushing the fridge back doesn’t create a kink.
Twice-yearly inspections catch small problems before they become expensive ones. Pull the fridge out, run the dry-towel test at every joint, and inspect the shutoff valve for corrosion or mineral buildup.
| Inspection Item | What to Check |
|---|---|
| Compression fittings | Look for mineral crust or dampness around the nut |
| Shutoff/saddle valve | Check for corrosion; replace saddle valves proactively |
| Tubing condition | Feel for brittleness, cracks, or discoloration |
| Line routing | Confirm no kinks and adequate slack behind the unit |
Our complete leak-prevention checklist covers the rest of your home’s plumbing if you want to extend this routine beyond the kitchen.
When Should You Call a Plumber for a Fridge Water Line?
Call a professional the moment you find wet or soft subfloor, visible mold, a cracked inlet valve on the refrigerator itself, or a saddle valve that won’t stop leaking no matter how you tighten it. The same goes for any situation where you simply can’t locate or isolate the shutoff valve, since guessing at water pressure is how small leaks turn into flooded kitchens.
- Simple supply-line swap: A straightforward job most licensed plumbers price in the $100 to $250 range, according to FixUpFirst.
- Saddle valve or shutoff replacement: Typically runs higher, often starting around $200, since it involves working directly on the home’s water supply line.
- Water extraction and drying: Priced separately by restoration companies and scales with how far the water traveled.
Sudden, accidental damage from a burst line is often covered by homeowners insurance, but a leak you left dripping for weeks may not be, so document everything and act fast once you notice a problem.
A Practitioner’s View on Fridge Line Failures
Most fridge line leaks we see trace back to the same weak point: original plastic tubing under load for years. The fix that actually holds is straightforward. Shut off the water, contain what’s already spilled, swap the plastic line for braided stainless, and add a reachable shutoff plus a sensor so the next slow leak gets caught in hours, not weeks. Our licensed technicians follow this sequence on nearly every service call involving a refrigerator supply line, because it’s the version that doesn’t come back six months later.
— MDTECH
How Mdtechservices Handles Fridge Water Line Repairs
If the diagnosis points to a failed valve, a cracked inlet, or subfloor damage you’re not equipped to assess, that’s exactly the point where a homeowner should stop and call in a technician instead of pushing further on their own. Mdtechservices sends licensed technicians to Orange County and Los Angeles County homes specifically for this kind of repair, and unlike a general handyman call, you get someone who diagnoses the full line, from shutoff to inlet valve, in one visit instead of guessing at parts twice.

On a typical service call, our technician checks the shutoff valve condition, inspects the full tubing run for kinks or corrosion, tests the inlet valve on the refrigerator itself, and recommends a braided-line upgrade with a reachable shutoff if your current setup is due for one. We also handle valve replacements and can refer you to trusted restoration partners if water already reached your subfloor. Our appliance repair and installation service page covers what’s included, and you can book a visit online or call directly to get a technician out before a slow leak turns into a flooring replacement.
Sources
- Water Damage from Refrigerator Line Leaks: Prevention & Response | Advanced DRI
- Rapidrepair
- Refrigerator Water Line Leaking? Fix It in 30 Minutes (2026) | FixUpFirst
- Why Is My Refrigerator Leaking Water? 5 Common Reasons and Fixes | Whirlpool