
TL;DR:
- Most washer drainage failures are caused by a clogged pump filter, kinked drain hose, or jammed drain pump impeller. Regular cleaning, correct hose insertion depth, and monitoring the pump can prevent these issues, which are fixable in under 30 minutes. Electrical faults like a faulty lid switch or control board glitches can also block draining, often resolved by simple resets or professional repair.
A washing machine that stops draining is defined by one core failure: water cannot exit the drum because something is blocking or disabling the drain system. The most common culprits are a clogged pump filter, a kinked or improperly installed drain hose, and a jammed drain pump impeller. These three causes account for the majority of drainage failures and typically take 10–30 minutes to fix at little to no cost. Knowing which one you are dealing with saves you time, money, and the frustration of wet laundry sitting in a full tub.
Why is my washer not draining: physical causes to check first
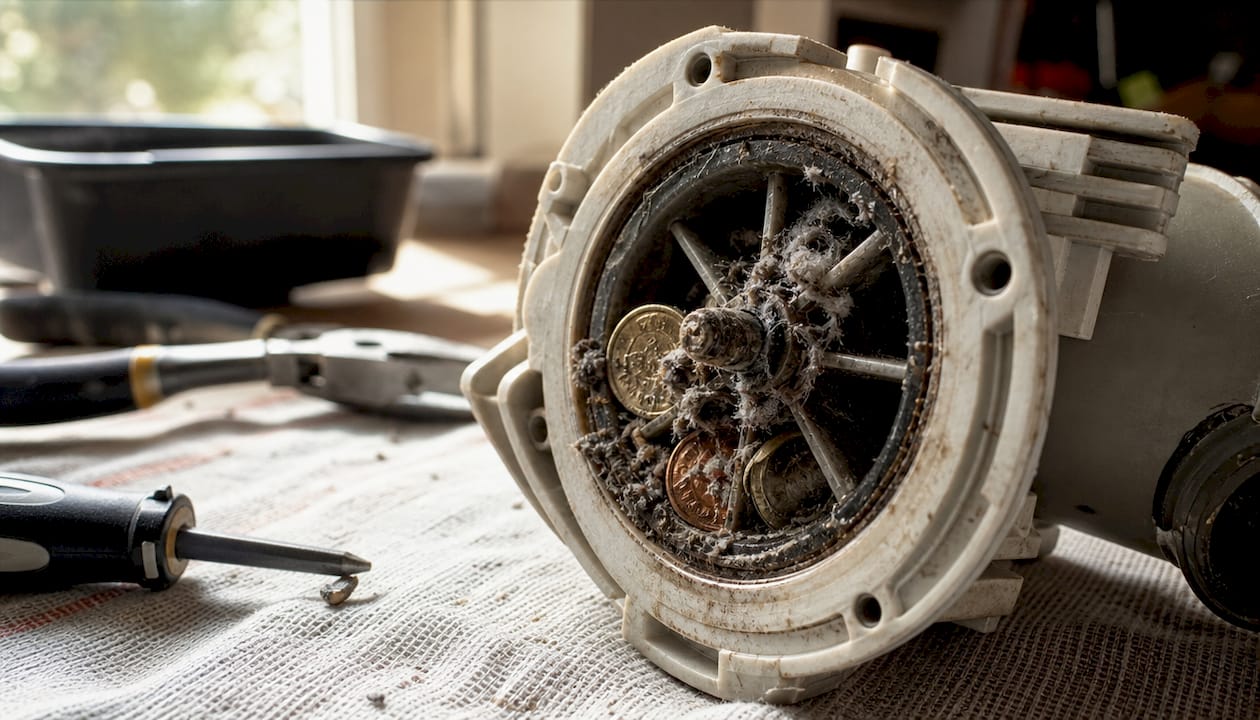
The pump filter, also called the coin trap, is the first place to look when your washer refuses to drain. It sits at the front lower panel of most front-loading machines and catches lint, coins, hair, and small items before they reach the pump. A fully blocked filter stops water flow completely. To clean it, place a shallow pan under the access panel, slowly unscrew the cap, and let the water drain out before pulling the filter free. Rinse it under running water, remove any debris, and reinstall it. When replacing the cap, hand-tighten with a quarter-turn only. Overtightening crushes the rubber seal and causes persistent leaks.
The drain hose is the second most common source of washer drain problems. Check the entire length of the hose from the back of the machine to the standpipe or utility sink. A single sharp kink cuts off water flow as effectively as a solid blockage. Also check whether the hose has slipped too deep into the standpipe. Correct insertion depth is 6–8 inches. Inserting it deeper creates a siphon vacuum that either causes continuous draining or prevents the cycle from finishing. The hose should never be taped airtight to the standpipe because air venting is required for proper drainage.
- Check the drain hose for kinks along its entire length
- Confirm the hose is inserted only 6–8 inches into the standpipe
- Verify the hose is not taped or sealed airtight at the standpipe connection
- Look for visible cracks or splits in the hose that could reduce water pressure
The drain pump impeller is the spinning component inside the pump that pushes water out. Foreign objects like socks, bra underwires, or broken plastic pieces can jam the impeller and stop it from turning. Manually spinning the impeller after removing the pump filter cap tells you a great deal. If it spins freely but the pump still does not work, the fault is electrical. If it will not turn at all, a physical blockage or seized motor is the cause.
Pro Tip: Listen to your washer during the drain cycle. A loud, struggling whirr signals a blockage in the pump. Complete silence means no power is reaching the pump motor. A faint click with no water movement suggests the solenoid is firing but the motor itself is dead.
How do electrical faults stop a washer from draining?

Electrical and control issues cause drainage failures that look identical to mechanical blockages from the outside. The washer simply sits full of water and does nothing. Knowing the difference before you start pulling parts saves a lot of unnecessary work.
The lid switch is the most overlooked electrical cause in top-loading washers. This small switch tells the control board that the lid is closed and it is safe to spin and drain. A faulty lid switch prevents the machine from starting the drain cycle entirely, even when everything else is working perfectly. You can test it by pressing the switch manually with a pen while the washer is running. If the machine begins to drain, the switch is the problem and needs replacement.
Control board glitches are another common electrical cause that homeowners rarely consider. A power surge or software error can freeze the board mid-cycle, leaving water in the drum. The fix is simple: unplug the washer for two to three minutes, then plug it back in. This resets the control board and clears temporary faults. Many homeowners skip this step and call a technician for a problem that costs nothing to fix.
- A non-responsive lid switch stops drain and spin cycles in top-loaders
- Control board glitches freeze the cycle and respond to a simple power reset
- Wiring harness damage between the control board and pump motor cuts power to the pump
- Error codes on the display panel often point directly to the electrical fault
Pro Tip: Before testing any electrical component, unplug the washer from the wall outlet. Water and electricity in the same space create a serious safety risk. If you are not comfortable working around wiring, stop at the reset step and call a licensed technician.
Pump motor winding burnout is the most serious electrical failure. It happens when moisture enters the motor housing over time, corroding the windings. Pump motors fail from either impeller seizure caused by foreign objects or winding burnout from moisture ingress. A burned-out motor produces no sound at all during the drain cycle. Replacing a pump motor is a job that requires disassembling the washer cabinet and is best handled by an experienced technician.
What setup and maintenance practices prevent drainage issues?
Correct installation is the foundation of reliable washer drainage. Most drainage issues with washing machine performance trace back to a setup error made on day one. The standpipe that receives your drain hose must be the right height. Proper standpipe height is 600–1,100 mm from the floor. A standpipe that is too short causes water to back-siphon into the drum. One that is too tall forces the pump to work against excessive head pressure, shortening its lifespan.
Routine filter cleaning is the single most effective maintenance habit for avoiding drainage failures. Follow these steps on a regular schedule:
- Place a shallow tray under the filter access panel to catch residual water
- Slowly unscrew the filter cap to release water gradually without flooding the floor
- Pull the filter out completely and rinse it under warm running water
- Remove all lint, coins, hair, and debris from the filter housing cavity
- Reinsert the filter and hand-tighten the cap with a quarter-turn only
- Run a short rinse cycle to confirm drainage is working correctly
Cleaning the pump filter every 1–3 months prevents the gradual buildup that causes slow draining before it becomes a complete blockage. Households that do large laundry volumes weekly should clean the filter monthly. Lighter users can extend to every three months.
Pro Tip: Empty all pockets before loading clothes. Coins, keys, and small plastic items are the leading cause of impeller jams. A single coin lodged in the pump impeller can cause a complete drainage failure and require a service call.
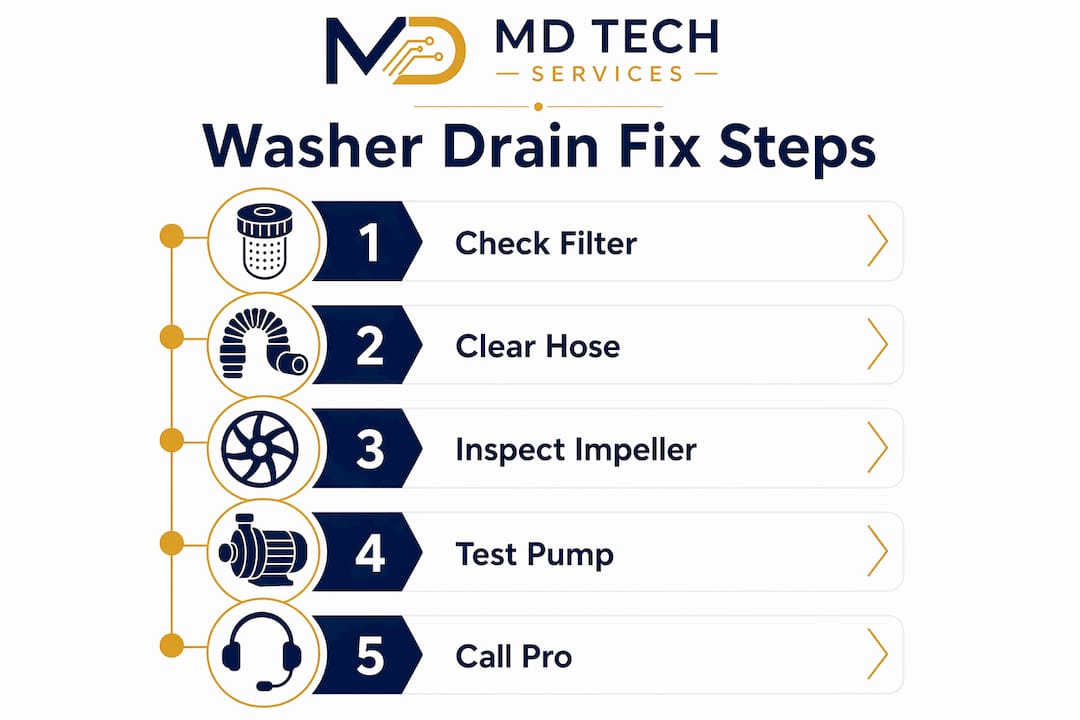
Lint and debris accumulation inside the pump housing is a slower problem that builds over months. Checking the pump cavity each time you clean the filter adds less than two minutes to the task and catches early buildup before it causes a jam. Keeping the area around the washer clear and the hose free of kinks also reduces strain on the pump motor over time.
When should you call a professional instead of fixing it yourself?
DIY repairs make sense for filter cleaning, hose checks, and power resets. These tasks require no special tools, carry minimal risk, and typically resolve the problem in under 30 minutes. Beyond that point, the calculus changes.
- Pump motor replacement: Requires cabinet disassembly and electrical disconnection. A licensed technician completes this safely and correctly.
- Wiring harness damage: Damaged wiring between the control board and pump needs professional diagnosis to avoid creating a fire or shock hazard.
- Persistent error codes: If the control board displays a fault code that does not clear after a reset, a technician with diagnostic equipment can read the full error log.
- Warranty coverage: Opening the washer cabinet yourself often voids the manufacturer warranty. Check your documentation before attempting any internal repair.
The cost of a professional pump replacement is significantly lower than replacing a washer that was damaged by an incorrect DIY repair. Mdtechservices provides washer repair services for homeowners in Orange County and Los Angeles County, with licensed technicians who carry the parts and tools to resolve drainage failures in a single visit. If your washer shows signs of motor failure, persistent error codes, or wiring damage, scheduling a professional inspection is the right call.
Key Takeaways
A clogged pump filter or drain hose blockage causes the majority of washer drainage failures and can be resolved in under 30 minutes without professional help.
| Point | Details |
|---|---|
| Check the pump filter first | A blocked coin trap is the most common cause and takes minutes to clean. |
| Verify drain hose depth | Insert the hose only 6–8 inches into the standpipe to prevent siphoning. |
| Test the lid switch | A faulty lid switch stops top-loaders from draining and is easy to test manually. |
| Reset the control board | Unplugging the washer for two to three minutes clears most electrical glitches. |
| Clean the filter every 1–3 months | Regular maintenance prevents buildup and avoids costly pump repairs. |
What years of repair work taught me about washer drainage
The most common mistake I see homeowners make is skipping the filter entirely and assuming the pump has failed. A clogged filter and a dead pump produce identical symptoms from the outside: a full drum and no movement. The filter takes two minutes to check. A pump replacement takes two hours and costs real money. Always start with the simplest fix.
The second mistake is overtightening the filter cap after cleaning. Homeowners assume tighter means safer. The opposite is true. Crushing the rubber seal creates a slow leak that damages the floor and the machine cabinet over time. A quarter-turn past hand-tight is all you need.
The third thing I have learned is that water noise without visible drainage is not always a pump problem. Manufacturers note that sloshing sounds inside the drum often come from the balance ring fluid shifting inside the tub, not from a drainage fault. Homeowners who hear that sound and immediately assume a drainage problem waste time chasing a non-issue. Listen for the actual drain pump running. If you hear the pump motor engage and water is still not leaving the drum, then you have a real blockage or mechanical failure worth investigating.
Timely maintenance genuinely prevents the expensive repairs. A filter cleaned every two months costs nothing. A seized impeller from a coin that sat in the pump for six months can cost several hundred dollars to fix. The math is straightforward.
— MDTECH
Mdtechservices can help when DIY is not enough
Washer drainage problems range from a quick filter clean to a full pump motor replacement. When the fix goes beyond what you can safely handle at home, Mdtechservices is ready to help.

Mdtechservices serves homeowners across Orange County and Los Angeles County with licensed technicians who specialize in residential appliance repair. Whether your washer stopped draining mid-cycle or you are dealing with a persistent error code, the team diagnoses the root cause and fixes it correctly the first time. You can review the full homeowner repair guide to understand your options, or book a service appointment directly. For homeowners weighing repair against replacement, the appliance repair overview at Mdtechservices covers exactly what to expect from a professional service visit.
FAQ
Why is my washer not draining but still running?
A washer that runs but does not drain typically has a clogged pump filter or a jammed impeller. The motor is receiving power, but water cannot exit because the drain path is blocked.
How do I fix a washer that won’t drain without a technician?
Start by cleaning the pump filter, checking the drain hose for kinks, and confirming the hose is inserted only 6–8 inches into the standpipe. If those steps do not resolve the problem, unplug the washer for two to three minutes to reset the control board.
What does a failing drain pump sound like?
A loud struggling whirr signals a blockage in the pump. Complete silence during the drain cycle means no power is reaching the motor. A faint click with no water movement points to a dead motor with a working solenoid.
How often should I clean my washer’s pump filter?
Clean the pump filter every 1–3 months to prevent lint, coins, and hair from building up and blocking drainage. High-volume households should clean it monthly.
Can a lid switch cause my top-loader to stop draining?
Yes. A faulty lid switch prevents the washer from detecting that the lid is closed, which stops the drain and spin cycle from starting. Replacing the lid switch resolves the problem in most cases.