Tired of sky-high energy bills and surprise HVAC breakdowns in Orange and Los Angeles counties? Preventative maintenance reduces energy costs by 5-15%, extends your system’s lifespan by up to 10 years, and cuts emergency repair risk by 30%. This guide delivers expert maintenance steps tailored to Southern California’s climate, helping you slash costs and keep your home comfortable year-round.
Table of Contents
- Introduction To Preventative HVAC Maintenance
- Prerequisites: Tools, Materials, And Safety Considerations
- Step 1: Schedule Timely Seasonal Maintenance
- Step 2: Replace Or Clean Air Filters Regularly
- Step 3: Clean Condenser Coils Safely
- Step 4: Conduct Inspection And Maintenance Tasks
- Step 5: Lubricate Moving Parts
- Troubleshooting Common Maintenance Mistakes
- Expected Results And Benefits
- Explore Expert HVAC Repair And Maintenance Services
- Frequently Asked Questions
Key Takeaways
| Point | Details |
|---|---|
| Regular maintenance saves money | Reduces energy bills by 5-15% and cuts emergency repairs by 30% annually. |
| Proper preparation is essential | Gather basic tools and always turn off power before starting any maintenance work. |
| Seasonal scheduling maximizes benefits | Perform maintenance in early spring and fall to prevent peak season breakdowns. |
| Simple tasks deliver big results | Filter changes, coil cleaning, and inspections extend HVAC lifespan by 5-10 years. |
| Avoid common mistakes | Using harsh chemicals or skipping steps reduces effectiveness and risks equipment damage. |
Introduction to Preventative HVAC Maintenance
Orange and Los Angeles counties present unique climate challenges for HVAC systems. Coastal humidity combined with inland heat forces your equipment to work overtime, accelerating wear and driving up costs. Without regular attention, these demanding conditions shorten your system’s life and inflate your monthly bills.
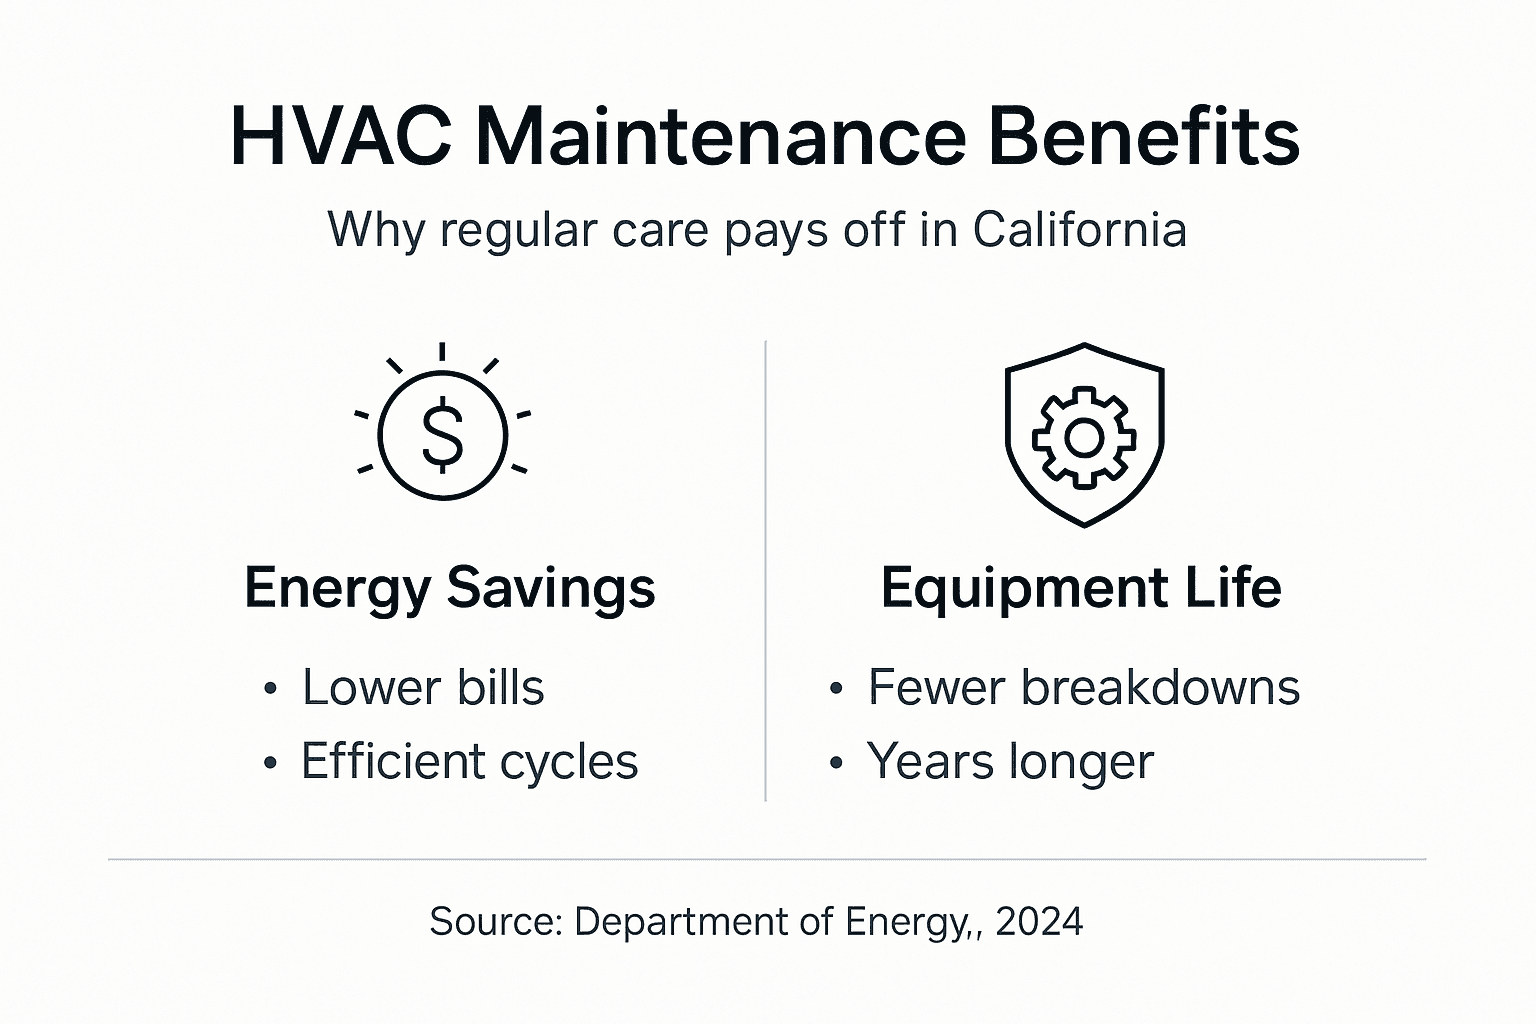
Preventative maintenance addresses these challenges directly. By reducing system workload through regular upkeep, you improve energy efficiency and cut operational costs. Studies show that homeowners following maintenance schedules reduce energy costs by 5-15%, extend HVAC lifespan by 5-10 years, and slash emergency repairs by up to 30%.
The benefits extend beyond immediate savings:
- Energy Efficiency: Clean filters and coils reduce strain, lowering electricity consumption and monthly bills.
- Extended Lifespan: Regular inspections catch minor issues before they become expensive failures, adding years to your investment.
- Fewer Emergency Repairs: Scheduled maintenance identifies potential problems early, preventing inconvenient mid-summer breakdowns.
- Improved Air Quality: Clean components circulate healthier air throughout your home, benefiting family members with allergies or respiratory concerns.
- Consistent Comfort: Well-maintained systems distribute temperature evenly, eliminating hot spots and cold zones.
Local climate factors make HVAC maintenance in California particularly critical. Coastal salt air accelerates corrosion on outdoor units. Inland areas experience extreme temperature swings that stress components. Wildfire season introduces particulates that clog filters faster than in other regions. Addressing these regional factors through targeted maintenance protects your investment and keeps your family comfortable.
Prerequisites: Tools, Materials, and Safety Considerations
Before touching your HVAC system, gather the right equipment and understand essential safety protocols. Proper preparation prevents injury and equipment damage while ensuring effective maintenance.
Essential Tools and Materials
| Item | Purpose | Notes |
|---|---|---|
| Phillips and flathead screwdrivers | Panel removal and adjustments | Multiple sizes recommended |
| Shop vacuum with attachments | Debris removal from coils and vents | HEPA filter preferred |
| Manufacturer-approved coil cleaner | Safe condenser coil cleaning | Never use harsh chemicals |
| Work gloves and safety glasses | Hand and eye protection | Non-slip gloves recommended |
| Flashlight or headlamp | Inspecting dark areas | LED preferred for brightness |
| Soft bristle brush | Gentle coil fin cleaning | Avoid metal brushes |
Critical Safety Precautions
Always turn off power at both the thermostat and circuit breaker before maintenance. Locate your HVAC circuit breaker and label it clearly for future reference. Electrical shock poses serious injury risk, making this step non-negotiable.
Additional safety measures include:
- Wear protective gloves to avoid cuts from sharp metal edges and fins
- Use safety glasses when cleaning coils or working overhead to protect against debris
- Keep manufacturer’s maintenance manual accessible for model-specific guidance
- Never bypass safety switches or override protective mechanisms
- Ensure adequate ventilation when using any cleaning products
Pro Tip: Before starting, photograph your system’s current state and wire connections. These reference images prove invaluable if you need to reassemble components or consult with a professional. Store photos with your maintenance records for easy access.
Having the right tools and following safety protocols transforms maintenance from risky guesswork into confident, effective care. This preparation protects both you and your valuable HVAC investment.
Step 1: Schedule Timely Seasonal Maintenance
Timing separates effective maintenance from wasted effort. Southern California’s climate demands strategic scheduling to maximize system reliability and prevent costly breakdowns during peak usage periods.
Optimal Maintenance Windows
Perform comprehensive maintenance twice yearly, targeting early spring (March-April) and early fall (September-October). These windows prepare your system before summer cooling demands and winter heating needs. Research confirms that scheduling maintenance before peak seasons reduces emergency breakdowns by 30%.
Spring maintenance focuses on cooling components:
- Clean condenser coils before summer heat arrives
- Test refrigerant levels and cooling capacity
- Inspect outdoor unit for winter damage or debris accumulation
- Verify thermostat accuracy for cooling mode
Fall maintenance emphasizes heating readiness:
- Check furnace ignition and flame sensors
- Inspect heat exchanger for cracks or corrosion
- Test carbon monoxide detectors and safety switches
- Clean blower assembly and verify airflow
Between professional visits, perform monthly filter checks and basic visual inspections. This consistent attention catches developing issues early, preventing minor problems from escalating into expensive repairs. Timing your maintenance according to Southern California’s unique climate patterns protects your investment year-round.
Pro Tip: Add maintenance dates to your smartphone calendar with recurring reminders. Set alerts two weeks in advance so you can schedule around busy periods. Many homeowners pair HVAC maintenance with other seasonal tasks like gutter cleaning to streamline home care routines.
Consistent scheduling transforms maintenance from a forgotten chore into a reliable habit, delivering measurable savings and peace of mind throughout the year.
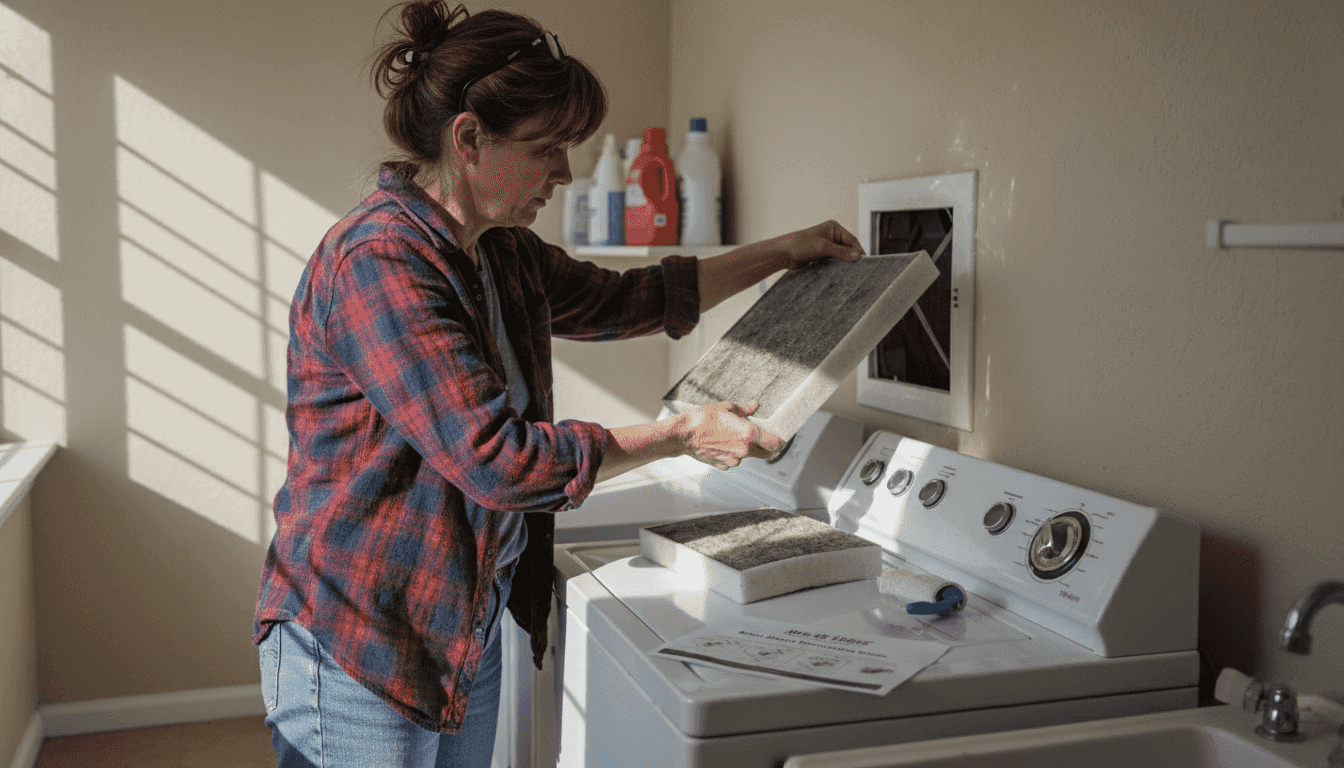
Step 2: Replace or Clean Air Filters Regularly
Air filters represent your HVAC system’s first line of defense against efficiency loss and equipment damage. This simple task delivers disproportionate benefits when performed consistently.
Locating and Accessing Your Filters
- Check your return air grille (usually a large vent on a wall or ceiling) for slide-in filters.
- Examine your air handler cabinet, typically located in the attic, garage, or utility closet.
- Review your owner’s manual for model-specific filter locations if needed.
- Note the filter size printed on the frame edge for replacement purchases.
Filter Maintenance Process
- Turn off your HVAC system at the thermostat to prevent unfiltered air circulation.
- Remove the filter carefully, noting the airflow direction arrows on the frame.
- Inspect the filter by holding it up to light; if you can’t see through it clearly, replacement is needed.
- For disposable filters, replace with a new filter matching the size and MERV rating.
- For washable filters, rinse with water, allow complete drying (24 hours), then reinstall.
- Ensure the filter sits flush in its slot with arrows pointing toward the air handler.
Energy Department research confirms that changing or cleaning HVAC air filters every 1-3 months reduces energy use by 5-15% and prevents system overwork. Clogged filters force your blower motor to work harder, increasing electricity consumption while reducing cooling and heating capacity.
“A dirty filter acts like a choking hazard for your HVAC system. Just as you struggle to breathe through a clogged nose, your equipment labors unnecessarily when filters become blocked. This strain translates directly to higher bills and shorter equipment life.”
Filter replacement frequency depends on several factors. Homes with pets require monthly changes due to fur and dander accumulation. Wildfire season demands increased attention as smoke particles saturate filters rapidly. Allergy sufferers benefit from premium MERV 11-13 filters changed every 60 days. Standard homes without pets typically manage with quarterly replacements.
Maintaining clean air filters costs pennies compared to the energy savings and extended equipment life they provide. Stock several replacement filters so you never delay this critical task.
Step 3: Clean Condenser Coils Safely
Condenser coils transfer heat from your home to the outside air. When dirt, pollen, and debris coat these coils, efficiency plummets and energy costs soar.
Locating and Preparing the Condenser Unit
- Find your outdoor condenser unit, typically positioned beside your home or on a concrete pad.
- Clear surrounding vegetation, maintaining 2 feet of clearance on all sides for proper airflow.
- Remove the top grille or access panel after confirming power is off at the breaker.
- Use a shop vacuum to remove loose debris, leaves, and surface dirt from fins and interior.
Safe Coil Cleaning Method
- Apply manufacturer-approved coil cleaner according to product instructions, spraying from inside out.
- Allow the cleaning solution to sit for the recommended duration (typically 5-10 minutes).
- Rinse thoroughly with a gentle garden hose spray, working from inside the unit outward.
- Avoid high-pressure washers that bend delicate aluminum fins and reduce efficiency.
- Use a fin comb to straighten any bent fins, working carefully to avoid creating gaps.
- Inspect the fan blade for damage or debris buildup, cleaning gently if needed.
Industry studies reveal that dirty coils reduce HVAC efficiency by up to 30%, forcing your system to run longer cycles and consume significantly more electricity. This efficiency loss compounds during peak summer months when your AC works hardest.
Coastal homes face accelerated coil degradation from salt air exposure. Inland areas contend with dust storms and agricultural particulates. Both environments demand more frequent condenser coil cleaning than moderate climates, typically every 6 months rather than annually.
Pro Tip: Never use acid-based cleaners or degreasers not specifically formulated for HVAC coils. These harsh chemicals corrode aluminum fins and copper tubing, creating expensive leaks. Stick with products labeled for air conditioning use and follow dilution instructions precisely.
Inspect coil fins during cleaning for signs of corrosion or unusual wear. Early detection allows for repairs before complete coil replacement becomes necessary, saving hundreds in repair costs.
Step 4: Conduct Inspection and Maintenance Tasks
Thorough inspections catch developing problems before they escalate into expensive failures. Systematic checking of electrical, mechanical, and structural components ensures safe, efficient operation.
Electrical Connection Inspection
Examine all visible wire connections for looseness, corrosion, or discoloration indicating overheating. Tighten connections carefully using appropriate tools, but avoid overtightening that strips threads or cracks terminals. Look for frayed insulation or exposed wires requiring immediate professional attention. Electrical issues cause roughly 30% of HVAC failures, making this inspection critical.
Belt and Motor Assessment
Inspect drive belts for cracks, glazing, or excessive wear. Press the belt at its midpoint; proper tension allows about half-inch deflection. Replace worn belts before they snap and leave you without cooling or heating. Check pulleys for alignment and smooth rotation. Listen for unusual squealing or grinding noises indicating bearing wear.
Ductwork and Seal Verification
Examine accessible ductwork for gaps, disconnections, or damage. Seal leaks with metal-backed tape (never cloth duct tape, which deteriorates). Leaky ducts waste 20-30% of conditioned air, dramatically increasing energy costs while reducing comfort. Pay special attention to attic duct runs where temperature extremes accelerate seal degradation.
Refrigerant Level Monitoring
While homeowners cannot legally add refrigerant, you can spot warning signs. Ice formation on refrigerant lines, reduced cooling capacity, or hissing sounds indicate potential leaks requiring professional inspection. Low refrigerant forces your compressor to work harder, risking expensive component failure.
Additional inspection points include:
- Thermostat calibration and battery condition
- Condensate drain line for clogs or algae growth
- Outdoor unit levelness (settling pads cause compressor damage)
- Return air vents for obstructions or furniture blockage
Document your findings in a maintenance log with dates and observations. This record helps identify patterns and provides valuable information if professional service becomes necessary.
Step 5: Lubricate Moving Parts
Friction destroys HVAC components. Proper lubrication reduces wear, lowers operating noise, and extends equipment life by years.
Identifying Lubrication Points
Modern sealed bearings require no maintenance, but older systems have multiple lubrication points. Check your owner’s manual for model-specific locations. Common points include blower motor bearings, fan motor bearings, and circulator pump bearings. Look for oil ports, typically small caps or plugs marked with oil can symbols.
Lubrication Procedure
- Use only manufacturer-recommended lubricants; automotive or general-purpose oils damage HVAC components.
- Apply 2-3 drops of oil per port; over-lubrication attracts dust and creates sticky buildup.
- Rotate the motor shaft by hand after lubricating to distribute oil evenly across bearings.
- Wipe away excess oil immediately to prevent dust accumulation.
- Replace oil port caps securely to prevent contamination.
Many newer systems feature permanently lubricated bearings requiring no maintenance. If your manual doesn’t mention lubrication, your system likely uses these sealed components. Never force oil into parts not designed for it, as this introduces contaminants and voids warranties.
Pro Tip: Schedule lubrication immediately after cleaning and inspection for maximum effectiveness. Clean components prevent introducing dirt into freshly lubricated bearings. Mark your calendar for annual lubrication in spring before cooling season begins, ensuring smooth operation during peak demand months.
Proper motor and fan lubrication costs almost nothing but prevents bearing failures that require expensive motor replacements. This five-minute task delivers remarkable long-term value.
Troubleshooting Common Maintenance Mistakes
Even well-intentioned homeowners make errors that undermine maintenance effectiveness or damage equipment. Recognizing and correcting these mistakes protects your investment.
Critical Errors to Avoid
- Over-tightening electrical connections: Excessive force strips screw threads, cracks terminals, and creates poor connections that overheat. Tighten firmly but stop when resistance increases.
- Using unapproved cleaning chemicals: Harsh degreasers, bleach, or acid-based cleaners corrode aluminum fins and copper tubing. Only use products specifically formulated for HVAC components.
- Neglecting filter changes: Many homeowners remember spring maintenance but forget monthly filter attention. Set recurring phone reminders to establish consistent habits.
- High-pressure washing coils: Powerful pressure washers bend fins, reduce airflow, and force water into electrical components. Always use gentle garden hose pressure.
- Skipping power shutoff: Working on energized equipment risks severe electrical shock. Always confirm power is off at both the thermostat and breaker before starting work.
“Safety is non-negotiable in HVAC maintenance. Every year, homeowners suffer preventable injuries by skipping the simple step of turning off power. Those extra 30 seconds walking to your breaker panel could save your life.”
Additional mistakes include ignoring unusual noises, delaying repairs for “just one more season,” and attempting complex refrigerant work without proper licensing. When maintenance reveals issues beyond your skill level, professional help prevents minor problems from becoming major failures.
Document your maintenance activities with photos and notes. This record helps you remember what you did, when you did it, and what normal operation looks like for your specific system. Future troubleshooting becomes much easier with this reference material.
Expected Results and Benefits
Consistent preventative maintenance delivers measurable, bankable benefits. Understanding these outcomes motivates continued diligence and helps you evaluate whether your efforts are working.
Quantifiable Energy Savings
Homeowners following complete maintenance schedules reduce energy costs by 5-15% annually. For an average Orange County home spending $200 monthly on cooling and heating, this represents $120 to $360 in yearly savings. These reductions compound over your system’s life, potentially saving thousands of dollars.
Extended Equipment Lifespan
Proper maintenance extends HVAC life by 5-10 years beyond neglected systems. Given that replacement costs range from $5,000 to $12,000 for complete systems, this extension represents substantial value. Regular care transforms a 12-year system into a 17-20 year investment.
Reduced Emergency Repairs
Scheduled maintenance cuts emergency breakdowns by approximately 30%. Beyond avoiding inconvenient mid-summer failures, you skip the premium pricing emergency services command. Many contractors charge double or triple for after-hours calls.
Comparison: DIY vs. Professional Maintenance
| Aspect | DIY Maintenance | Professional Service |
|---|---|---|
| Cost | $50-100 annually for supplies | $150-300 per visit, twice yearly |
| Time Investment | 3-4 hours per season | 1-2 hours total (technician time) |
| Expertise Level | Basic tasks, visual inspections | Comprehensive diagnostics, refrigerant service |
| Equipment Access | Standard tools only | Professional gauges, leak detectors |
| Warranty Protection | May void some warranties | Often required for warranty validity |
The optimal approach combines both. Handle monthly filter changes, seasonal cleaning, and basic inspections yourself. Schedule professional tune-ups annually for tasks requiring specialized tools and expertise. This balanced strategy maximizes savings while ensuring thorough system care.
Additional benefits include improved indoor air quality as clean components filter air more effectively, more consistent temperature distribution throughout your home, and reduced environmental impact through lower energy consumption. Your family breathes cleaner air while your utility bills shrink month after month.
Explore Expert HVAC Repair and Maintenance Services
While DIY maintenance handles essential tasks, professional expertise ensures your system operates at peak efficiency. MDTech Services offers comprehensive preventative maintenance and repair throughout Orange and Los Angeles counties, complementing your efforts with advanced diagnostics and specialized equipment.

Our licensed technicians provide thorough inspections covering components beyond homeowner access, including refrigerant charging, electrical system testing, and heat exchanger analysis. These professional services catch potential failures before they strand you without cooling or heating during extreme weather.
Schedule your professional maintenance before peak summer and winter seasons. Combining your monthly filter changes and seasonal cleaning with our comprehensive tune-ups maximizes system longevity and efficiency. Our step-by-step approach ensures nothing gets overlooked, protecting your investment for years.
When unexpected issues arise despite regular maintenance, timely professional repairs prevent minor problems from escalating into expensive replacements. Contact MDTech Services to discuss your HVAC needs and schedule your next service appointment.
Frequently Asked Questions
How often should I perform preventative HVAC maintenance to see benefits?
Schedule professional maintenance at least twice yearly in early spring and fall to prepare for peak cooling and heating seasons. Between professional visits, replace or clean air filters every 1-3 months depending on home conditions. This schedule reduces emergency repairs by 30% and cuts energy costs by 5-15% annually, delivering measurable returns on your time investment.
What tools do I need for basic HVAC preventative maintenance?
Basic maintenance requires screwdrivers, a shop vacuum with attachments, manufacturer-approved coil cleaner, work gloves, and safety glasses. Most homeowners already own these items or can purchase them for under $100 total. Always turn off power at both the thermostat and circuit breaker before starting any maintenance work to prevent electrical shock.
Can neglecting filter changes really impact my energy bills that much?
Absolutely. Clogged filters force your HVAC system to work significantly harder, increasing energy consumption by 5-15% or more. For a typical home, this represents $10-30 monthly in wasted electricity. Replacing filters costs just a few dollars and takes five minutes, making it one of the highest-return maintenance tasks available.
Should I attempt condenser coil cleaning myself or hire a professional?
Homeowners can safely clean condenser coils using proper techniques and approved products. Turn off power, use gentle water pressure, and avoid harsh chemicals that corrode components. However, if coils show significant corrosion, bent fins, or you’re uncomfortable working with electrical equipment, professional cleaning ensures thorough, safe results without risking damage to expensive components.
How do I know if my maintenance efforts are actually working?
Track your monthly energy bills and compare year-over-year costs adjusted for weather differences. Well-maintained systems show consistent or decreasing energy use despite aging. Monitor how long your system runs to reach desired temperatures; shorter cycles indicate improved efficiency. Finally, count emergency repair calls; proper maintenance should eliminate most unexpected breakdowns, confirming your efforts are protecting your investment.