Plumbing emergencies strike at the worst times, leaving homeowners scrambling without a clear plan. In Orange and Los Angeles County, outdated pipes and fluctuating water pressure compound the chaos. This guide delivers a proven step-by-step workflow that transforms confusing repairs into manageable tasks, helping you fix issues quickly while protecting your home from costly water damage.
Table of Contents
- Introduction To Plumbing Repair Workflow
- Prerequisites: Tools And Safety Gear Needed
- Step-By-Step Plumbing Repair Workflow
- Common Mistakes And Troubleshooting Tips
- Expected Outcomes And Repair Timelines
- Conclusion And Next Steps
- Discover Expert Plumbing Repair Support
Key takeaways
| Point | Details |
|---|---|
| Structured workflow boosts success | Homeowners following organized repair processes report 50% higher satisfaction and fewer repeat issues. |
| Prepare tools before emergencies | Having wrenches, cutters, tape, and safety gear ready prevents delays during urgent repairs. |
| Step-by-step process minimizes damage | Assess, shut off water, repair carefully, test thoroughly to avoid flooding and leaks. |
| Common mistakes cause 40% more failures | Overtightening fittings and skipping leak tests create expensive problems that proper technique prevents. |
| Realistic timelines reduce stress | Basic repairs take 30 minutes to 2 hours when you follow a clear plan. |
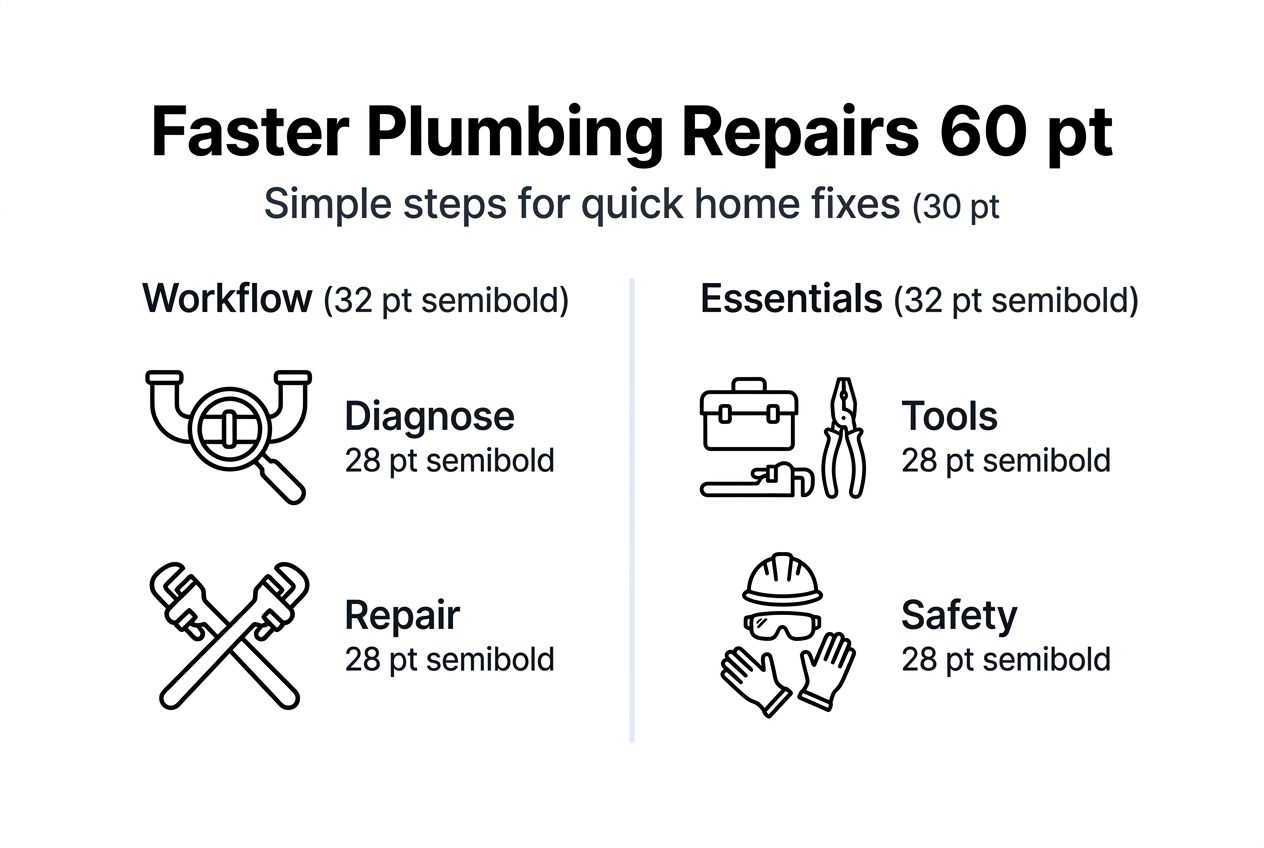
Introduction to plumbing repair workflow
A plumbing repair workflow is a systematic sequence that guides you through diagnosing problems, executing fixes, and verifying results. Without this structure, homeowners waste time guessing solutions and often worsen damage. In Orange and Los Angeles County, many properties feature older plumbing systems prone to corrosion and pressure inconsistencies. These regional challenges make a reliable workflow even more valuable.
A streamlined approach saves money by catching small issues before they escalate. When you know exactly what to check first and which steps follow, you avoid panicked decisions that lead to broken pipes or flooded floors. The workflow transforms repair anxiety into confident action.
Homeowners gain control over maintenance costs and timeline expectations. Instead of waiting days for professional help on minor leaks, you can handle straightforward fixes immediately. This independence reduces emergency service bills and prevents water damage that grows exponentially with each passing hour.
Understanding your home’s unique plumbing layout is part of workflow mastery. Mapping shutoff valves and identifying pipe materials ahead of emergencies lets you respond instantly. The organized approach builds competence through repetition, making each subsequent repair easier and faster.
Prerequisites: tools and safety gear needed
Successful repairs start with proper equipment assembled before problems arise. Essential plumbing tools include a pipe wrench for gripping and turning pipes, an adjustable wrench for nuts and bolts, a pipe cutter for clean cuts, and plumber’s tape for sealing threaded connections. Keep a basin wrench for hard-to-reach faucet nuts and a plunger for basic clogs.
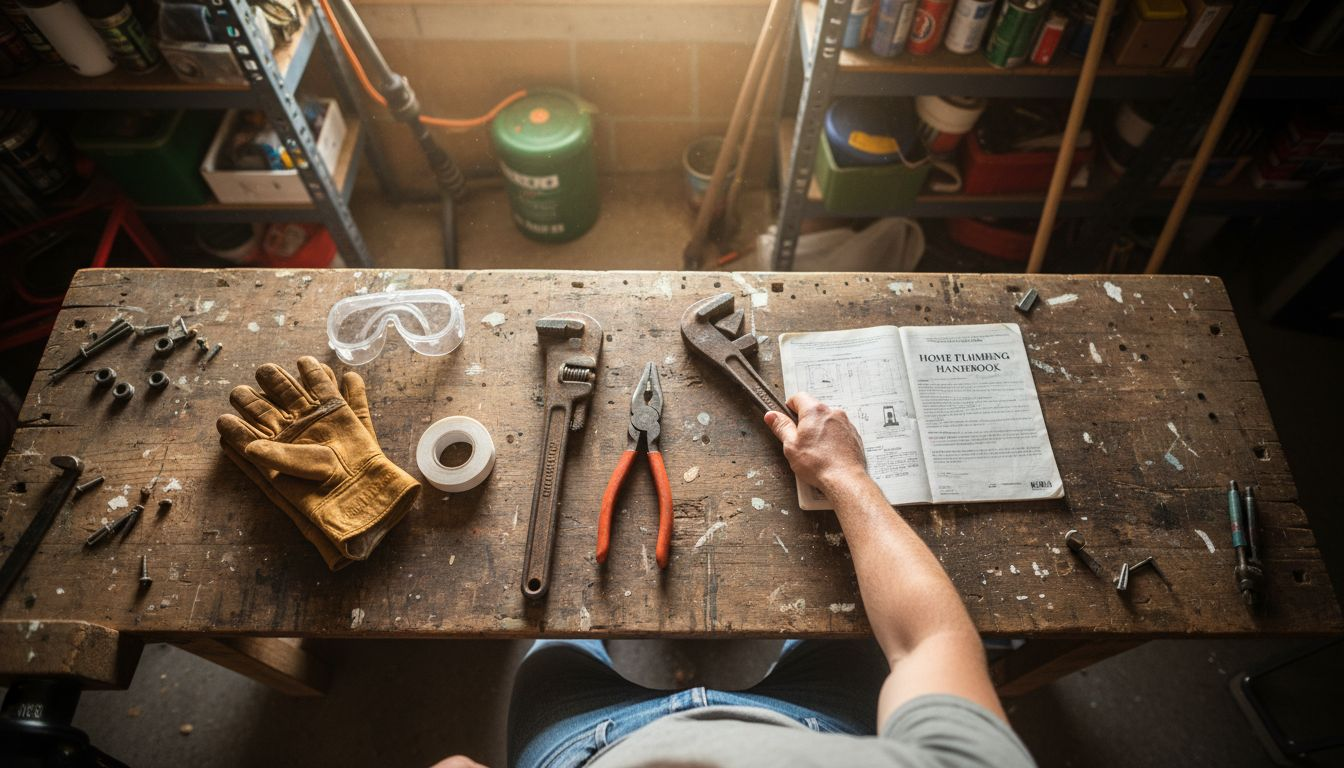
Safety gear protects you from sharp edges, chemical exposure, and water contamination. Wear thick protective gloves rated for plumbing work, not thin disposable ones. Safety glasses or goggles shield eyes from debris and splashing water. Using proper safety equipment reduces injury risk significantly in DIY scenarios.
An emergency plumbing kit should contain:
- Epoxy putty for temporary leak seals
- Rubber washers in multiple sizes
- Teflon tape rolls
- Flashlight with extra batteries
- Bucket for catching water
- Towels or rags for cleanup
| Tool Category | Essential Items | Purpose |
|---|---|---|
| Wrenches | Pipe wrench, adjustable wrench, basin wrench | Grip and turn pipes, nuts, bolts |
| Cutting/Sealing | Pipe cutter, plumber’s tape, epoxy putty | Clean cuts, watertight seals |
| Safety | Gloves, goggles, towels | Prevent injuries, manage water |
| Emergency | Flashlight, bucket, washers | Quick response to urgent leaks |
Locate your main water shutoff valve before any repair attempt. This critical component sits near the water meter, often in basements, garages, or along outside walls. Label it clearly so family members can find it during emergencies.
Pro Tip: Store all plumbing tools in a dedicated toolbox or bucket for instant access. During pipe bursts, fumbling through scattered supplies wastes precious minutes while water damages floors and walls.
Step-by-step plumbing repair workflow
Follow this proven sequence to diagnose and fix plumbing issues systematically. Each step builds on the previous one, reducing errors and water damage risk.
-
Assess the problem by examining visible symptoms like water pooling, stains, or reduced pressure. Note sounds such as dripping or hissing that indicate hidden leaks. Document the issue’s scope to determine if you need parts or professional help.
-
Shut off the main water supply immediately to prevent flooding. Turn the valve clockwise until fully closed. Open a faucet on the lowest floor to drain residual water from pipes.
-
Assemble all required tools and safety gear before touching any pipes. Verify you have replacement parts like washers or fittings. This preparation avoids mid-repair trips to hardware stores.
-
Perform repairs carefully using proper techniques. Apply plumber’s tape clockwise on threaded connections for effective seals. Tighten fittings firmly but avoid overtorquing, which cracks components. For affordable plumbing repair service on complex jobs, professionals handle intricate pipe work.
-
Restore water flow gradually by opening the main valve halfway initially. Check all connections for leaks before full pressure resumes. Test functionality by running faucets and flushing toilets.
Video inspection offers an alternative diagnostic method for hidden issues inside walls or underground. Small cameras attached to flexible cables reveal blockages, cracks, and corrosion invisible to the naked eye. This technology prevents unnecessary wall demolition.
| Approach | Best For | Key Benefit | Limitation |
|---|---|---|---|
| Visual inspection | Accessible pipes, visible leaks | Immediate diagnosis, no equipment cost | Cannot see inside walls or underground |
| Video inspection | Hidden pipes, drain clogs | Precise problem location, less demolition | Requires specialized camera equipment |
For drain hose repair or sink repair installation, understanding emergency plumbing scenarios helps you decide between DIY and professional intervention.
Pro Tip: Label your home’s secondary shutoff valves for individual fixtures like toilets and sinks. This localized control lets you make repairs without cutting water to the entire house.
Common mistakes and troubleshooting tips
Frequent DIY errors undermine even well-intentioned repairs. Common mistakes like overtightening and poor sealing increase repair failures by 40%, creating leaks that require complete rework. Understanding these pitfalls helps you avoid expensive setbacks.
Top plumbing mistakes include:
- Forgetting to shut off water supply before loosening connections, causing immediate flooding
- Overtightening threaded fittings, which cracks plastic components and strips metal threads
- Skipping leak tests after repairs, allowing hidden drips to damage walls and floors
- Neglecting safety gear, resulting in cuts from sharp pipe edges or chemical burns from drain cleaners
These errors typically stem from rushing repairs or misunderstanding proper torque levels. Overtightened connections feel secure initially but crack under thermal expansion cycles. Inadequate leak testing misses slow drips that saturate drywall over weeks.
Best practices for leak prevention start with proper sealing techniques. Wrap plumber’s tape smoothly around threads without overlapping excessively. Apply pipe dope sparingly to avoid clogging water flow. Hand-tighten fittings first, then add only one or two quarter turns with a wrench.
When repairs fail partially, spot fixes often work without full disassembly. Tighten loose connections incrementally while checking for leaks after each adjustment. If seals continue weeping, replace washers or O-rings rather than entire assemblies.
Reassess problems systematically if initial fixes don’t hold. Check for underlying issues like corroded pipe threads or mismatched fitting sizes. Sometimes the original diagnosis missed secondary problems that perpetuate leaks.
Pro Tip: Always perform slow water flow tests by opening the main valve only partially at first. This controlled approach catches small leaks before full pressure turns them into geysers.
Expected outcomes and repair timelines
Realistic expectations about repair durations and costs help you plan effectively. Basic plumbing fixes like replacing faucet washers or tightening supply lines typically take 30 minutes to 2 hours for homeowners with moderate skills. Complex jobs involving pipe replacement or fixture installation may require half a day.
Delaying repairs carries significant financial consequences. Ignoring leaks costs homeowners an average of $2,200 in water damage within just three months as moisture rots wood framing and breeds mold. Swift action using a structured workflow prevents this escalation.
| Repair Type | Average Time | Potential Damage Cost if Delayed |
|---|---|---|
| Faucet washer replacement | 30-45 minutes | $500 in water waste and fixture corrosion over 6 months |
| Supply line tightening | 15-30 minutes | $1,200 in floor and wall damage over 2 months |
| Toilet valve replacement | 1-2 hours | $2,200 in subfloor rot and mold over 3 months |
| Drain clearing | 45 minutes-2 hours | $800 in backup damage and pipe corrosion over 1 month |
Using a methodical workflow improves efficiency dramatically. Homeowners who follow organized repair sequences complete jobs faster because they don’t backtrack for forgotten tools or redo improper connections. This efficiency compounds over multiple repairs, building skill and confidence.
Recognize when professional expertise is essential. Gas line work, main sewer repairs, and permit-required installations demand licensed plumbers. Attempting these tasks yourself risks code violations, dangerous leaks, or invalidated insurance claims. Professional help actually saves money on complex projects by preventing costly mistakes.
Conclusion and next steps
Adopting a structured plumbing repair workflow empowers you to handle home maintenance confidently and efficiently. The systematic approach outlined here transforms chaotic emergencies into manageable tasks, protecting your property investment and reducing stress.
Prepare now by assembling your tool kit, locating shutoff valves, and reviewing workflow steps. This readiness means you’ll respond effectively when pipes leak or fixtures fail, minimizing damage and repair costs.
Know your limits and call licensed professionals for complex repairs involving gas lines, main sewers, or structural modifications. DIY skills complement professional services rather than replace them entirely.
Discover expert plumbing repair support
When plumbing challenges exceed DIY capabilities, MDTech Services delivers prompt solutions throughout Orange and Los Angeles County. Our licensed technicians handle everything from minor leaks to complete system overhauls, ensuring code compliance and lasting repairs.

Regular maintenance prevents emergencies before they start. Our plumbing maintenance basics program identifies potential failures early, extending system life and avoiding costly breakdowns. We provide transparent pricing and flexible scheduling that respects your time.
Choosing qualified professionals protects your investment. Learn how to verify a licensed plumber to ensure you’re hiring credentialed experts. For immediate assistance, our fast affordable plumbing repair service responds quickly to urgent situations.
FAQ
How do I find the main water shutoff valve in my home?
Check near your water meter, typically in the basement, garage, or along an outside wall facing the street. If you can’t locate it, review your home inspection report or contact your local water utility for guidance on your specific property layout.
What safety gear should I always wear when repairing plumbing?
Wear thick protective gloves rated for plumbing work to prevent cuts and chemical exposure. Safety glasses or goggles protect your eyes from debris, splashing water, and pipe scale that can fly loose during repairs.
When should I call a professional plumber instead of DIY?
Complex issues like persistent drainage problems, gas line work, or main sewer repairs require professional expertise. If you lack proper tools or feel uncertain about the repair, calling a licensed plumber ensures safety and code compliance.
How can I prevent future plumbing emergencies?
Inspect visible pipes quarterly for corrosion, moisture, or loose connections. Replace rubber supply lines every five years before they fail. Schedule annual professional inspections to catch hidden problems before they cause damage.
What should I do if a repair fails after I complete it?
Shut off water immediately to prevent flooding. Reassess connections for proper tightness and seal integrity. Check that you used correct parts and didn’t overtighten fittings, which commonly causes cracks that leak under pressure.