
Most mini split leaks come from a condensate drainage problem rather than a refrigerant issue: a clogged drain line, a dirty filter, or a cracked drain pan. If water is pooling near electrical components, turn the unit off first, then lay down towels and check the filter and drain exit. If you notice ice on the coil or hear hissing, stop any DIY work and call a certified technician right away.
TL;DR:
- A musty odor with dripping during operation points toward a clogged drain, while ice or weak cooling suggests a dirty filter restricting airflow.
- Rinse the filter every two to four weeks; clear drain clogs with a wet and dry vacuum or warm water and vinegar, avoiding harsh cleaners.
- Recurring freezing can signal low refrigerant or severe airflow restriction; only a technician certified under EPA Section 608 may handle refrigerant.
- In Los Angeles, refrigerant leak repairs cost $200 to $1,800, with system size and difficult access pushing jobs toward the higher end.
- Before booking, photograph the leak, record when it occurs, and check whether a newer system’s limited labor warranty covers the service visit.
Table of Contents
- Common causes of mini split leaks and how to recognize each
- Step-by-step homeowner troubleshooting and safe DIY fixes
- When to call a professional and what it typically costs
- Prevention and maintenance checklist to reduce future leaks
- How we diagnose and repair a leaking mini split
- What actually matters when your mini split leaks
- Get a same-visit diagnosis for your mini split
- FAQ
- Sources
Common causes of mini split leaks and how to recognize each
A clogged condensate drain line is the most frequent culprit. Algae and mold build up inside the line over time and block the path water needs to exit, which often brings a musty smell along with dripping that only happens while the unit runs. Carrier identifies clogged drain lines, dirty filters, and damaged drain pans as the leading causes of mini split water leaks.
A dirty air filter restricts airflow across the evaporator coil, and a restricted coil tends to freeze. When the unit shuts off or the ice melts, the sudden rush of water can overwhelm the drain pan and spill over. Visible ice on the indoor unit or weak cooling performance usually points here.
Other causes are less common but worth ruling out:
- Damaged drain pan: rust, cracks, or a pan knocked out of position lets water drip straight from the indoor unit or stain the nearby wall.
- Improper installation or incorrect drain slope: a unit mounted slightly off level disrupts drainage and causes intermittent pooling.
- Low refrigerant or a refrigerant leak: ice forming on the coil or lines, along with a hissing sound and reduced cooling, signals this and is not something to fix yourself.
- Condensate pump failure: systems that drain uphill or to a pump can back up when the float switch or motor fails.
Trane notes that a frozen coil overwhelms the drain pan once it thaws, and that freezing which keeps coming back usually means low refrigerant or a serious airflow restriction that needs a professional look.
Step-by-step homeowner troubleshooting and safe DIY fixes
Before touching anything else, cut power to the indoor unit at the wall switch or breaker if water is pooling anywhere near electrical parts. From there, work through these steps in order.
- Clean the filter. Remove it, rinse it under running water, and let it dry fully before reinstalling. Doing this every two to four weeks, depending on how much you run the system and how dusty your home gets, prevents most coil-freeze leaks.
- Clear the condensate drain line. Find the line’s access point, then use a wet/dry vac at the outdoor end to pull the clog free, or flush the line with warm water and a vinegar solution. Carrier recommends a wet/dry vac or a vinegar flush as the standard homeowner method, and both are gentler on plastic traps than harsh chemical cleaners.
- Inspect the drain pan and fittings. Look for cracks, rust, or loose connections, and photograph anything questionable so you have it ready if you need a repair visit.
- Test the condensate pump. Place a bucket under the pump outlet and run a manual fill test. Check that the electrical connection is secure and reset the pump if it’s safe to do so.
- Let frozen coils thaw fully. Turn the unit off and give the ice time to melt completely before running it again, then recheck the filter and drain. If freezing comes back, that is your cue to call a technician rather than repeat the cycle.
Pro Tip: Keep a small notebook or phone note of when the leak happens and what the weather was like. That pattern often tells a technician more than the leak itself.
Stop and call a certified technician if the leak persists after clearing the drain, if ice keeps returning, if you hear hissing or spot an oily residue, or if water has made its way inside a wall. These are signs of a refrigerant or structural problem that DIY steps will not resolve.
When to call a professional and what it typically costs
Refrigerant work is not a homeowner task. EPA Section 608 restricts adding or removing refrigerant to certified technicians and prohibits intentional venting by anyone without that certification, so any job that touches the sealed refrigerant circuit needs a licensed pro.
A technician’s visit typically includes:
- Electronic, ultrasonic, or bubble leak detection to find the exact source
- Pressure checks and refrigerant recovery when a leak is confirmed
- Drain pan replacement or drain line repair
- Condensate pump testing and replacement if needed
Costs vary by job. In the Los Angeles area, refrigerant leak repair runs from $200 to $1,800 depending on the system and access difficulty, with multi-head systems and hard-to-reach lines pushing toward the higher end. A simple drain clearing costs far less than a drain pan replacement or a full refrigerant recharge.
Before your appointment, have your unit’s model and serial number ready, take photos of the leak, note the times it happens and any odors, and clear a path to both the indoor and outdoor units. If your system is newer, check with your installer first since many manufacturers include a limited labor warranty that could cover the visit.
Prevention and maintenance checklist to reduce future leaks
A short routine prevents most of the leaks covered above before they start.
- Clean or rinse the filter every two to four weeks and glance at the drain line monthly.
- Flush the condensate line with a vinegar and warm water solution each season.
- Schedule a professional tune-up that covers coil cleaning, drain pan inspection, a condensate pump test, and a refrigerant check.
- Consider an overflow shutoff switch or a condensate pump with a float alarm as a backup safeguard.
- Keep the outdoor unit clear of leaves and debris, and keep a simple log of service dates and what was done.
Correct trap height and dimensions matter more than most homeowners realize: a poorly sized trap lets air pressure interfere with drainage, which quietly causes backups and mold even when the line itself is clear. For a closer look at how drainage design affects the whole system, our guide to condensate drainage walks through the basics, and our piece on drainage’s role in HVAC performance covers why a small design flaw can lead to a bigger failure down the line.
Homeowners who size a replacement system should also account for run time and condensate load. A unit that’s undersized for the space runs longer and produces more condensate than the drain was designed for; a practical guide to BTU sizing explains how to match capacity to the room correctly.
How we diagnose and repair a leaking mini split
When we arrive for a mini split leak, we start with a safety check, then move to a visual inspection of the filter, drain pan, and visible lines. From there we clear and flush the drain, test the condensate pump, and, if one of our EPA 608 certified technicians is on site, run a refrigerant pressure check when the symptoms point that way. We walk you through what we find and quote repair or replacement work before starting, so there are no surprises on the invoice.
Before we arrive, clear access to both the indoor and outdoor units, snap a few photos of where the water shows up, and jot down when the leak tends to happen. Have your unit’s model and serial number on hand. If your DIY steps have not stopped the dripping, that pattern of recurring leaks is usually the sign it’s time for a visit.
What actually matters when your mini split leaks
Most of what you’ll find online treats every mini split leak like a potential refrigerant emergency, and that’s backward. The data points the other way: clogged drains, dirty filters, and worn pans cause the overwhelming majority of leaks, and all three are things a homeowner can check safely in under twenty minutes.
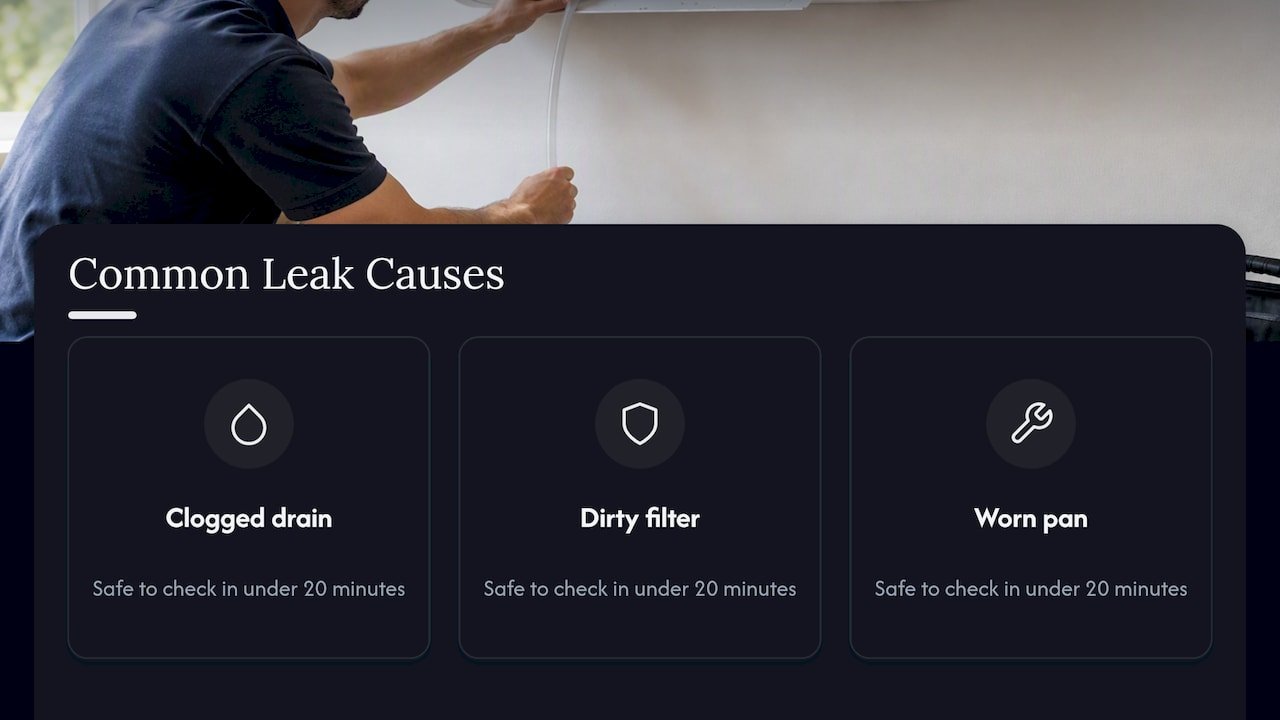
Where the conventional advice falls short is in telling you to “call a professional” the moment you see water, without giving you a way to tell a ten-minute filter clean apart from a refrigerant problem that genuinely needs one. Ice and hissing are the dividing line. Absent those two signs, a drain clog is still the better bet.
Prioritize the filter and the drain line first, every time. They’re the cheapest checks, they solve most leaks outright, and they tell you within minutes whether you’re dealing with a nuisance or something that needs a technician.
— MDTECH
Get a same-visit diagnosis for your mini split
When clearing the filter and flushing the drain doesn’t stop the water, a faster path is a technician who can check the drain pan, pump, and refrigerant circuit in one visit instead of guessing through repeat DIY attempts. Our air conditioning repair service covers exactly this kind of mini split leak, with licensed technicians who diagnose the cause on site and quote the fix before any work starts.

We serve homeowners and property managers across Orange County and Los Angeles County, and our technicians carry the EPA 608 certification required for any refrigerant work, so a leak that turns out to be more than a clogged drain doesn’t mean a second appointment with another provider. Our HVAC services page covers the full range of ductless and central system repairs we handle, with online booking if you’d rather skip the phone call. If your mini split is still dripping after a filter clean and a drain flush, booking a visit now gets it resolved before it stains a wall or grows mold behind it.
FAQ
Why is my split AC leaking water from the inside?
Indoor leaks almost always trace back to a clogged condensate drain, a dirty filter that let the coil freeze and then overflow, or a cracked drain pan. Carrier lists these three as the most common causes of indoor water leaks in mini split systems.
Where do mini splits usually leak refrigerant?
Refrigerant leaks typically occur at line set connections, flare fittings, or the coil itself rather than through the condensate drain. Ice forming on the indoor coil or the refrigerant lines, often paired with a hissing sound, is the clearest sign and calls for an EPA 608 certified technician rather than a DIY fix.
How much does it cost to fix a mini split leak?
Cost depends heavily on what’s wrong: a simple drain clearing costs far less than a drain pan replacement or a refrigerant recharge. In the Los Angeles area, refrigerant leak repairs range from $200 to $1,800, with system size and access difficulty driving where a job lands in that range.
Can mini splits leak carbon monoxide?
No. Mini split systems don’t burn fuel and have no combustion process, so they cannot produce or leak carbon monoxide. What they can leak is water from the condensate system or refrigerant from the sealed cooling circuit, both of which are different concerns requiring different responses.
What should I check before deciding to call a technician?
Check the filter, the visible section of the drain line, and the drain pan for cracks or blockages first, since those three cover most leaks. If you see ice anywhere on the unit, hear hissing, or the leak returns right after you clear it, those are the signals to stop and bring in a certified technician.
Sources
- Mini Split Leaking Water? Diagnosis & DIY Repair Tips — Carrier
- Why Is My Mini Split Leaking Water? — Trane
- EPA: Section 608 and refrigerant venting prohibition