
A washer shaking violently is often fixable at home when the cause is an unbalanced load, an unlevel machine, or shipping bolts left in a front-loader. Stop the cycle and unplug the washer first, then redistribute the load or check for those bolts. If metal parts look loose or seem to be detaching, stop using the machine and call a technician.
TL;DR:
- Stop the cycle, wait for the drum to slow, unplug the washer, and inspect for detached parts before touching the load or moving the machine.
- Wash matching bulky items in pairs, remove waterproof or soaked pieces, and adjust the feet until all four sit firmly on the floor.
- On a new or recently moved front loader, remove the rear shipping bolts and save them; leaving them installed can void the warranty.
- Call a technician if shaking remains violent after load and leveling corrections, or if grinding, burning smells, or detached metal parts appear.
- Check the model and serial number against manufacturer or Consumer Product Safety Commission recall notices, and stop using the washer if they match.
Table of Contents
- What should you do in the first few minutes?
- Why is my washing machine shaking violently?
- How do you stop a washer from shaking, step by step?
- When should you call a licensed appliance technician?
- How can you keep your washer from shaking again?
- Why is a licensed repair the safe next step?
- Our take: stop guessing, start with safety
- Book on-site washer repair with MDTech Services
- FAQ
- Sources
What should you do in the first few minutes?
Your first job is to make the machine safe. Do these steps in order:
- Press pause or cancel, and wait for the drum to slow down. Never reach in while it is spinning.
- Unplug the washer from the wall outlet. This removes the risk of electrical injury and stops the machine from restarting on its own.
- Pull the washer a few inches forward if you can do so safely, and look at the cabinet, the top panel, and the back. Check for panels that have separated, fasteners on the floor, or a top that sits crooked.
- On a front-loader that is new or recently moved, look at the back panel for large bolts with plastic spacers. These are shipping bolts, and they must come out before the machine is used.
- Clear the area around the washer. Keep children and pets away until you know what is wrong.
Loud metal-on-metal impacts, parts that move on their own, or a cabinet that is visibly twisting are not DIY problems. Stop using the machine at once.
Pro Tip: Take a quick photo of the model and serial number plate while you are looking at the machine. You will need it for recall checks and for any service call.
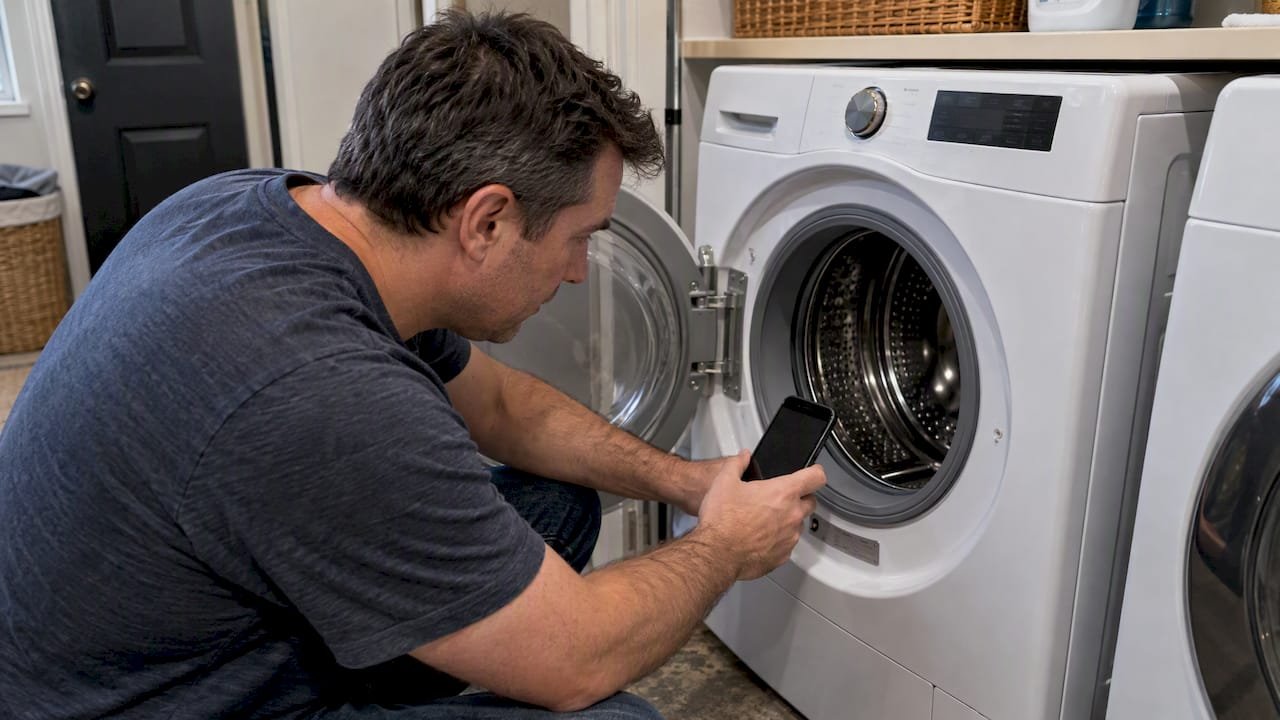
Why is my washing machine shaking violently?
The pattern of the shaking tells you a lot. Notice when it happens and what you hear, then match it to the likely cause:
- Unbalanced or overloaded drum. Shaking that starts or gets worse during the spin cycle usually points to uneven weight. Heavy, wet items such as blankets, mattress pads, and a single bulky towel clump to one side and throw the drum off center.
- Water-trapping items. Waterproof or water-resistant items hold water and create an extreme off-center mass. Mattress covers and heavy blankets are a leading cause of abnormal vibration, because the washer cannot rebalance a load that heavy.
- Washer not level. If you can rock the machine by pushing on opposite corners, one or more feet are not carrying their share of the weight. The machine then walks across the floor.
- Shipping bolts still installed. On front-loaders, these bolts lock the drum for transport. Failing to remove them is a primary cause of violent shaking in the first cycles, because the drum cannot move on its springs.
- Worn suspension parts. Shock absorbers, springs, and spider assemblies wear out over time. If the shaking continues after you have fixed the load and the level, vibration research points to failed dampers or springs that need a professional inspection.
- Uneven or flexible flooring. A floor that flexes, or one with a slight slope, amplifies every small imbalance. The machine may seem to walk even when it is mechanically sound.
- Clogged drain pump. A pump with a trapped object can leave water in the drum, which adds uneven weight. It is usually a secondary cause, but it is worth a look. Our guide on why a washer is not draining covers the signs.
One caution before you panic: some modern high-efficiency units are designed to shift slightly while balancing. A small movement of up to about a quarter inch can be normal, so judge by how violent the shaking is, not by any movement at all.
How do you stop a washer from shaking, step by step?
These steps work on most models and avoid anything that could void a warranty. Go in order and test after each one.
- Stop, unplug, and inspect. Look for detached parts or loose fasteners, as described above. If you find any, stop here and book a repair.
- Fix the load. Pause the cycle and redistribute the clothes by hand. Remove wet, bulky, or waterproof items and wash them in smaller batches. Consumer Reports suggests washing two pillows together rather than one, since a single bulky item is hard for the machine to balance.
- Level the washer. Set a bubble level on top of the machine, front to back and side to side. Turn each leveling foot until the bubble is centered and all four feet press firmly on the floor. Then tighten the jam nut against the cabinet on each foot so the setting cannot drift. LG’s guidance is to adjust the legs and jam nuts until the tub is centered.
- Remove shipping bolts on front-loaders. Look on the back panel for bolts with plastic or rubber spacers. Use a wrench to remove them, and cap the holes with the plugs that came with the machine. Whirlpool explains that they secure the drum for transport and that leaving them in can void the warranty. Keep the bolts in case you ever move.
- Tighten accessible external fasteners. If the washer sits on a pedestal or in a stacking kit, check that the hardware is snug and that the unit makes full contact with the floor.
- Check the drain pump. Follow your owner’s manual to reach the pump access panel, place a towel and shallow pan underneath, and remove coins, socks, or other objects. GE’s front-load guidance also suggests running a rinse and spin with no load to test whether the vibration continues.
Do not remove structural panels or touch high-voltage components. If the machine still shakes after these steps, you have reached the edge of what is safe to do yourself.
Pro Tip: After leveling, run a spin-only cycle with a small, evenly mixed load. If the shaking is gone, you found the cause. If it returns, suspect the suspension.
When should you call a licensed appliance technician?
Call a professional if you see any of these:
- Metal parts detaching, or a cabinet or top panel that has shifted.
- Violent movement that continues after you have fixed the load and the level.
- Grinding or rumbling noises, which can mean bearing or drum damage.
- A burning smell, or visible damage to the cabinet or the floor.
Professional repairs usually involve replacing suspension rods or shock absorbers, drum bearings, or the spider assembly, and sometimes realigning the tub and motor. A technician replaces suspension parts as a matched set, because a single new part next to a worn one can bring the imbalance right back. Our post on diagnosing appliance noise can help you describe what you hear.
Labor depends on access. Front-loaders generally need more disassembly than top-loaders, which adds time. Our washer repair cost guide explains what drives the price.
Recalls matter here too. Samsung recalled 34 top-load models in 2016, and LG recalled top-loaders built between February 2010 and November 2011. If your model and serial number match, stop using the washer and contact the manufacturer. We can check the numbers during a visit and point you to the right place.
How can you keep your washer from shaking again?
A few habits prevent most repeat problems:
- Wash two similar items together, such as two pillows or two towels, and keep heavy and light garments apart.
- Avoid washing a single bulky or waterproof item. Use a lower spin speed or a delicate or waterproof cycle for heavy loads. Consumer Reports testing shows higher spin speeds make imbalance worse.
- Install the washer on a stable, level floor and keep leg extension as short as possible. Tighten the jam nuts and make sure any pedestal or stacking kit is secure.
- Every few months, recheck the level, tighten accessible bolts, and clean the drain pump filter.
- Act on early symptoms. A new thumping or rumbling during spin often means suspension parts are starting to wear.
Our laundry appliance care tips cover more routine habits.
Pro Tip: Put a reminder on your calendar twice a year to recheck the level. Floors settle, and a washer that was perfect at installation can drift.
Why is a licensed repair the safe next step?
When the simple fixes do not work, the cause is mechanical, and a licensed technician is the safest answer. Here is what we bring to that visit:
- We are a local appliance repair and installation provider in Orange County and Los Angeles County, with licensed technicians and online appointment booking.
- We replace suspension parts as matched sets, so the repair holds. Price and time depend on how easy the unit is to reach.
- If a recall or model-specific safety issue is suspected, we verify the serial number and advise you to contact the manufacturer or check CPSC resources.
If shaking followed a recent install or move, our appliance installation services can reinstall and level the machine properly.
Our take: stop guessing, start with safety
Most advice on shaking washers treats it as a nuisance to be cured with a level and a trick load. We think that undersells the risk. Recalls have documented hundreds of excessive-vibration reports on top-loaders, along with property damage and injuries, so a violently shaking machine deserves respect, not just a rebalancing.

The better order is safety first, cheap fixes second, diagnosis third. Unplug the washer, look for loose parts, then correct the load, the level, and the shipping bolts. If the shaking returns, believe it. Repeated imbalance after good fixes usually means worn suspension, and running the machine through it only damages the drum, the bearings, and your floor.
Skip the urge to keep testing cycles to see whether it “gets better.”
— MDTECH
Book on-site washer repair with MDTech Services
If your washer is still shaking after the steps above, we can diagnose it at your home through our appliance repair services. Our technicians handle suspension and shock replacement, bearing and drum alignment, and safe shipping bolt removal. You can book online.

To make the visit quick, have this ready:
- The washer’s model and serial number
- A short description of when it shakes and what it sounds like
- Any recent move, install, or heavy load before the problem started
At the visit, we inspect the machine, give you repair options with a quote, and use warranty-safe repairs and parts. Book your appointment now at Mdtechservices.
FAQ
How do I fix my washing machine from shaking violently?
Pause the cycle, unplug the washer, and redistribute the load by hand. Then level the machine and, on a front-loader, confirm the shipping bolts are removed. If it still shakes, the suspension may be worn and needs a technician.
How can I stop my washing machine from shaking?
Wash smaller, evenly mixed loads and avoid single bulky or waterproof items. Check that all four feet touch the floor and that the jam nuts are tight. Lower the spin speed for heavy loads.
What causes washer shaking during spin?
The spin cycle exposes any imbalance, so uneven loads, an unlevel machine, or leftover shipping bolts show up there first. Worn shocks, springs, and bearings can also cause it. A flexible floor makes every one of these worse.
How do I fix an unbalanced washer?
Stop the cycle and spread the clothes evenly around the drum. Take out any item that is soaked, bulky, or waterproof and wash it separately. Restart with a spin-only cycle to test.