
Most running toilets trace back to one of three parts: a worn flapper that no longer seals, a fill valve that overfills or won’t shut off, or a float set too high so water spills into the overflow tube. Start with a dye test and a look at the water level. That usually tells you which part is failing before you buy a single replacement.
TL;DR:
- A running toilet is most often caused by a worn flapper, a fill valve that overfills, or a float set too high, with the water level ideally an inch below the overflow tube.
- A dye test, water level check, and float adjustment typically identify the faulty component within 15 minutes without special tools.
- Replacing the flapper, adjusting or replacing the fill valve, or fixing the float can usually stop the leak using simple tools like an adjustable wrench.
- Persistent leaks after replacing common parts often indicate damage to the flush valve seat, which requires professional inspection and possibly a full replacement.
- Routine maintenance, such as annual dye tests and replacing flappers every 5 to 7 years, helps prevent most toilet running issues before they start.
Table of Contents
- What Causes a Toilet to Run: The Parts That Matter
- Common Toilet Problems and What They’re Telling You
- Diagnosing a Running Toilet in Under 15 Minutes
- How to Fix a Running Toilet: Step-by-Step Repairs
- Stopping Running Toilets Before They Start
- When a Running Toilet Needs a Licensed Plumber
- Our Take on Running Toilet Repairs
- Book a Running Toilet Repair With MDTech Services
- Sources
What Causes a Toilet to Run: The Parts That Matter
Every tank toilet relies on a handful of components working in sequence, and knowing what each one does makes diagnosing a running toilet far less guesswork and more process of elimination. The flapper (also called the flush valve) sits at the bottom of the tank and lifts when you push the handle, letting water drop into the bowl. The fill valve refills the tank afterward. The float, whether it’s a ball on an arm or a cup that slides along the fill valve shaft, tells the fill valve when to stop. The overflow tube is the safety net: if the float fails and the fill valve keeps running, water spills down that tube instead of onto your floor.
Here’s the benchmark that matters most: tank water should sit about 1 inch below the top of the overflow tube. If the water line sits at or above that mark, something upstream is misbehaving. Water constantly trickling into the overflow tube points to the fill valve or float. Colored water showing up in the bowl after a dye test points to the flapper.
Common Toilet Problems and What They’re Telling You
A running toilet rarely fails silently. It hisses, trickles, or refills every few minutes without anyone touching the handle, and each symptom narrows down the cause.
- Worn or warped flapper. Rubber hardens, cracks, or curls at the edges over time. A positive dye test, a flapper that looks stiff or discolored, or a slow hiss that comes and goes usually means the seal has failed.
- Fill valve faults. A fill valve stuck partially open sends water into the overflow tube continuously, often paired with a steady hiss. Sediment inside the valve can also keep it from closing fully.
- Float set too high or failing. If the float sits at or above the overflow line, the fill valve thinks the tank isn’t full and keeps cycling. A cracked or waterlogged float ball can sink and cause the same problem.
- Overflow tube trouble. A cracked tube or a refill tube that’s fallen out of position can dump water where it shouldn’t, mimicking a fill valve problem.
- Chain or handle issues. A chain that’s too tight holds the flapper slightly open after every flush. A tangled chain can do the same thing unpredictably, and a sticky handle sometimes fails to return fully.
- Flush valve seat damage. Pitting or gouging on the seat itself means no flapper, new or old, will ever seal against it. This is the cause homeowners most often miss because they keep replacing flappers that were never the real problem.
- Sediment and mineral buildup. Hard water deposits interfere with valve seals and diaphragms inside the fill valve, causing intermittent running that seems to have no pattern.
Toilet flush issues that come and go, rather than running constantly, are frequently chain or sediment related. A toilet that runs intermittently for a few seconds every hour or so is usually the flapper resettling slightly or a fill valve topping off a tank that’s losing water slowly through a flapper leak.
Diagnosing a Running Toilet in Under 15 Minutes
Three checks, done in order, will identify the failing part in most homes without opening your wallet first.
- Run the dye test. Add a few drops of food coloring or a dye tablet to the tank water, don’t flush, and wait 10 to 15 minutes. Color showing up in the bowl means the flapper is leaking.
- Check the water level. Pop the tank lid and look at where the water sits relative to the overflow tube. It should be roughly an inch below the top.
- Lift the float. Gently raise the float or press down on the fill valve’s cap. If the running stops immediately, the fill valve is the culprit. If it doesn’t, look at the flapper and seat instead.
- Listen closely. A steady hiss usually means water moving through the fill valve. A softer, intermittent gurgle from the bowl often points to a flapper that’s barely leaking.
- Mark the water line with a pencil on the tank wall before you adjust anything, then recheck it after a fix to confirm the level holds.
A small flapper leak alone can waste roughly 30 gallons a day, and a stuck fill valve can lose far more. That adds up fast on a monthly water bill, which is exactly why the dye test is worth doing the moment you hear something off.
How to Fix a Running Toilet: Step-by-Step Repairs
Most running toilet repairs fall into one of five categories, and none of them require special tools beyond an adjustable wrench and a sponge.
- Replace the flapper. Shut off the water supply at the wall, flush to drain the tank, unhook the old flapper from its mounting pegs, and snap in the new one. Leave about half an inch of slack in the chain, then rerun the dye test to confirm the seal holds.
- Adjust or replace the fill valve. Shut off the water and drain the tank. If the valve is otherwise healthy, adjust the float height until the water line lands about an inch below the overflow tube. If it’s worn or won’t hold that setting, replace the whole valve following the package instructions.
- Fix the float. Ball-arm floats respond to a gentle downward bend in the arm to lower the water level. Cup-style floats on modern fill valves just need a pinch-and-slide adjustment along the shaft.
- Untangle or resize the chain. Remove kinks, then set slack to about half an inch so the flapper seats fully but still lifts cleanly on flush.
- Address the flush valve seat. If a brand-new flapper still won’t stop the leak, the seat itself is likely pitted or gouged. A flush valve repair kit can sometimes smooth minor damage, but significant pitting usually means replacing the whole valve.
Pro Tip: Never drop chlorine tank tablets directly into the toilet tank to keep it clean. They accelerate rubber degradation in flappers and seals, which is one of the most preventable causes of a running toilet.
Stopping Running Toilets Before They Start
A little routine attention keeps these repairs rare instead of recurring.
- Run a dye test once a year, ideally at the same time you check other home systems.
- Skip in-tank chlorine tablets entirely; bowl-only cleaning tablets don’t touch the rubber components.
- Replace flappers every 5 to 7 years as preventive maintenance, sooner in homes with hard water.
- Look into WaterSense-labeled fixtures and inline leak monitors if your home has had repeat toilet leaks.
When a Running Toilet Needs a Licensed Plumber
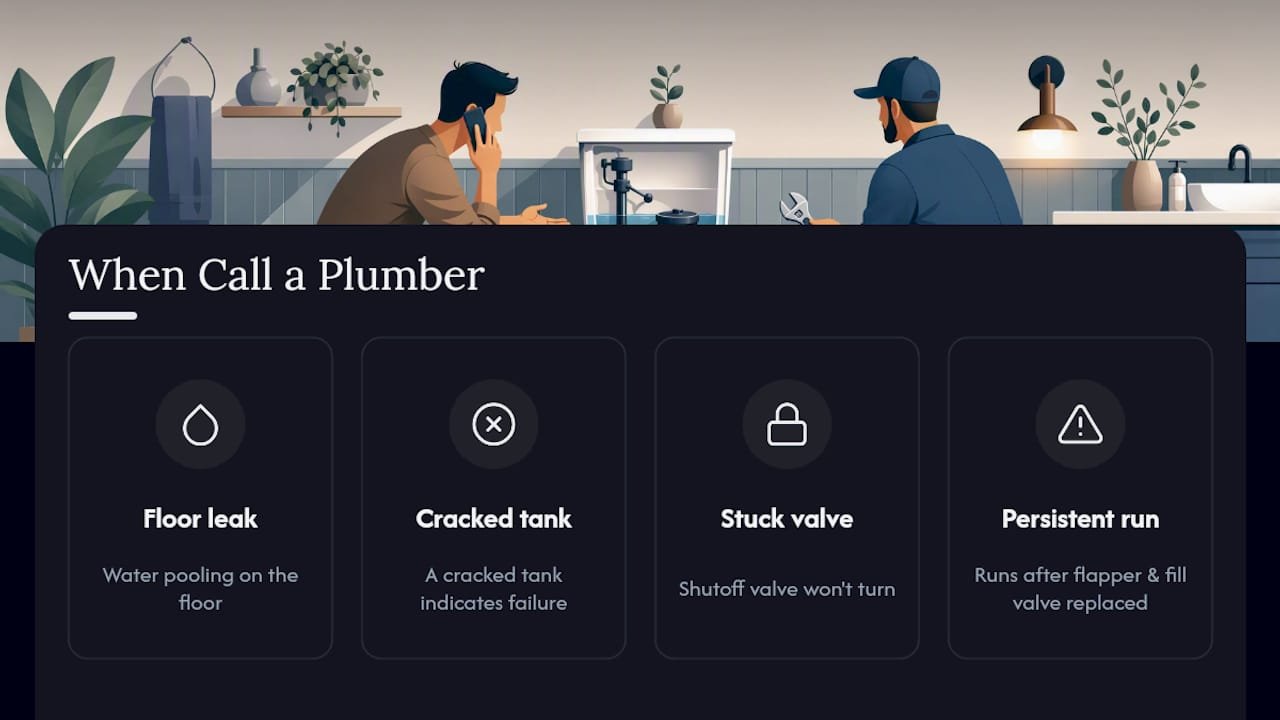
Some situations call for a professional rather than another trip to the hardware store. Water pooling on the floor, a cracked tank, or a shutoff valve that won’t turn all fall into that category. So does a toilet that keeps running after you’ve replaced the flapper and fill valve, since that usually means flush valve seat damage beyond a simple repair kit. A plumber will pressure test the supply line, inspect the seat and tank integrity, and replace whatever’s failing with parts backed by a warranty.
Our Take on Running Toilet Repairs
Homeowners often replace the flapper twice before calling anyone, not realizing the seat underneath was the actual problem the whole time. We see this constantly: a perfectly good new flapper pressed against a scored or pitted valve seat, still leaking, still running every few minutes. The dye test and water-level check exist precisely to stop that guessing cycle before it wastes a second part or a third afternoon.
Our licensed technicians run fast diagnostic visits that check the flapper, fill valve, and float in one pass rather than treating them as separate problems. We shut off the water, inspect tank integrity before touching anything, and recommend a fix based on what’s actually failing rather than what’s easiest to sell. When a part has failed once already after a proper repair, that’s usually the signal it’s time for a full valve or seat replacement instead of another patch.
— MDTECH
Book a Running Toilet Repair With MDTech Services
Mdtechservices is the local alternative to a callback loop of hardware store parts that don’t fix the real problem. A typical running toilet visit runs 30 to 60 minutes on-site: diagnosis, parts, and a working toilet before the technician leaves, instead of a guess you have to test yourself over the next week.
Book a visit if you can’t get the leak to stop, you’re seeing water on the bathroom floor, or you’ve already swapped a flapper and it’s still running. Our licensed technicians serve homeowners across Orange County and Los Angeles County and handle the plumbing fix the same day in most cases. Check our appliance and plumbing service options to see what’s included and get a visit scheduled.
Sources
For more detail on water waste and diagnostics, see the EPA WaterSense Fix a Leak Week guidance and Home Depot’s running toilet repair walkthrough.
- WaterSense at Work: Toilets — US EPA (section 3.1)
- Toilet runs intermittently? How to diagnose and fix the problem fast – HouseWise
- How to fix a running toilet | The Home Depot