Modernizing your kitchen with a new dishwasher can feel overwhelming without a clear plan, especially when balancing water lines and electrical safety. For Orange County and Los Angeles County homeowners looking to tackle this project themselves, getting organized before starting helps prevent unnecessary mistakes and delays. This guide focuses on gathering the right tools, following shop safety basics, and mastering secure connections so your installation is both smooth and worry-free. Proper preparation and attention to detail ensure safety and reliable performance.
Table of Contents
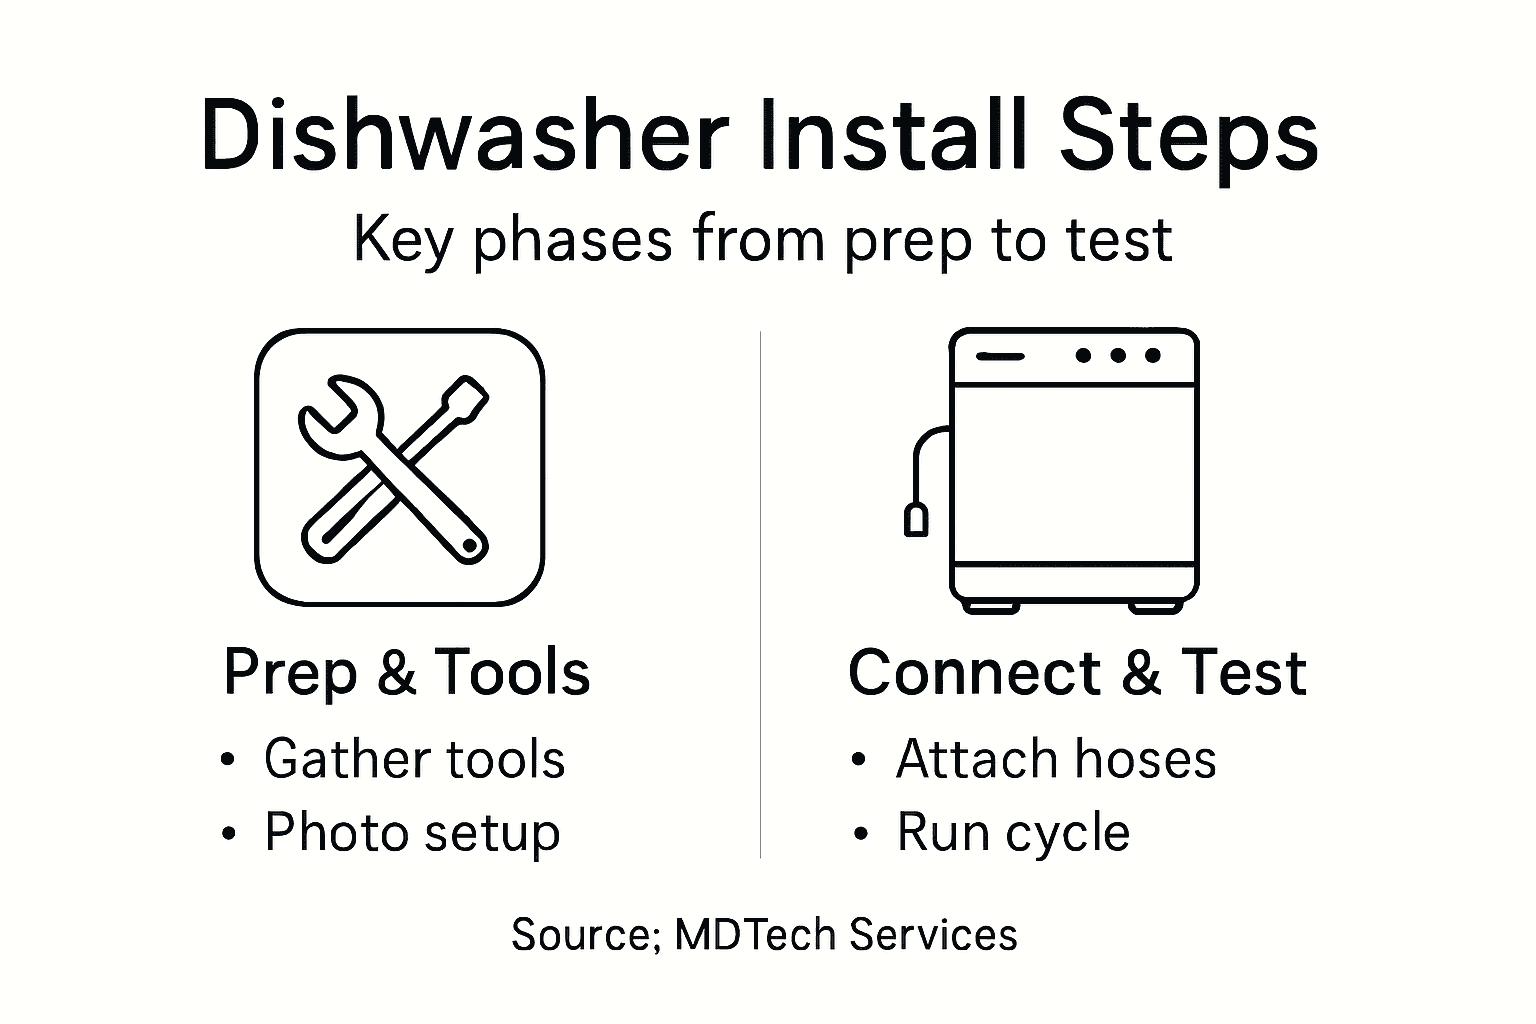
- Step 1: Gather Tools and Prepare Connections
- Step 2: Position and Secure the Dishwasher
- Step 3: Connect Water Supply and Drain Hose
- Step 4: Attach Power and Test for Leaks
- Step 5: Run a Cycle and Verify Installation
Quick Summary
| Key Point | Explanation |
|---|---|
| 1. Gather necessary tools first | Collect essential tools before starting to ensure you don’t waste time looking for them during the installation process. |
| 2. Level the dishwasher properly | Ensure the dishwasher is level to prevent future leaks and operational issues caused by tilting or wobbling. |
| 3. Secure hose connections tightly | Tighten water supply and drain hoses to avoid leaks that could lead to damage in your cabinetry or flooring. |
| 4. Monitor for leaks during testing | Check all connections for leaks as you run initial cycles to catch any issues before regular use. |
| 5. Confirm dishwashing efficiency after installation | Run a test cycle with dishes to ensure proper cleaning and drainage, indicating a successful installation. |
Step 1: Gather Tools and Prepare Connections
Before you touch anything under your sink, take a moment to gather everything you’ll need and understand what you’re working with. This step makes the difference between a smooth installation and wasted time hunting for tools halfway through the project. You’re essentially setting yourself up for success by getting organized upfront, which is especially important when dealing with both water and electrical connections that require precision and care.
Start by collecting the basic tools you’ll need: an adjustable wrench, a bucket or towel for water spillage, a screwdriver set (both Phillips and flathead), pliers, and a flashlight or headlamp so you can actually see what you’re doing under the cabinet. Next, locate your home’s water shut-off valve and electrical breaker so you know exactly where to go if something needs immediate attention. Before making any connections, turn off power to the area where you’ll be working, and shut off the water supply to prevent flooding. Take a few minutes to study your dishwasher’s manual alongside any existing plumbing and electrical setup to understand how everything connects. Wear appropriate safety gear as recommended by basic shop safety practices, including gloves to protect your hands from sharp edges and potentially contaminated water. If you’re uncertain about electrical connections at any point, don’t hesitate to call a licensed electrician rather than guessing. The goal here isn’t speed but making sure you have everything ready so the actual installation goes smoothly without interruptions or safety risks.
Pro tip: Take a photo of your existing plumbing and electrical setup with your phone before you start disconnecting anything, giving you a visual reference if you need to trace back how things were originally configured.
Step 2: Position and Secure the Dishwasher
Now that you have your tools ready and your connections planned, it’s time to position the dishwasher in its cabinet space and make sure it stays stable. This step directly affects how well your dishwasher operates over time, because a unit that wobbles or shifts can develop problems with door seals, water connections, and internal spray arm movement. Getting the positioning right means you’ll avoid headaches down the line and ensure the appliance functions as designed.
Start by carefully sliding the dishwasher into the opening, taking your time to avoid damaging the water supply lines or electrical connections you’ll be attaching soon. Once it’s positioned roughly where it needs to be, grab a level and place it on the top of the dishwasher to check for levelness in both directions. Most dishwashers have adjustable legs at the bottom that you can turn to raise or lower each corner. Make small adjustments, checking frequently with your level until the dishwasher sits completely flat without tilting in any direction. A level dishwasher prevents wobbling that can affect performance over time. After leveling, you’ll want to ensure the unit is also positioned to allow proper door clearance when opening and closing, and that nothing blocks the spray arms inside the cabinet. Make sure there’s enough space around the edges for any mounting brackets or brackets that will secure the unit to the surrounding cabinetry. Once everything looks good, you’re ready to connect the water and electrical lines, which is the final piece that holds everything together and brings your dishwasher to life.
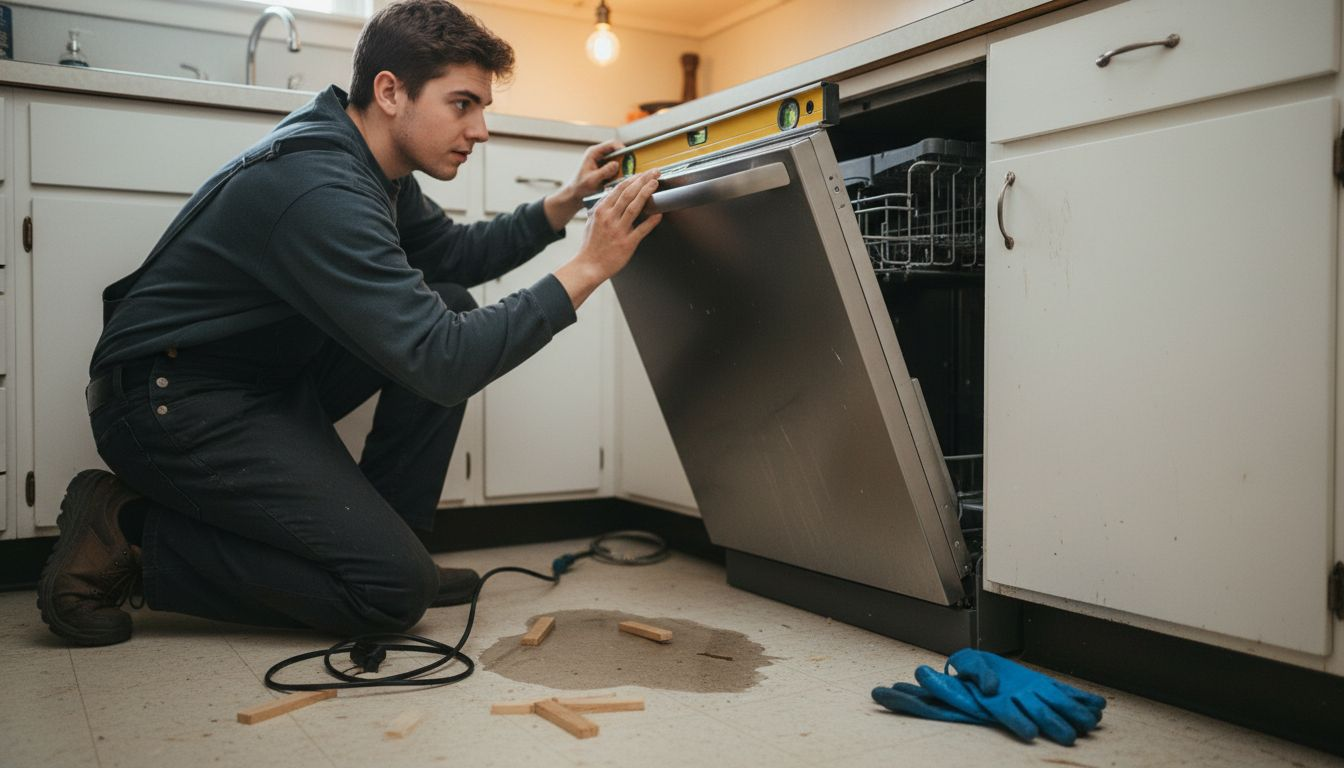
Pro tip: Use shims (thin wooden wedges) under the dishwasher legs if the floor is slightly uneven, allowing you to achieve perfect levelness without cranking the adjustable legs to their maximum height.
Step 3: Connect Water Supply and Drain Hose
This is where your dishwasher transforms from a cabinet fixture into a working appliance. Connecting the water supply and drain hose correctly determines whether you’ll have reliable operation or frustrating leaks down the road. Take your time with these connections because they’re among the most important parts of the entire installation process.
Start by locating the water shut-off valve under your sink, which you identified earlier during preparation. Most dishwashers connect to the hot water line, so you’ll want to attach to that valve rather than cold water. Before disconnecting anything, turn off the water completely at the main valve, then open a nearby faucet to release any remaining pressure in the line. When you’re ready, carefully disconnect the existing supply line and attach the dishwasher’s water supply hose using the wrench. Hand-tighten first, then use your wrench to snug it down firmly. Proper water valve connections prevent leaks that can damage your cabinetry and flooring. The drain hose attaches to the P-trap or drain line under the sink, and you’ll secure it with a hose clamp to keep it firmly in place. Make sure the drain hose loops upward before dropping down to the drain to prevent backflow, and check that nothing kinks or pinches the line.
Once both hoses are connected securely, turn the water back on slowly and watch for any drips or leaks at the connection points. Run a short test cycle to confirm water flows properly into the dishwasher and drains out completely. If you notice any leaks, turn off the water immediately and tighten the connections further. This is your chance to catch problems before they cause damage.
Pro tip: Install a separate shut-off valve specifically for your dishwasher if one doesn’t already exist, giving you the ability to service the appliance without shutting off water to your entire kitchen.
Step 4: Attach Power and Test for Leaks
You’re in the final stretch now. Connecting the electrical power and running your first test will reveal whether everything is functioning properly or if adjustments are needed. This step requires careful attention to safety, but it’s also your chance to catch any problems before regular use.
Before touching any electrical connections, make absolutely certain the circuit breaker for that outlet is switched off. If you’re not completely confident about electrical work, this is the moment to call a licensed electrician rather than risk a shock or fire hazard. Most dishwashers come with a power cord that plugs into a standard outlet, so you may simply need to insert the plug into the outlet you’ve prepared under the sink. If your dishwasher requires hardwired installation, follow the wiring diagram carefully and match each wire to its correct terminal according to the manufacturer’s instructions. Once everything is connected, turn the circuit breaker back on and listen for any unusual sounds coming from the unit. Now comes the critical test phase. Fill the sink with a few inches of water and watch underneath for any water dripping from the connections you made earlier. Look specifically at where the water supply hose connects, the drain hose area, and the P-trap. Run your dishwasher through a short wash cycle, continuing to monitor for leaks throughout the process. Water may pool slightly during operation, but it should never be dripping or spraying from connection points. If you spot any leaks, immediately turn off the water and power, then tighten the loose connection before testing again.
Once you’ve completed a full test cycle without leaks and confirmed that water drains properly, your installation is essentially complete. The dishwasher should now be ready for regular use with confidence that it will function reliably and safely.
Here’s a summary table outlining common dishwasher installation mistakes and why you should avoid them:
| Mistake | What Happens | How to Prevent |
|---|---|---|
| Skipping tool prep | Delays and frustration | Gather tools first |
| Poor leveling | Leaks and vibration | Use level and shims |
| Loose hose connections | Water damage risk | Tighten hoses securely |
| Ignoring electrical safety | Shock or fire hazard | Turn off breaker, consider an electrician |
Pro tip: Place towels under all connection points during your first full test cycle to make it easier to spot small leaks that might otherwise go unnoticed until they cause damage.
Step 5: Run a Cycle and Verify Installation
This is your moment of truth. Running a complete cycle will confirm that your installation work has paid off and your dishwasher is ready to become a reliable part of your kitchen routine. Pay close attention during this cycle because any issues will become obvious now rather than later.
Before you start, load a few dishes into the dishwasher following the manufacturer’s recommendations for proper placement and spacing. This ensures spray arms can rotate freely and water reaches all surfaces effectively. Add dishwasher detergent according to the amount recommended for your water hardness level, then select the normal or heavy wash cycle depending on how dirty your test dishes are. Close the door firmly and press start. Now spend the next few minutes observing the unit as it begins operation. Listen for any grinding, squealing, or unusual mechanical sounds that might indicate installation problems. Watch underneath the sink for any new leaks that didn’t appear during your earlier test, paying special attention to hose connections and the drain area. As the cycle runs, verify that the dishwasher operates without leaks or error codes and that water flows through the spray arms properly. You should hear water filling the unit, then the sound of the spray arms rotating during the wash phase. Allow the complete cycle to finish without interruption so you can observe the entire process from start to finish.
When the cycle ends, open the door carefully to let steam escape, then inspect your test dishes. They should be clean with no residue or spots remaining. Check inside the tub for standing water, which shouldn’t be present after the drain cycle completes. If everything looks good and you haven’t noticed any leaks or error codes, congratulations. Your dishwasher installation is complete and successful. If you did notice problems, document them and contact a professional service technician to address any issues before regular use.
Compare the final checks you should perform before and after the first dishwasher cycle:
| Timing | What to Inspect | Desired Outcome |
|---|---|---|
| Before first cycle | Connection points | All lines dry and secure |
| During cycle | Sound and drainage | No grinding or leaks |
| After cycle | Dishes and tub | Clean dishes, no standing water |
Pro tip: Run a sanitizing cycle on your second test to ensure the dishwasher reaches the temperature and performance standards required for safe operation, giving you confidence in its ability to properly clean your dishes long term.
Ensure a Perfect Dishwasher Installation with Expert Support
Installing a dishwasher properly requires attention to detail, from gathering the right tools and leveling the appliance to securing water and power connections safely. Many homeowners face challenges with leaks, electrical safety, or poor leveling that lead to costly repairs or appliance malfunctions. If you want to avoid these common pitfalls and ensure your new dishwasher works flawlessly from day one, professional help can make all the difference.

Trust the licensed technicians at MDTech Services who specialize in appliance installation and repair across Orange County and Los Angeles County. Our team brings expertise in handling water valve connections and electrical wiring safely while providing responsive and reliable service. Ready to enjoy a hassle-free dishwasher setup? Contact MDTech Services today to book an appointment and take the stress out of your home appliance installations. Don’t wait until minor leaks or faulty connections turn into major problems. Let us help you get it right the first time.
Frequently Asked Questions
What tools do I need to install a dishwasher?
You will need an adjustable wrench, screwdriver set, pliers, a bucket or towel, and a flashlight. Gather these tools before starting to ensure an efficient installation process.
How do I ensure my dishwasher is level during installation?
Use a level to check the top of the dishwasher after positioning it in the cabinet. Adjust the legs as needed, making sure the unit sits flat to prevent future leaks and performance issues.
What is the correct way to connect the water supply and drain hose?
Attach the water supply hose to the hot water line and secure the drain hose to the P-trap under the sink. Ensure the drain hose loops upward to prevent backflow, and check for tight connections to avoid leaks.
How do I test the dishwasher for leaks after installation?
After connecting the water supply and power, fill the sink with a few inches of water and monitor all connection points for leaks. Run a short cycle and pay attention to any unusual sounds or leakage, addressing any issues immediately.
How should I load the dishwasher for the first cycle?
Load a few dishes according to the manufacturer’s guidelines on spacing and placement to allow for effective cleaning. This will help ensure your dishwasher operates efficiently and cleans properly during its first use.
What should I do if I notice problems during the first cycle?
If you notice leaks or unusual sounds, turn off the water and power immediately, then check tightness at all connections. Document any issues and consider contacting a professional for assistance before regular use.
Recommended
- Dishwasher repair installation service The Ultimate Guide to Dishwasher Repair: Troubleshooting Tips and Tricks – MDTech Services
- Dishwasher repair or Installation Garbage disposal repair or Installation Airgap repair pump repair Fixing Dishwashers, Garbage Disposals, and More! – MDTech Services
- 7-Step Appliance Replacement Checklist for Homeowners
- Washer Washing machine repair or Installation service Repairing Your Washer: Expert Tips for Fixing and Installing Washing Machines – MDTech Services
- Kotihandi | Kotipalvelut taskussasi