More than 60 percent of American households experience unexpected HVAC breakdowns during heat waves or cold snaps. For homeowners in Orange County and Los Angeles County, a faulty furnace or air conditioner can quickly disrupt daily life and put comfort at risk. This guide shares practical, step by step troubleshooting tips so you can prepare your home for a professional inspection and address common problems before they escalate.
Table of Contents
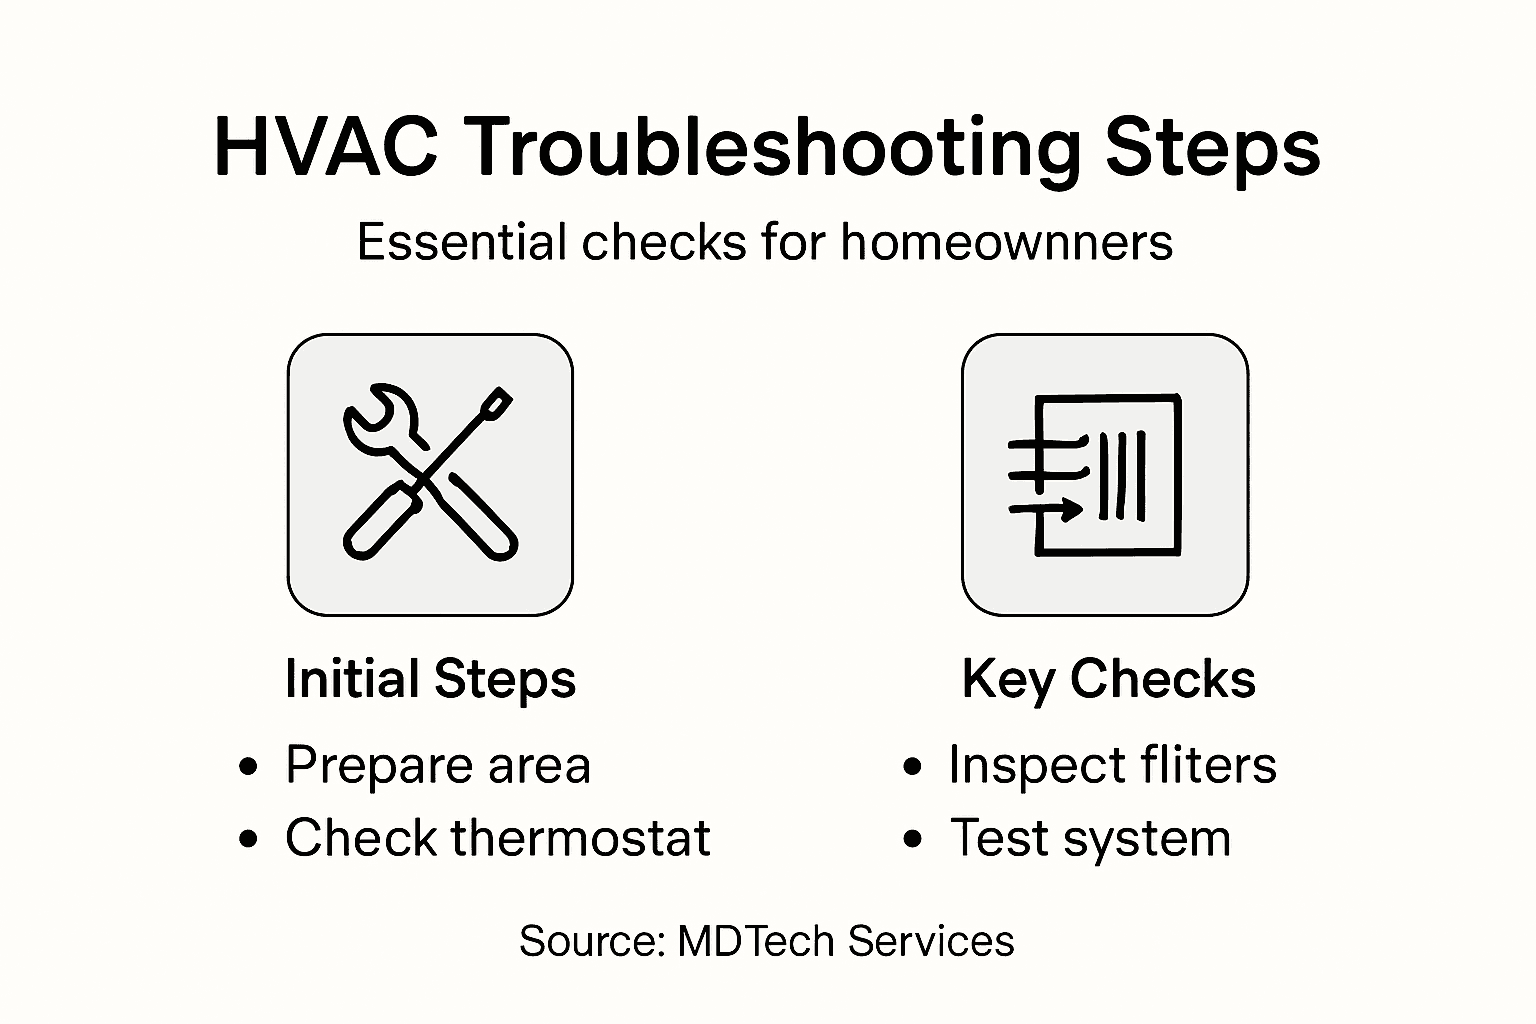
- Step 1: Prepare For Safe HVAC Inspection
- Step 2: Check Thermostat And Power Settings
- Step 3: Inspect Air Filters And Vents
- Step 4: Evaluate System Components For Faults
- Step 5: Test HVAC Operation And Confirm Resolution
Quick Summary
| Important Insight | Explanation |
|---|---|
| 1. Clear Access Around HVAC Equipment | Remove obstacles within a 3-foot radius of HVAC units to allow safe inspection access for technicians. |
| 2. Gather Key Documentation | Have maintenance logs, warranty info, and photos ready to assist technicians in diagnosing issues quickly. |
| 3. Check Thermostat and Power Settings | Ensure the thermostat is operational and verify that there are no tripped circuit breakers affecting your HVAC system’s power. |
| 4. Inspect Air Filters and Vents | Regularly check air filters for dirt and ensure vents are unobstructed to maintain system efficiency and air quality. |
| 5. Monitor HVAC Performance After Inspection | Run the system through heating and cooling cycles to confirm that it operates correctly and addresses previous issues. |
Step 1: Prepare for Safe HVAC Inspection
Preparing your home for a professional HVAC inspection requires strategic planning and safety awareness. Your goal is to create an accessible environment that enables technicians to thoroughly evaluate your heating and cooling systems without unnecessary obstacles or risks.
Start by clearing a wide path around all HVAC equipment including your furnace, air conditioner, and any external units. Remove any stored items like boxes, tools, or cleaning supplies within a minimum 3 foot radius of the system. This ensures safe inspection protocols can be followed without impediment. Verify all electrical circuits are functioning and circuit breakers are easily accessible. Turn off any portable heaters or fans near the inspection area to prevent interference with diagnostic equipment.
Take time to gather relevant documentation before the technician arrives. Collect maintenance records, previous repair invoices, and warranty information for your HVAC system. Having these documents readily available helps technicians understand your system’s history and potentially diagnose issues more quickly. Check that all system access points like vents, registers, and filter compartments are unlocked and easily reachable.
Pro tip: Take clear digital photos of your HVAC system from multiple angles before the inspection to document its pre inspection condition and create a visual reference for potential future maintenance needs.
For quick reference, here are recommended documentation and photo records to keep before your HVAC inspection:
| Record Type | Purpose | Frequency to Update |
|---|---|---|
| Maintenance Logs | Track service history | After each inspection |
| Warranty Information | Verify coverage details | Annually or when updated |
| Pre-inspection photos | Document system condition | Before each inspection |
| Repair Invoices | Track previous fixes | After each repair |
Step 2: Check Thermostat and Power Settings
Before diving into complex HVAC diagnostics, your first troubleshooting task involves carefully examining your thermostat and overall power configuration. By systematically verifying power connections and settings, you can potentially resolve many common heating and cooling system issues without requiring professional intervention.
Start by checking your thermostat’s basic functionality. Confirm that the display is illuminated and showing the correct time and temperature. Verify the system is set to the appropriate mode (heating or cooling) and that the temperature setting is correct for your comfort needs. Troubleshooting thermostat power issues involves ensuring the device has working batteries or is properly connected to an electrical outlet. If the display appears dim or unresponsive, try replacing the batteries or checking the circuit breaker to rule out simple power interruptions.
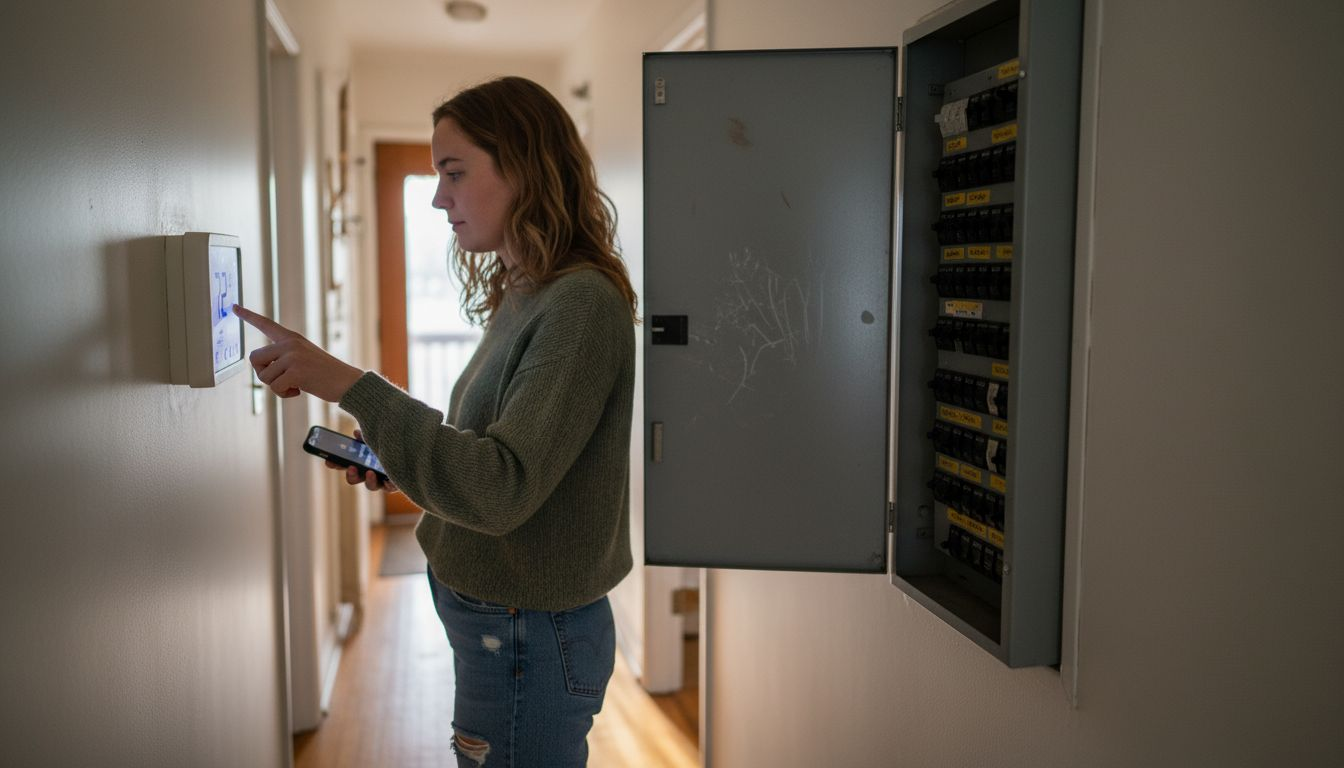
Next, inspect your home’s electrical panel for any tripped circuit breakers associated with your HVAC system. A tripped breaker can interrupt power to your thermostat or heating and cooling equipment without obvious visual indicators. Carefully reset any switches that appear to be in the middle position between on and off. After resetting, return to your thermostat and confirm it powers back on with full functionality. If you continue experiencing issues, this might indicate a more complex electrical problem requiring professional assessment.
Pro tip: Consider taking a photo of your thermostat settings and circuit breaker configuration before making any changes to help you restore original settings if needed.
Step 3: Inspect Air Filters and Vents
Maintaining clean air filters and unobstructed vents is crucial for your HVAC system’s performance and your home’s indoor air quality. This step involves a careful examination of your system’s filtration components to ensure optimal airflow and efficiency.
Begin by locating your HVAC system’s air filter. Most residential systems have filters situated near the return air duct or inside the air handler. Carefully remove the filter and inspect its condition. Proper filter maintenance involves checking for excessive dust accumulation, visible debris, or signs of damage. A clean filter should allow light to pass through easily. If the filter appears dark, clogged, or has been in use for more than three months, it’s time for a replacement. When selecting a new filter, ensure you match the exact size and type recommended for your specific HVAC system.
Next, conduct a thorough inspection of all air vents and registers throughout your home. Walk from room to room and check that each vent is fully open and free from obstructions like furniture, curtains, or accumulated dust. Use a vacuum with a brush attachment to gently clean around the vent edges and remove any visible dust or debris. Pay special attention to vents in less frequently used rooms, as these can often become blocked or neglected. If you notice significant dust buildup or restricted airflow, this could indicate a need for more comprehensive system cleaning or potential issues with your ductwork.
Pro tip: Mark your calendar with a recurring reminder to check and replace your air filters every three months or more frequently if you have pets or live in a particularly dusty environment.
Step 4: Evaluate System Components for Faults
Identifying potential issues within your HVAC system requires a systematic and careful approach to component evaluation. Your goal is to detect early warning signs of mechanical problems that could lead to system failure or reduced performance.
Start by conducting a visual inspection of critical HVAC components. Listen carefully for any unusual sounds like grinding, squealing, or clicking when the system operates. Check the condenser unit outside for signs of physical damage, rust, or debris accumulation. Examine electrical connections for any signs of corrosion or loose wiring. Comprehensive HVAC fault analysis involves looking for subtle indicators of potential system stress. Pay close attention to refrigerant lines for any signs of frost or ice buildup, which could indicate refrigerant leaks or compressor problems. Look for water pooling around the indoor unit, as this might suggest drainage issues or condensate line blockages.
Next, assess the system’s performance by monitoring its operational characteristics. Note how long it takes for your home to reach the desired temperature and whether certain rooms seem to heat or cool less effectively than others. Check the airflow from various vents to ensure consistent and strong output. Unusual temperature variations or inconsistent performance could signal underlying mechanical issues that require closer investigation. If you notice significant performance discrepancies or hear persistent unusual sounds, it might be time to consider professional diagnostic services.
Here’s a summary of typical HVAC issues and what they may indicate:
| Symptom Observed | Possible Cause | Component to Inspect |
|---|---|---|
| Uneven room temperatures | Blocked vents or duct leaks | Air vents, ductwork |
| Strange odors | Mold or dust buildup | Air filter, vent covers |
| Unusual noises (grinding) | Mechanical failure | Blower motor, bearings |
| Weak airflow | Dirty filter or fan issue | Air filter, blower fan |
| Frequent cycling | Faulty thermostat | Thermostat, control panel |
Pro tip: Keep a maintenance log documenting your observations during each inspection, which can help identify developing issues and provide valuable information for future HVAC technicians.
Step 5: Test HVAC Operation and Confirm Resolution
After performing your initial troubleshooting steps, the final critical phase is systematically testing your HVAC system to confirm that the issues have been successfully resolved. This comprehensive verification ensures your system returns to optimal performance and provides the comfort you expect.
Begin by running your HVAC system through a complete operational cycle. Turn on the thermostat and set it to both heating and cooling modes, allowing each function to operate for approximately 15 to 20 minutes. Testing HVAC system performance requires careful monitoring of several key indicators. Check the airflow from each vent to ensure it is strong and consistent. Listen for any unusual sounds like grinding, squealing, or excessive rattling that might indicate unresolved mechanical problems. Pay attention to temperature variations across different rooms and verify that the system reaches and maintains your desired temperature settings without frequent cycling or extended run times.
Next, conduct a detailed sensory and performance assessment. Walk through each room in your home and note the temperature, humidity levels, and overall comfort. Check for any lingering issues like uneven cooling or heating, strange odors, or unexpected noises. If the system appears to be functioning normally and meeting your comfort requirements, you have likely successfully resolved the initial problems. However, if you continue to experience persistent issues or notice any new unusual behaviors, it may be time to consult a professional HVAC technician for a more comprehensive diagnostic evaluation.
Pro tip: Document the specific symptoms you initially encountered and compare them to the system performance after your troubleshooting to create a clear record of your maintenance efforts.
Take Control of Your HVAC Troubleshooting with Expert Repair Solutions
Experiencing inconsistent temperatures or unusual noises during your HVAC system checks can be frustrating and stressful. This article’s detailed troubleshooting process highlights how addressing thermostat settings, air filter conditions, and component faults are critical first steps. However, when issues persist or feel overwhelming, relying on a trusted professional can save you time and ensure your home’s comfort and safety.
MDTech Services understands these challenges deeply as a leading local provider specializing in residential HVAC repair alongside appliance services. Our licensed technicians in Orange County and Los Angeles County bring fast, reliable solutions to restore your system’s performance. With a safety-focused approach and expertise in complex diagnostics, we help you avoid prolonged discomfort or costly damage.

Don’t let HVAC problems disrupt your household comfort any longer. Visit MDTech Services now to schedule your expert appointment. Review our detailed service options and discover how we combine thorough inspection with professional repairs that align perfectly with the proactive troubleshooting guidance found here. Take the next step toward lasting comfort and peace of mind today.
Frequently Asked Questions
How do I prepare my home for an HVAC inspection?
To prepare for an HVAC inspection, clear a 3-foot radius around all equipment, ensuring safe access for technicians. Remove any stored items and verify that electrical circuits are functioning before the technician arrives.
What should I check on my thermostat before calling for HVAC service?
Start by confirming that your thermostat display is functioning and set correctly for heating or cooling. If the display is dim or unresponsive, try replacing the batteries or checking the circuit breaker.
How often should I replace my HVAC air filters?
It is recommended to check and replace your HVAC air filters every three months, or more frequently if you have pets or live in a dusty environment. Mark your calendar to remind yourself, ensuring consistent air quality and system efficiency.
What signs indicate potential faults in my HVAC system?
Watch for unusual noises, uneven room temperatures, or weak airflow as these can indicate potential faults. Take note of these symptoms and inspect components like the air filter, vents, and electrical connections for any visible issues.
How can I test the operation of my HVAC system after troubleshooting?
Run your HVAC system in both heating and cooling modes for 15 to 20 minutes, checking airflow and listening for unusual sounds. Document any temperature variations and lingering issues to determine if further professional evaluation is needed.
What documentation should I gather before an HVAC inspection?
Collect maintenance records, warranty information, and previous repair invoices to provide your technician with valuable insights into your system’s history. Having these documents ready can help speed up the diagnostic process.
Recommended
- Seasonal HVAC Maintenance: Boosting Efficiency & Savings
- 7 Key Questions to Ask Appliance Technicians Before Hiring
- Water Heater Repair: Safe Solutions for California Homes
- Hood repair installation service Vent Blower Duct repair installation service.Transforming Kitchens: Hood Repair and Installation for a Better Cooking Experience – MDTech Services