Every year, over one million American households attempt their own appliance repairs, yet surprisingly high numbers of accidents still occur due to skipped safety steps. Tackling home repairs yourself promises savings, but overlooking important precautions puts both people and appliances at risk. This guide breaks down the essential steps every American needs to follow, from preparing tools to ensuring each repair is safe, efficient, and successful.
Table of Contents
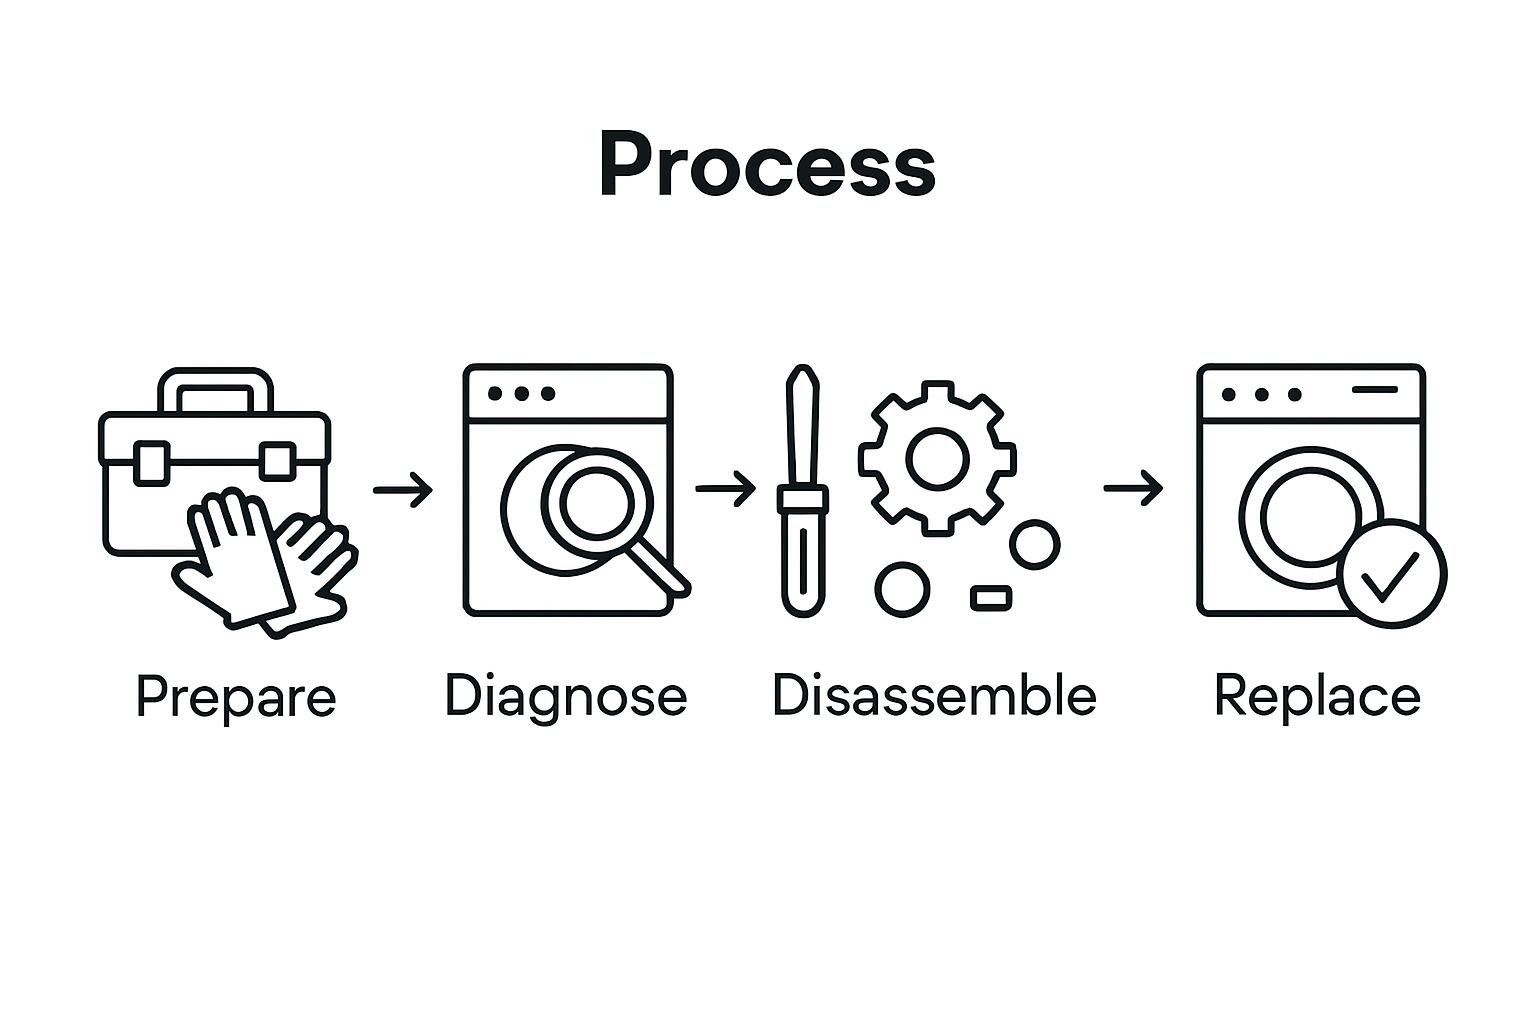
- Step 1: Prepare Tools And Ensure Safety
- Step 2: Diagnose The Appliance Issue
- Step 3: Disassemble Key Appliance Components
- Step 4: Replace Or Repair Faulty Parts
- Step 5: Reassemble And Test Appliance Function
Quick Summary
| Key Insight | Explanation |
|---|---|
| 1. Prioritize Safety First | Always ensure safety by using proper tools and following manufacturer instructions before starting repairs. |
| 2. Systematic Diagnosis is Essential | Conduct a thorough inspection to identify symptoms and potential mechanical or electrical issues before proceeding with repairs. |
| 3. Organize Components for Reassembly | Photograph the appliance before disassembly and label parts to ensure correct reassembly once repairs are completed. |
| 4. Use Genuine Replacement Parts | Source replacement components that match the specific model to ensure compatibility and avoid potential appliance damage. |
| 5. Test Thoroughly After Repairs | After reassembly, carefully test the appliance through a complete operational cycle to verify functionality and safety. |
Step 1: Prepare Tools and Ensure Safety
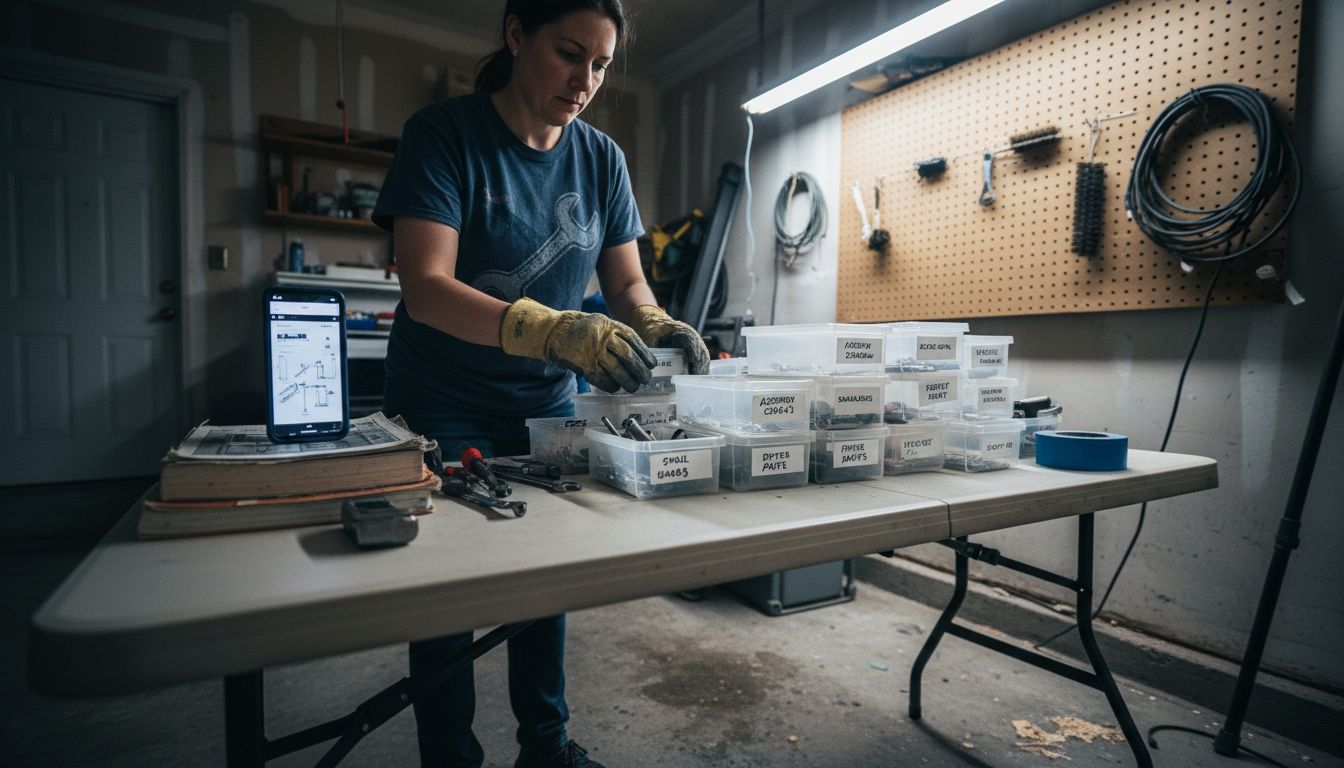
Before diving into any appliance repair project, safety must be your top priority. Gathering the right tools and understanding potential electrical risks can prevent accidents and protect both you and your equipment. The Electrical Safety Foundation International recommends carefully following manufacturer instructions to minimize potential hazards during home repairs.
Start by assembling a comprehensive repair kit that includes essential safety equipment. Your toolkit should contain insulated screwdrivers, work gloves, safety glasses, a voltage tester, wire cutters, adjustable wrench, multimeter, and electrical tape. Always ensure your workspace is clean, well-lit, and free from potential tripping hazards. Unplug the appliance from its power source before beginning any diagnostic or repair work, and if possible, turn off the corresponding circuit breaker for an extra layer of protection.
One critical safety tip is to never attempt repairs on complex electrical systems if you are uncertain about the process. According to Johns Hopkins Medicine’s household safety guidelines, it is crucial to recognize your own skill limitations and be willing to contact professional technicians for complex repairs. While DIY can save money, your personal safety always takes precedence over potential cost savings.
With your tools prepared and safety measures in place, you are now ready to move forward with the diagnostic phase of your appliance repair journey.
Step 2: Diagnose the Appliance Issue
Now that you have your safety gear and tools ready, the next critical phase is systematically diagnosing what might be wrong with your appliance. Consumer Reports recommends carefully examining specific components and symptoms to determine the potential underlying issue before attempting any repairs.
Start by conducting a comprehensive visual and auditory inspection. Listen for unusual sounds like grinding, buzzing, or clicking that could indicate mechanical problems. Check for visible signs of wear such as frayed electrical cords, rust, water damage, or loose components. Look for error codes on digital displays if your appliance has one. Pay attention to performance changes like reduced cooling in refrigerators, longer drying times in dryers, or weak heating elements in ovens. These symptoms can help pinpoint potential mechanical or electrical failures.
Smart home technology now offers advanced diagnostic capabilities that can help homeowners detect issues before they become major problems. If your appliance is newer and equipped with diagnostic features, consult the user manual to understand how to access built in self diagnostic tools. When in doubt about the specific problem or repair complexity, it is always recommended to consult a professional technician who can provide a precise assessment.
With a clear understanding of the potential issues, you are now prepared to move forward to the next stage of your appliance repair process.
Step 3: Disassemble Key Appliance Components
Disassembling an appliance requires precision, patience, and careful organization. Consumer Reports cautions that component disassembly can be complex, warning that tasks like replacing internal mechanisms might exceed typical homeowner repair skills.
Before beginning disassembly, prepare a clean workspace with good lighting and lay out several essential items. Take a smartphone photo of the appliance before disassembly to serve as a reference for reassembly. Use magnetic trays or labeled containers to organize screws and small parts. Work systematically by removing outer panels first using appropriate screwdrivers. Carefully disconnect electrical connections and note their original positions. Appliance repair safety procedures emphasize understanding electrical theory and proper component handling to prevent potential accidents during the disassembly process.
One critical warning is to never force components apart. If something feels stuck, pause and reassess rather than risking damage. Gentle pressure and the correct tool are key. Most appliances have specific disassembly sequences detailed in their service manuals. When uncertain about a specific step or encountering unexpected resistance, it is always safer to consult a professional technician who can provide expert guidance.
With components carefully removed and documented, you are now prepared to inspect and diagnose specific mechanical issues in the next phase of your repair process.
Step 4: Replace or Repair Faulty Parts
Consumer Reports recommends carefully approaching part replacement, emphasizing the importance of consulting your appliance’s owner manual for model specific guidance. Before purchasing replacement parts, ensure you have accurately identified the specific component that needs repair by cross referencing your diagnostic findings with the appliance schematic.
Begin by sourcing genuine manufacturer replacement parts or high quality aftermarket alternatives that match your appliance’s exact specifications. Take precise measurements and note model numbers to guarantee compatibility. When removing damaged components, photograph their original positioning and arrangement. Carefully disconnect electrical connections using insulated tools and follow proper safety protocols. Some repairs might require specialized tools like snap ring pliers, torque wrenches, or multimeters to ensure precise installation.
Manufacturers often create barriers to accessing comprehensive repair information, making part replacement challenging for average homeowners. If you encounter significant complexity during the replacement process or feel uncertain about any step, it is always recommended to contact a professional technician. Some repairs require specialized knowledge and could potentially void your appliance warranty if performed incorrectly.
With the faulty parts successfully replaced, you are now ready to reassemble and test your appliance to confirm the repair was successful.
Step 5: Reassemble and Test Appliance Function
Appliance Repair School emphasizes the critical importance of thorough testing after reassembly to ensure the appliance operates safely and correctly. Begin by methodically replacing all panels and components in the exact reverse order of disassembly, referencing the photographs you took during the initial disassembly process.
Start the testing process carefully. Plug in the appliance and power it on using a controlled approach. Observe its performance closely during initial startup checking for any unusual sounds, unexpected movements, or signs of electrical irregularities. Run a complete operational cycle to verify that all functions work precisely as they should. Pay special attention to mechanical movements, temperature regulation, electrical connections, and overall system integration.
Consumer Reports warns that DIY repairs might potentially impact manufacturer warranties, so document every step of your repair process. If you encounter any persistent issues or feel uncertain about the appliance’s performance, it is recommended to contact a professional technician for a comprehensive evaluation. Your careful reassembly and systematic testing are crucial steps in successfully restoring your appliance to full working condition.
Get Professional Help with Your Appliance Repairs Today
If you found yourself overwhelmed while following the step-by-step appliance repair process it is completely understandable. Diagnosing issues, safely disassembling parts, and replacing components can quickly become complex and risky without professional expertise. Many homeowners struggle with ensuring safety and accuracy, especially when handling electrical components or proprietary appliance parts. At MDTech Services, we specialize in precisely these challenges offering reliable and safety-focused appliance repair solutions across Orange County and Los Angeles County.

Don’t let frustration or safety concerns hold you back. Trust our licensed technicians to efficiently diagnose and fix your refrigerator, ice machine, or any major household appliance. We combine deep technical knowledge with a customer-first approach so you can enjoy peace of mind knowing your repairs are done right the first time. Experience responsive service and expert support by booking your appointment now at MDTech Services. Take the next step to restore your home appliances quickly and safely with trusted local professionals you can count on.
Frequently Asked Questions
What tools do I need for appliance repair?
You will need a comprehensive repair kit that includes insulated screwdrivers, work gloves, safety glasses, a voltage tester, wire cutters, an adjustable wrench, a multimeter, and electrical tape. Assemble these tools to ensure you are prepared and safe while working on your appliance.
How can I diagnose the issue with my appliance?
Start by conducting a visual and auditory inspection of the appliance, listening for unusual sounds and checking for visible damage. Assess symptoms such as poor performance or error codes to identify potential issues effectively.
What precautions should I take when disassembling an appliance?
Ensure you have a clean workspace and organize screws and small parts using labeled containers. Take photos during disassembly to aid in reassembly and never force components apart; gentle pressure and the right tools are essential.
How do I know which parts to replace in my appliance?
Consult your appliance’s owner manual to identify the specific parts that are faulty based on your diagnostic findings. Accurately measure and note model numbers to ensure compatibility when sourcing replacement parts.
What steps should I follow after reassembling my appliance?
After reassembly, plug in the appliance and cautiously power it on while observing its performance for any irregularities. Run through a complete operational cycle to confirm that all functions are working correctly, checking for unusual sounds or behavior.
When should I call a professional for appliance repair?
If you encounter complexity during disassembly, feel uncertain about the repair process, or if the appliance shows persistent issues after testing, it is best to contact a professional technician. Their expertise can prevent further damage and ensure safety.
Recommended
- Appliance repair or Installation service Appliance Repair vs. Replacement: How to Make the Right Decision for Your Home – MDTech Services
- Dishwasher repair installation service The Ultimate Guide to Dishwasher Repair: Troubleshooting Tips and Tricks – MDTech Services
- How to Schedule Appliance Repair for Fast Local Service – MDTech Services
- Complete Guide to Residential Appliance Installation – MDTech Services