Most American households in Orange and Los Angeles County rely on multiple appliances every day, yet over 15,000 residential fires each year are linked to electrical or gas hazards. Keeping your home safe starts with understanding the essentials of a thorough appliance safety inspection. If you want to prevent hidden risks and stay fully compliant with safety codes, learning how to properly inspect and document your appliances can protect both your investment and your peace of mind.
Table of Contents
- Step 1: Prepare Your Workspace And Gather Tools
- Step 2: Shut Off Power And Disconnect Appliances
- Step 3: Inspect Electrical And Gas Connections
- Step 4: Check For Physical Damage And Signs Of Wear
- Step 5: Test Appliance Safety Features And Functions
- Step 6: Document Findings And Schedule Professional Help
Quick Summary
| Key Message | Explanation |
|---|---|
| 1. Organize Your Workspace and Tools | Clear a safe, well-lit area and gather necessary tools for appliance safety inspection to ensure a thorough examination. |
| 2. Shut Off Power and Disconnect Appliances | Always turn off circuit breakers and disconnect appliances before inspections to prevent electrical hazards during the process. |
| 3. Inspect Electrical and Gas Connections | Visually check for wear or damage in electrical and gas connections to identify potential safety hazards before they escalate. |
| 4. Document Inspection Findings | Create a detailed report of your findings, including appliance information and concerns to facilitate professional follow-up if needed. |
| 5. Schedule Professional Assistance for Issues | Prioritize contacting licensed technicians for any serious safety concerns discovered during your inspection to ensure proper repairs are made. |
Step 1: Prepare Your Workspace and Gather Tools
Before diving into your appliance safety inspection, you need a well-organized workspace with the right tools and safety equipment. This preparation step sets the foundation for a thorough and safe examination of your home appliances.
Start by clearing a clean, open area where you can comfortably work and spread out your inspection materials. You’ll want a sturdy table or workspace with good lighting. Gather essential tools like a detailed safety inspection checklist, measuring tape, flashlight, screwdrivers, electrical tester, and a notepad for documenting findings. Check all your tools beforehand to ensure they are in good working condition and free from damage.
Protective gear is crucial. Put on safety glasses, work gloves, and comfortable clothing that allows easy movement. When working with electrical components, consider using insulated tools to minimize risk. Inspect your electrical cords and ensure they are intact and properly grounded. Remove any potential slip or trip hazards from your workspace to create a safe working environment.
Here’s a summary of essential tools and their purposes during an appliance safety inspection:
| Tool or Item | Main Purpose | Recommended Use |
|---|---|---|
| Safety glasses | Protect eyes from debris or sparks | Wear during any inspection task |
| Flashlight | Illuminate dark areas | Check behind and under appliances |
| Electrical tester | Confirm absence of live current | Verify before touching wiring |
| Measuring tape | Measure clearances and spaces | Ensure safe installation distances |
| Notepad/camera | Record findings and issues | Document concerns for follow-up |
Pro tip: Keep a small first aid kit nearby and make sure your mobile phone is charged in case you need to quickly contact a professional if you encounter any unexpected issues during your appliance safety inspection.
Step 2: Shut Off Power and Disconnect Appliances
Before beginning your safety inspection, you must completely disconnect electrical appliances to prevent potential electrical hazards. This critical step protects you from unexpected electrical currents and ensures a safe working environment.
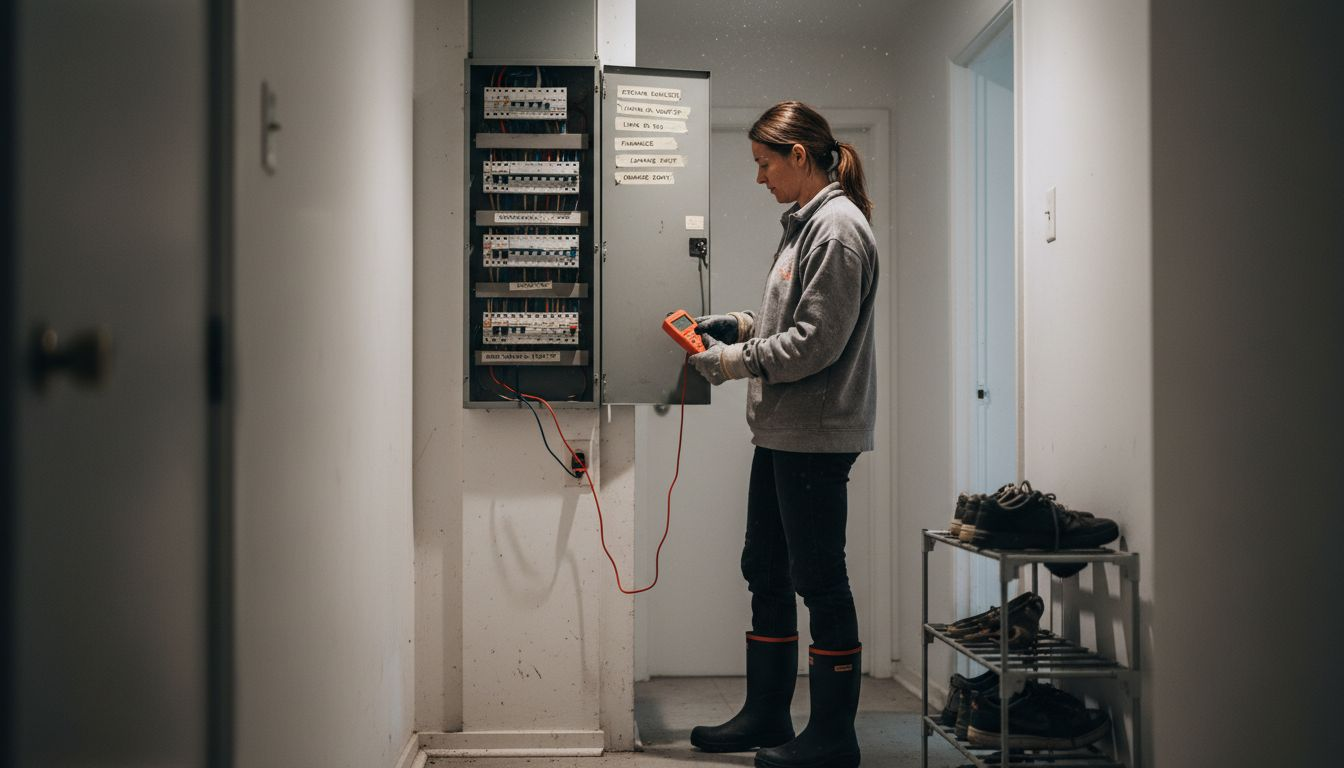
Start by locating your home’s main electrical panel and carefully switch off the circuit breakers corresponding to the appliances you will be inspecting. When possible, use the lockout-tagout procedure to prevent accidental re-energization. This involves identifying all energy sources, applying locks to prevent power restoration, and ensuring only you have control of the key. For each appliance, unplug it from the electrical outlet or disconnect it from its hardwired connection. The National Electrical Code recommends having service disconnects within sight of equipment to facilitate this process safely.
Double check that each appliance is completely powered down by using a voltage tester to confirm no electrical current is present. Carefully examine the electrical cords for any signs of wear, fraying, or damage before proceeding with your inspection. Remember that different appliances might have unique disconnection requirements based on their specific installation type.
Pro tip: Always wear rubber soled shoes and use insulated tools when working around electrical systems to provide an extra layer of personal protection.
Step 3: Inspect Electrical and Gas Connections
Carefully examining electrical and gas connections is a critical step in ensuring the safety and functionality of your home appliances. Your goal is to identify potential hazards before they become serious problems that could compromise your home’s safety.
Begin by visually inspecting all electrical connections for signs of wear, corrosion, or damage. Look closely at power cords, outlets, and junction points using good lighting. Pay special attention to grounding and bonding systems to ensure they are properly installed and maintained. For gas connections, use a gas leak detector or soapy water solution to check for any small bubbles that might indicate a leak. Examine gas line fittings, valves, and connections for signs of rust, wear, or potential damage that could compromise their integrity.
If you detect any unusual signs such as frayed wires, loose connections, or potential gas leaks, do not attempt to repair them yourself. These issues require professional assessment and repair to prevent potential electrical fires or gas explosions. Take detailed notes of any concerns you discover during your inspection, which can help a professional technician quickly identify and address potential problems.
Pro tip: Keep a small notebook and flashlight nearby during your inspection to document and closely examine hard to see connection points.
Step 4: Check for Physical Damage and Signs of Wear
Physical damage inspection is a critical step in ensuring the longevity and safety of your home appliances. Your goal is to identify potential issues that might compromise the appliance’s performance or create safety hazards before they become serious problems.
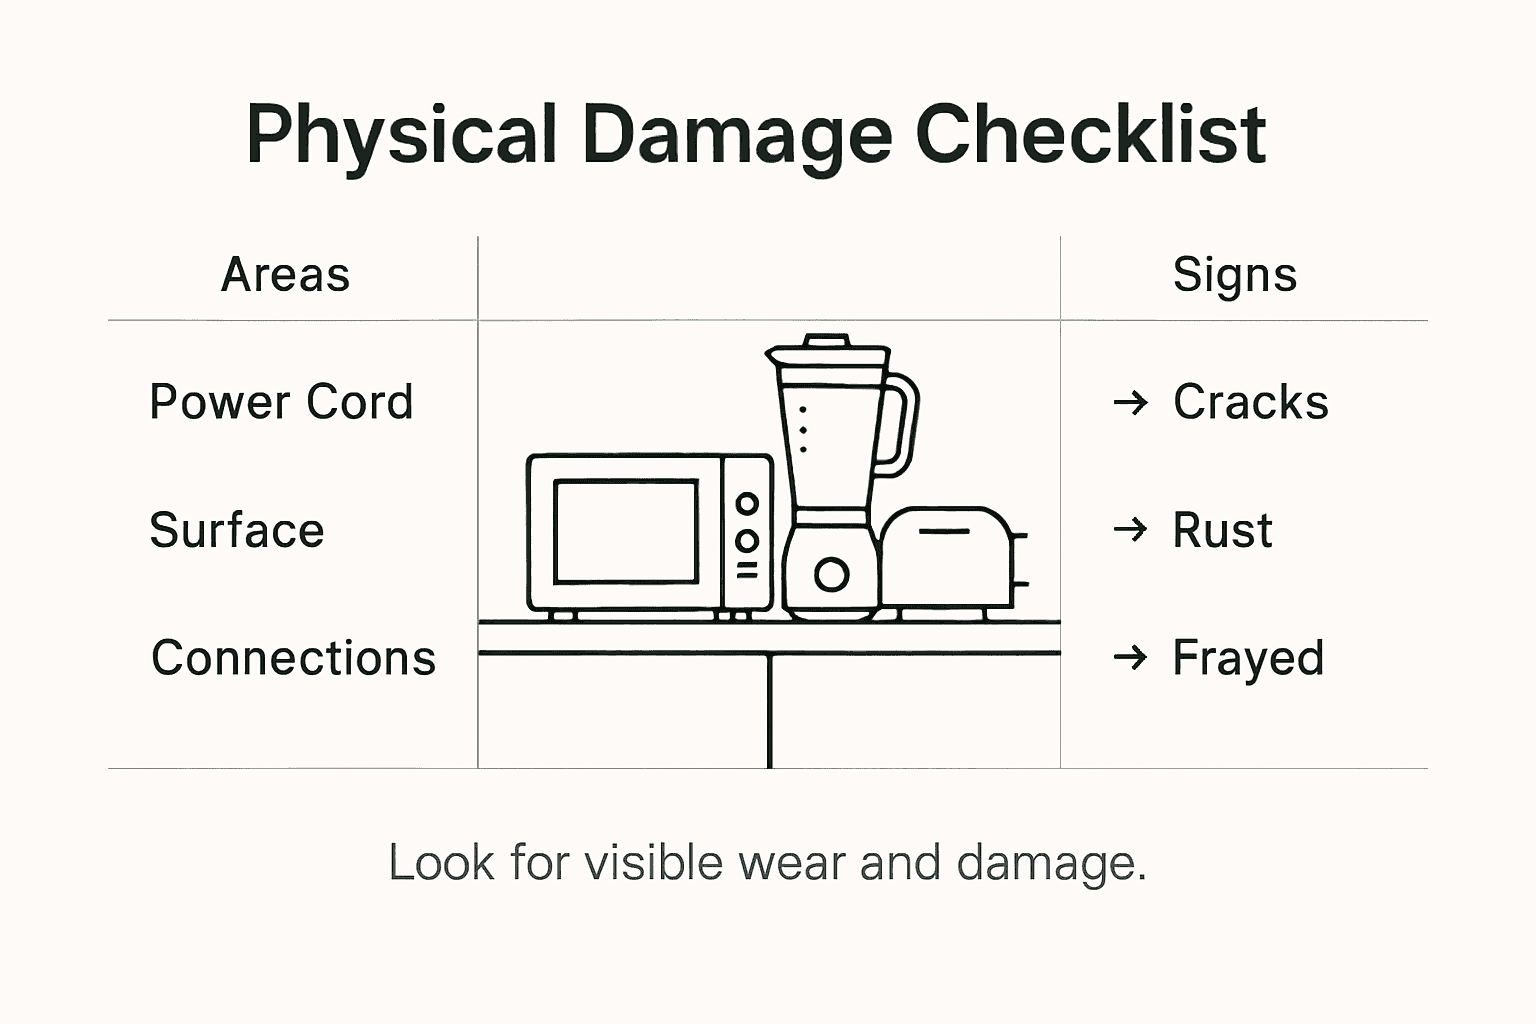
Carefully examine each appliance for visible signs of wear and damage, paying close attention to areas that experience the most stress. Look for cracks, frayed electrical cords, rust, corrosion, loose connections, and any unusual deformations. Check seals, gaskets, and moving parts for signs of deterioration. Some wear is normal with regular use, but significant damage could indicate a more serious underlying issue. Focus on components like electrical connections, hinges, seals, and areas that experience frequent movement or friction.
During your inspection, document any concerning areas with notes or photographs. If you discover significant damage that could impact the appliance’s safety or functionality, consult a professional technician for a comprehensive assessment. Remember that some wear components like filters and seals are designed to be replaced periodically as part of regular maintenance, so their condition can provide insights into the overall health of your appliance.
Pro tip: Use good lighting and wear clean white gloves during your inspection to help highlight subtle signs of damage that might otherwise go unnoticed.
Step 5: Test Appliance Safety Features and Functions
Testing your appliances safety features is a crucial step in ensuring their reliable and secure operation. Your goal is to systematically verify that all built-in safety mechanisms are functioning correctly and protecting you from potential hazards.
Begin by reviewing the manufacturer’s manual to understand the specific electrical safety testing protocols for each appliance. Check critical safety features such as automatic shutoff mechanisms, temperature controls, pressure relief valves, and electrical grounding systems. For electrical appliances, test ground fault circuit interrupters (GFCI) by pressing the test button and confirming that power immediately cuts off. For gas appliances, verify pilot light functionality and ensure flame sensors are working properly. Pay special attention to safety switches, thermal cutoffs, and any built-in warning systems that alert you to potential malfunctions.
Operate each appliance through its full range of functions, listening for unusual sounds and observing performance. Look for smooth operation, consistent temperature or pressure control, and immediate response from safety mechanisms. If you notice any irregularities or hesitation in safety feature activation, it may indicate a need for professional inspection or repair. Document your observations and any concerns to help track the appliance’s condition over time.
The following table highlights common appliance safety features and their intended benefits:
| Safety Feature | Appliance Type | Primary Benefit |
|---|---|---|
| Ground fault interrupter | Electrical appliances | Reduces electrical shock risk |
| Pressure relief valve | Gas appliances | Prevents dangerous pressure buildup |
| Automatic shutoff | All major appliances | Stops operation if unsafe detected |
| Flame sensor | Gas appliances | Detects failed ignition or leaks |
Pro tip: Keep a small digital voice recorder or notebook nearby during testing to quickly capture specific observations about each appliance’s performance and safety features.
Step 6: Document Findings and Schedule Professional Help
Documenting the results of your appliance safety inspection is crucial for tracking potential issues and ensuring timely resolution of any safety concerns. This final step transforms your visual inspection into a actionable record that can protect your home and family.
Create a comprehensive inspection documentation report that details every observation during your safety assessment. Use a standardized template or notebook to record specific details about each appliance including make, model, date of inspection, and a detailed description of any identified issues. Rate the severity of potential problems from minor concerns to critical safety hazards. Include clear photographs or sketches that highlight specific areas of wear, damage, or malfunction. For electrical or gas appliances with complex safety features, note exactly which components showed signs of potential failure.
Based on your documentation, prioritize scheduling professional assistance. For any issues that involve electrical connections, gas lines, or critical safety mechanisms, contact a licensed technician immediately. Some problems may require urgent attention, while others can be addressed during a routine maintenance visit. Keep a copy of your inspection report for your records and provide a duplicate to the professional technician to ensure they have complete information about the observed issues.
Pro tip: Create a digital backup of your inspection documents by taking clear photographs of your handwritten notes and storing them in a cloud storage service or dedicated safety inspection folder on your computer.
Protect Your Home with Expert Appliance Safety Services
The article highlights how crucial it is to perform thorough appliance safety inspections to spot risks like electrical issues, gas leaks, and worn components before they become dangerous. If you feel overwhelmed by complex steps like checking electrical connections, testing safety features, or documenting findings, you are not alone. Many homeowners face challenges ensuring every detail is done safely and correctly without professional experience or specialized tools.
Trust MDTech Services, your local experts in residential appliance repair and installation in Orange County and Los Angeles County. Our licensed technicians bring deep knowledge of electrical and gas appliance safety, along with proven skills in handling everything from refrigerators to gas conversions. We prioritize your safety and convenience, offering fast, reliable service and helping you avoid costly accidents or downtime.

Don’t leave critical appliance safety checks to chance. Visit MDTech Services now to book your expert inspection or repair. Experience peace of mind knowing your home appliances meet the highest safety standards with the help of trusted professionals. Act today to protect your home and family with thorough appliance safety and repair solutions tailored for you.
Frequently Asked Questions
What tools do I need for a home appliance safety inspection?
To conduct a home appliance safety inspection, gather essential tools such as a safety inspection checklist, measuring tape, flashlight, screwdrivers, electrical tester, and a notepad for documenting findings. Make sure to prepare a clean workspace to effectively use these tools during your inspection.
How do I safely disconnect appliances for inspection?
Start by turning off the circuit breakers associated with the appliances you will inspect. Next, unplug each appliance or safely disconnect it from its hardwired connection to ensure a safe working environment.
What should I look for when inspecting electrical and gas connections?
During your inspection, visually check electrical connections for signs of wear, corrosion, or damage and verify gas connections for leaks using a gas leak detector or soapy water solution. Document any concerns you notice so you can address them appropriately.
How can I identify signs of physical damage on home appliances?
Carefully examine appliances for visible signs of damage, such as cracks, frayed cords, loose connections, and rust. Focus on areas that experience stress, take notes, and photograph any serious issues to consult with a technician if necessary.
What safety features should I test during an appliance safety inspection?
Verify that all built-in safety features, such as automatic shutoff mechanisms and ground fault circuit interrupters, are functioning properly. Test each feature systematically and document any irregularities for further assessment.
How do I document my findings after the inspection?
Create a detailed report that includes descriptions of each appliance, observations, severity ratings of identified issues, and any relevant photos. This documentation will help when scheduling professional assistance for addressed issues, ensuring nothing is overlooked.
Recommended
- Appliance Inspection: Ensuring Safety and Efficiency – MDTech Services
- Appliance repair or Installation service Appliance Repair vs. Replacement: How to Make the Right Decision for Your Home – MDTech Services
- Stove Gas Oven Range Cooktop repair Ignitor Gas leak Fixing Kitchen Appliances: Repairing and Igniting Gas Leaks in Stove, Oven, and Range Cooktop – MDTech Services
- Dishwasher repair installation service The Ultimate Guide to Dishwasher Repair: Troubleshooting Tips and Tricks – MDTech Services