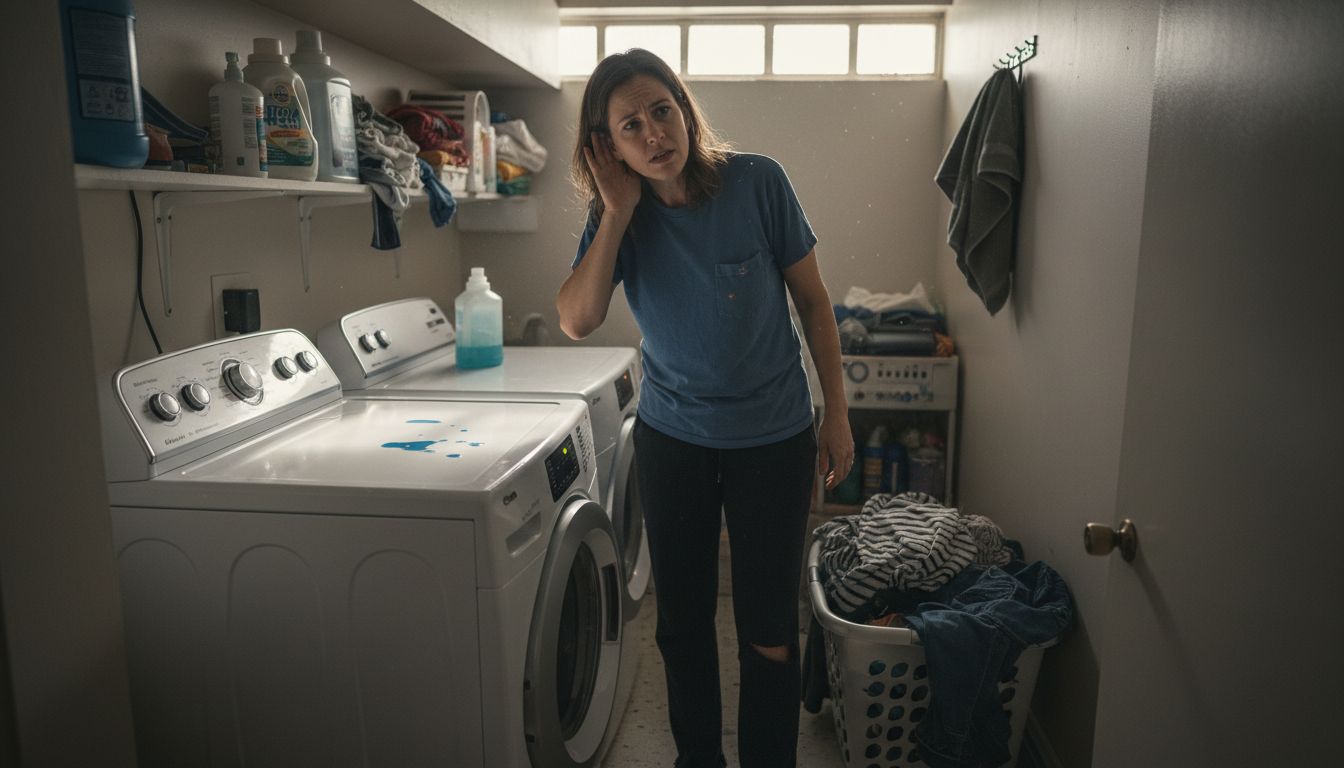
Every American homeowner faces a time when their dishwasher hums, dryer stalls, or refrigerator simply stops cooling. Appliance failures are a common part of daily life and can disrupt routines in unexpected ways. With nearly 48 percent of Americans attempting home repairs before calling for help, knowing the right troubleshooting steps and safety tools is essential. This guide walks you through practical methods to diagnose, repair, and restore your appliances confidently and safely.
Table of Contents
- Step 1: Gather Essential Tools And Safety Equipment
- Step 2: Identify Common Appliance Symptoms
- Step 3: Inspect Power And Connections Safely
- Step 4: Test Appliance Functions And Components
- Step 5: Verify Repairs And Restore Operation
Quick Summary
| Key Insight | Explanation |
|---|---|
| 1. Assemble Essential Tools First | Always have a reliable toolkit ready to safely diagnose appliances before starting any repairs. |
| 2. Identify Symptoms Accurately | Recognize specific symptoms to diagnose appliance issues effectively to assist technicians if needed. |
| 3. Prioritize Safety During Inspections | Always follow electrical safety practices to prevent accidents while examining power connections. |
| 4. Test Carefully After Repairs | Run a full operational test post-repair to ensure appliance functionality and to document any issues. |
Step 1: Gather Essential Tools and Safety Equipment
Preparing for home appliance troubleshooting requires having the right tools and safety gear ready before you start your diagnostic process. According to the American Society of Home Inspectors, a comprehensive toolkit is essential for performing thorough and safe evaluations of household systems and appliances.
Your basic toolkit should include several key items: a reliable multimeter for electrical testing, insulated work gloves, safety glasses, a non contact voltage tester, a set of screwdrivers with various tip sizes, adjustable pliers, a flashlight with extra batteries, and a tape measure. These tools will help you safely inspect and diagnose potential issues with residential appliances. InterNACHI recommends homeowners maintain a toolkit with specific essential tools that enable basic home maintenance and repair work.
Before beginning any diagnostic process, always ensure your personal safety by wearing protective equipment like safety glasses and work gloves. Turn off power sources to the appliance at the circuit breaker, and never attempt repairs beyond your skill level. If you encounter complex electrical or mechanical issues, it is always recommended to contact a professional technician who can safely address the problem.
Pro tip: Create a dedicated toolbox or tool bag specifically for appliance troubleshooting, keeping all your essential tools organized and easily accessible for quick home repairs.
Here’s a summary of essential troubleshooting tools and their primary purposes:
| Tool or Equipment | Primary Purpose | Safety Benefit |
|---|---|---|
| Multimeter | Measure voltage and continuity | Prevents electrical shock |
| Insulated Work Gloves | Protect hands from electricity | Reduces injury risk |
| Safety Glasses | Shield eyes from debris or sparks | Prevents eye injuries |
| Non Contact Voltage Tester | Detect electrical current | Ensures safe inspection |
| Assorted Screwdrivers | Remove and secure screws | Allows precise disassembly |
| Adjustable Pliers | Grip or turn fittings | Improves control during repairs |
| Flashlight | Illuminate dark workspaces | Enhances visibility and safety |
| Tape Measure | Measure appliance and install areas | Ensures proper component fit |
Step 2: Identify Common Appliance Symptoms
Successfully troubleshooting household appliances begins with understanding and recognizing the specific symptoms that indicate potential problems. Consumer Reports highlights several common appliance issues that homeowners frequently encounter, which serve as critical diagnostic signals for potential malfunctions.
Specific symptoms can reveal underlying mechanical or electrical problems across different appliances. For refrigerators, warning signs include inconsistent cooling, unusual noises, excessive frost buildup, or water leakage. Dishwashers might display symptoms like poor cleaning performance, standing water in the bottom, strange grinding sounds, or persistent odors. Kitchen appliance mishaps often stem from specific operational issues that can be identified through careful observation and systematic checking.
When diagnosing appliance problems, pay attention to changes in performance, unusual sounds, unexpected temperature variations, and visible signs of wear or damage. Microwaves may show symptoms like uneven heating, sparking inside the unit, or difficulty turning on. Washing machines might indicate problems through excessive vibration, failure to spin, water drainage issues, or strange noises during operation. Always document the specific symptoms you observe, as these details can help professional technicians diagnose the problem more accurately.
Pro tip: Take clear photos or video of the appliance symptoms before contacting a repair service, as visual documentation can provide valuable diagnostic information for technicians.
Refer to this quick comparison of common appliance symptoms and typical causes:
| Appliance Type | Symptom Example | Likely Cause |
|---|---|---|
| Refrigerator | Excess frost buildup | Faulty door gasket or defrost issue |
| Dishwasher | Standing water | Blocked drain or pump malfunction |
| Microwave | Uneven heating | Magnetron or turntable issue |
| Washing Machine | Excessive vibration | Unbalanced load or worn bearings |
| Dryer | No heat | Faulty heating element or thermostat |
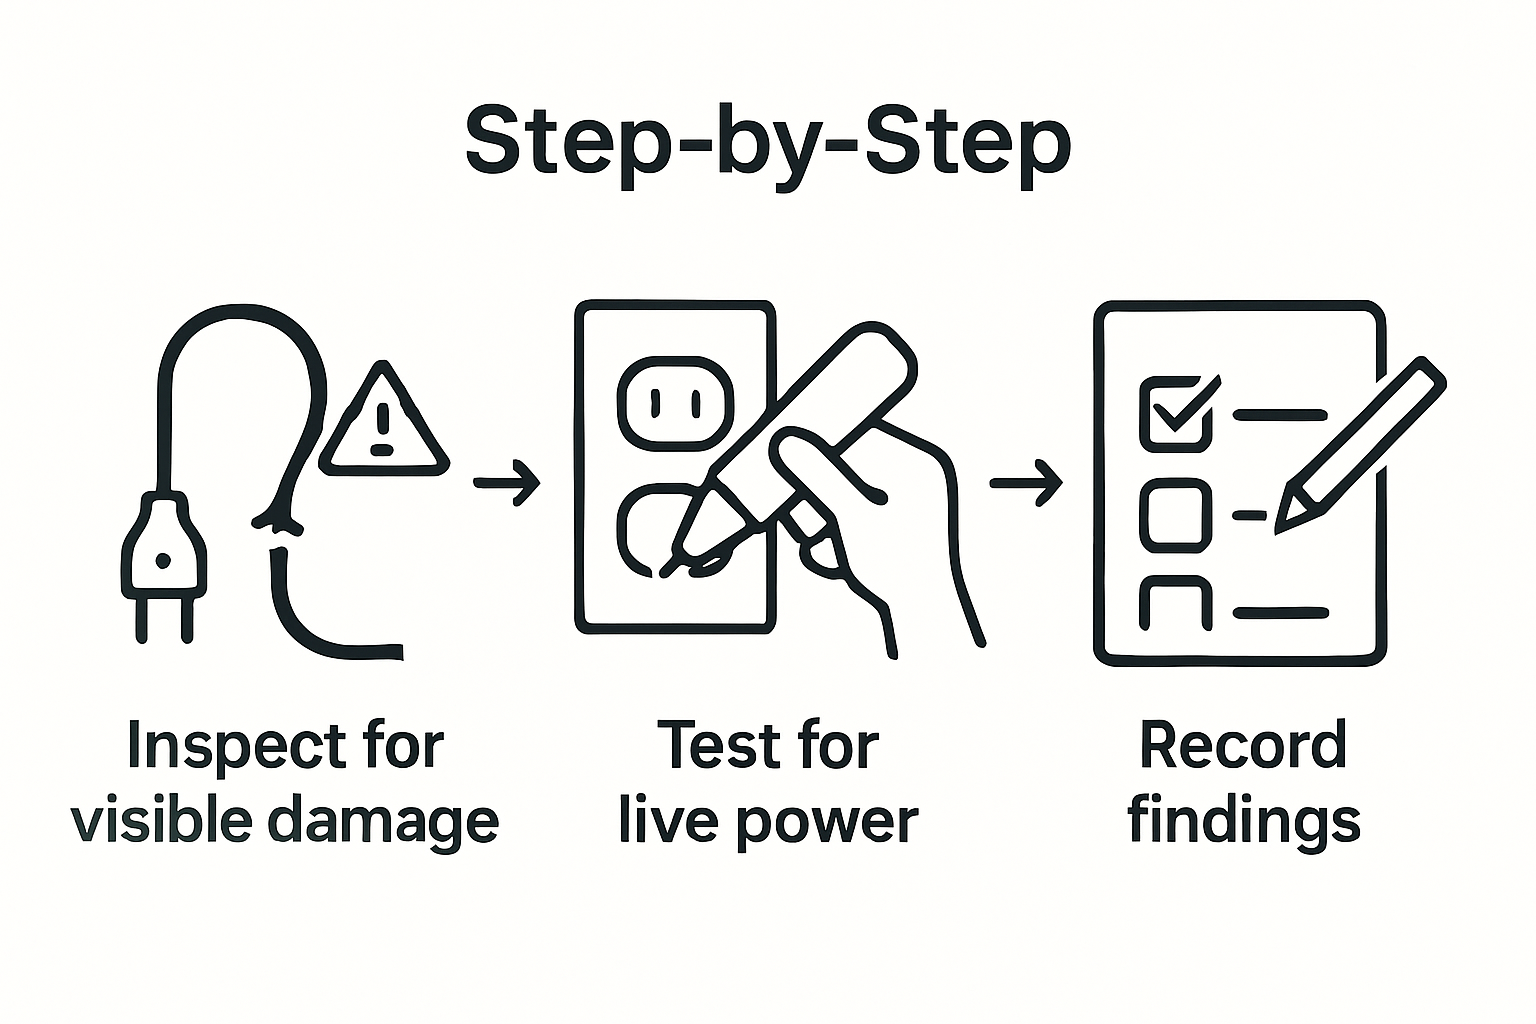
Step 3: Inspect Power and Connections Safely
Electrical safety practices are crucial when examining household appliances and their power connections. Before beginning any inspection, always prioritize your personal safety by understanding the fundamental principles of electrical system examination and potential hazards.
Start by visually inspecting power cords for any signs of wear, fraying, or damage. Look for exposed wires, cracked insulation, or burn marks that could indicate potential electrical risks. Check the prongs on electrical plugs to ensure they are straight, clean, and not bent or corroded. Home electrical safety involves systematic checking of critical components, including verifying that outlets are properly grounded and not showing signs of scorching or discoloration.
When examining electrical connections, use a non contact voltage tester to confirm power status before touching any components. Ensure the appliance is unplugged from the power source during your detailed inspection. Pay special attention to areas where cords connect to appliances, looking for loose connections, signs of overheating, or unexpected resistance when plugging or unplugging devices. If you notice any significant damage or suspect an electrical issue beyond basic visual inspection, immediately discontinue your examination and contact a professional electrical technician.
Pro tip: Always keep a flashlight and non contact voltage tester in your home repair toolkit to safely perform preliminary electrical inspections without direct physical contact.
Step 4: Test Appliance Functions and Components
Testing electrical tools and components requires a systematic approach to accurately diagnose potential appliance issues. Your goal is to methodically evaluate each critical function and component to identify any performance inconsistencies or potential failures.
Begin by performing a comprehensive functional test on the appliance. For electronic devices, use a digital multimeter to check voltage levels and continuity across electrical connections. Diagnostic testing involves running specific evaluation cycles that can reveal underlying mechanical or electrical problems. Pay close attention to how each component responds during operation, listening for unusual sounds, monitoring temperature changes, and observing mechanical movements.
For specific appliance types, develop a targeted testing approach. Refrigerators should be checked for consistent cooling, proper door seal integrity, and compressor functionality. Washing machines require testing of spin cycles, water inlet and drain performance, and control panel responsiveness. Dryers need evaluation of heating elements, tumbling mechanisms, and electrical controls. Always document your observations carefully, noting any deviations from normal operational parameters that might indicate potential repair needs.
Pro tip: Create a simple testing checklist for each appliance type before beginning your diagnostic process to ensure you systematically evaluate every critical component.
Step 5: Verify Repairs and Restore Operation
Systematic inspection and verification are critical final steps in ensuring that your appliance repair has been successful. The goal is to methodically confirm that all previous diagnostic and repair efforts have resolved the original performance issues.
Carefully reconnect the appliance to power and initiate a complete operational test. Run a full cycle to confirm that all components function correctly, paying close attention to any previous symptoms that prompted the initial repair. Proper restoration requires meticulous attention to installation details and manufacturer specifications. Monitor the appliance closely during its first complete operational cycle, checking for consistent performance, normal sounds, appropriate temperature ranges, and smooth mechanical movements.
Document your test results comprehensively, noting any remaining irregularities or new behaviors. If the appliance does not perform exactly as expected, resist the temptation to continue operating it. Instead, review your repair steps, consult the manufacturer’s manual, or contact a professional technician for additional guidance. Remember that successful appliance repair is not just about fixing an immediate issue but ensuring long term reliable performance and preventing potential future breakdowns.
Pro tip: Record a video of the appliance during its first operational test after repair, which can serve as valuable documentation if you need professional assistance later.
Get Expert Help for Your Residential Appliance Troubleshooting Challenges
Facing appliance issues like inconsistent cooling, electrical concerns, or strange noises can be frustrating and even risky without the proper tools and knowledge. This guide highlights the critical need for safe inspections, accurate symptom identification, and careful testing. Yet sometimes DIY troubleshooting is not enough. When you need prompt, reliable assistance, trust local professionals who specialize in handling major appliance repairs with a safety-first approach.

Don’t risk costly mistakes or safety hazards. At MDTech Services, our licensed technicians are ready to diagnose and repair your appliances, including refrigerators, dishwashers, washers, and more throughout Orange County and Los Angeles County. We offer quick, expert service backed by detailed knowledge of household appliances and rigorous safety standards. Visit us to schedule your appointment today and experience hassle-free repairs at MDTech Services. For appliance installation or conversion needs, explore our comprehensive solutions and ensure long-lasting home comfort.
Frequently Asked Questions
What tools do I need for residential appliance troubleshooting?
To troubleshoot residential appliances effectively, gather essential tools such as a multimeter, screwdrivers, insulated gloves, safety glasses, and a non contact voltage tester. Assemble these tools in a dedicated toolbox to ensure you have everything organized and accessible during repairs.
How can I identify common symptoms of appliance issues?
Start by observing the appliance for specific symptoms like strange noises, inconsistent temperatures, or standing water. Document these symptoms carefully, as they will help you and any technician diagnose the problem more effectively.
What safety precautions should I take while inspecting appliances?
Always turn off power to the appliance at the circuit breaker before inspecting and use safety gear like gloves and glasses to protect yourself. Visually check power cords and connections for any signs of damage or wear before conducting further tests.
How do I test an appliance to pinpoint the issue?
Perform a functional test by using a multimeter to measure voltage levels and continuity in the appliance. Pay attention to each component’s response during operation to identify any inconsistencies that might signal a malfunction.
What steps should I follow after making repairs to ensure the appliance works properly?
Reconnect the appliance to power and conduct a complete operational test, monitoring for any previously reported symptoms. Confirm that all components function correctly and document any observations, as this will help you track the effectiveness of the repairs over time.
What should I do if the appliance still does not work after troubleshooting?
If the appliance fails to perform as expected after your repairs, review your steps and consult the manufacturer’s manual for troubleshooting guidance. If issues persist, consider reaching out to a professional technician for further assistance.
Recommended
- Appliance repair or Installation service Appliance Repair vs. Replacement: How to Make the Right Decision for Your Home – MDTech Services
- Dishwasher repair or Installation Garbage disposal repair or Installation Airgap repair pump repair Fixing Dishwashers, Garbage Disposals, and More! – MDTech Services
- Dishwasher repair installation service The Ultimate Guide to Dishwasher Repair: Troubleshooting Tips and Tricks – MDTech Services
- Refrigerator repair Condenser Coil cleaning. The Ultimate Guide to Refrigerator Repair: How to Properly Clean the Condenser Coil – MDTech Services
- Bosch VE Injection Pump Troubleshooting Made Easy – My WordPress